Create Filing and Submission
Creating a new filing starts a new WCA case. The ECF portal uses Smart Forms for initial case-creation documents. These interactive forms can pre-populate information from WCA's EDI system to reduce manual entry. You can also upload pre-prepared documents if your filing is already complete. When you are logged in, use + New Filing in the top-right corner of the dashboard to get started.
Smart Forms are available for initial case-creation filings such as Workers' Compensation Complaints. If your documents are already fully prepared and signed, you can upload them directly. For amended complaints, motions, and supplementary pleadings on an existing case, you upload your own documents — Smart Forms are not required.
Filing types available
The Smart Form chapter flow is similar across filing types. If you do not see the exact same chapter names, follow the same pattern: complete required fields in each chapter, then Save & Continue to the next chapter until you reach Documents → Submit.
| Filing Type | Description |
|---|---|
| Workers Compensation Complaint | Initial workers' compensation complaint filed with a judge. |
| Application to Director | Application filed with the WCA Director. |
| Application to Workers' Compensation Judge | Application filed directly with a Workers' Compensation Judge for matters requiring judicial review or determination. |
| Petition for Lump Sum Payment | Request for a lump sum settlement. |
| Healthcare Provider Disagreement (HCP) | Healthcare provider-related filings. |
| Complaint With Two Employers or Insurers | Used when two employers or insurers are involved in the claim. |
| Uninsured Employer's Fund (UEF) | Claims involving an uninsured employer / UEF. |
Step-by-step: Create and submit a filing
The screenshots below walk through a Workers' Compensation Complaint starting from the Dashboard. Other filing types follow the same Smart Form pattern: work through each chapter, use Save & Continue → between sections, and finish in Documents with Submit. Chapter titles and field labels may differ by filing type.
Ways to open the form: From the Dashboard, use + New Filing (steps 1–4 below). Or use the left menu: E-Filing → choose the Filing Type → Proceed.
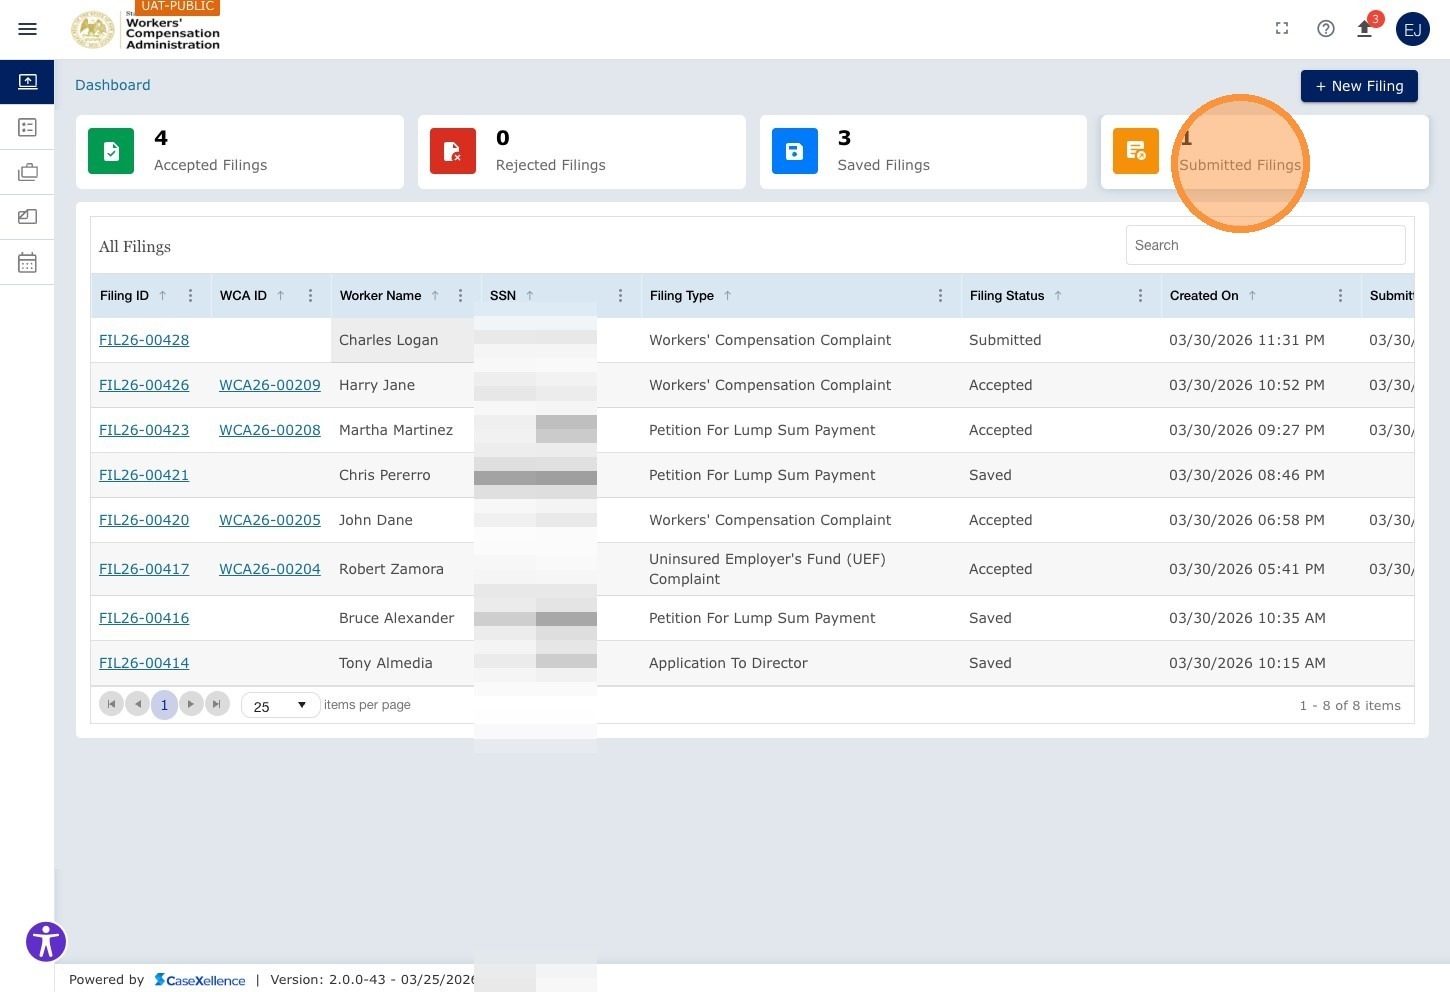
Step 1 — Access the Dashboard
Log in to the ECF portal. The Dashboard opens showing your filing tiles (Saved Filings, Submitted Filings, Accepted Filings, Rejected Filings, Active Cases, Rejected Pleadings) and the filings grid below.

Step 2 — Click + New Filing
Click the + New Filing button in the top right corner of the Dashboard.

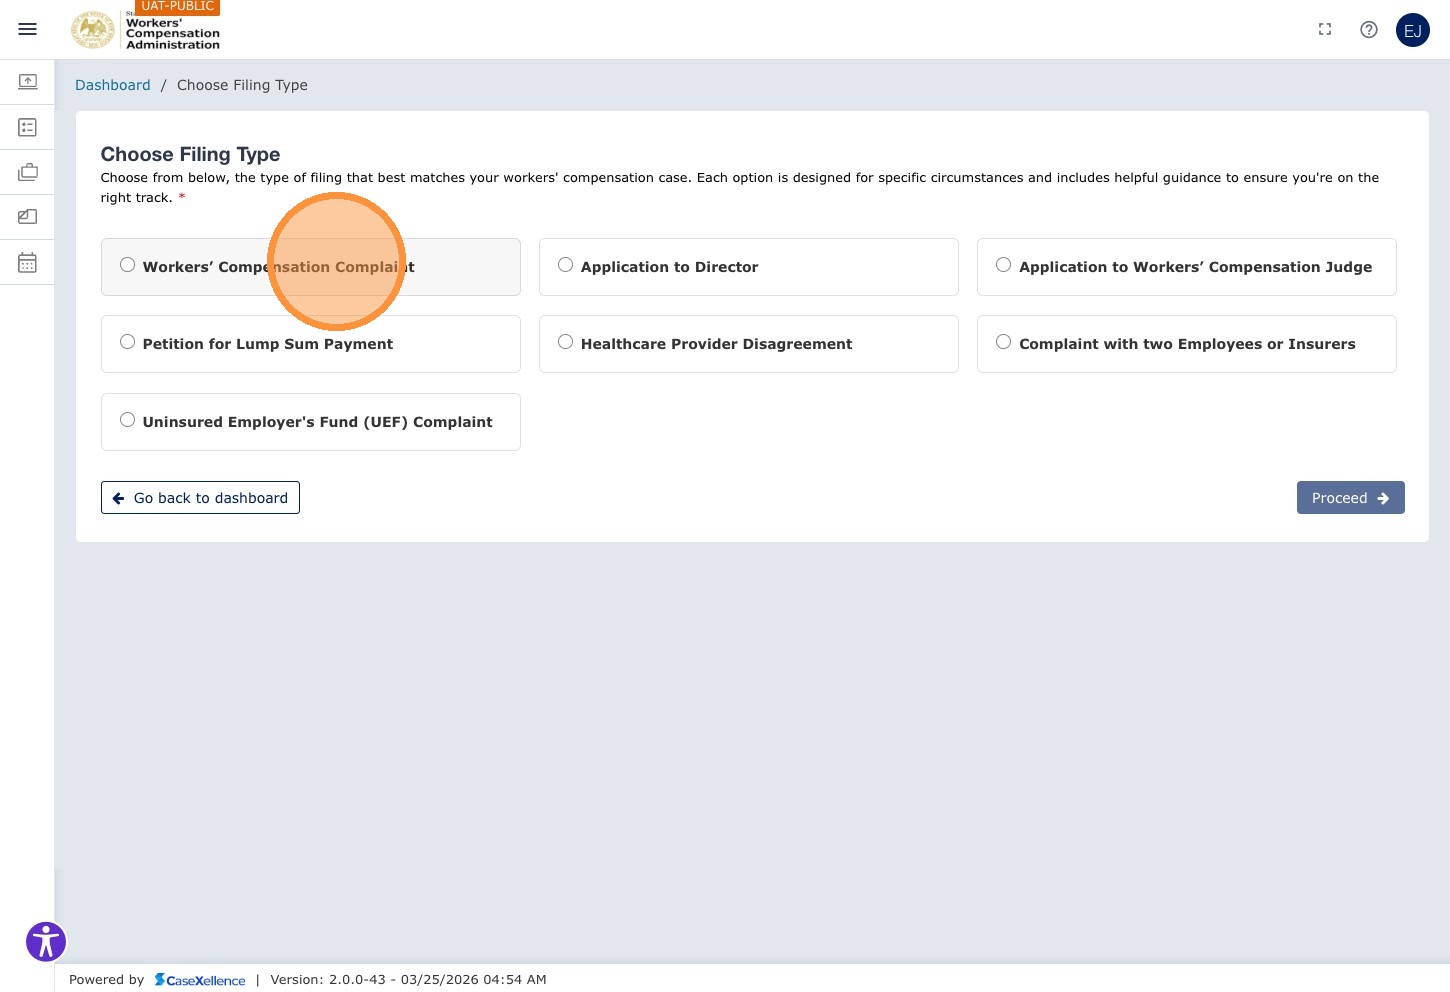
Step 3 — Select the Filing Type
A list of available filing types is displayed. Click Workers' Compensation Complaint (or the applicable filing type for your case).
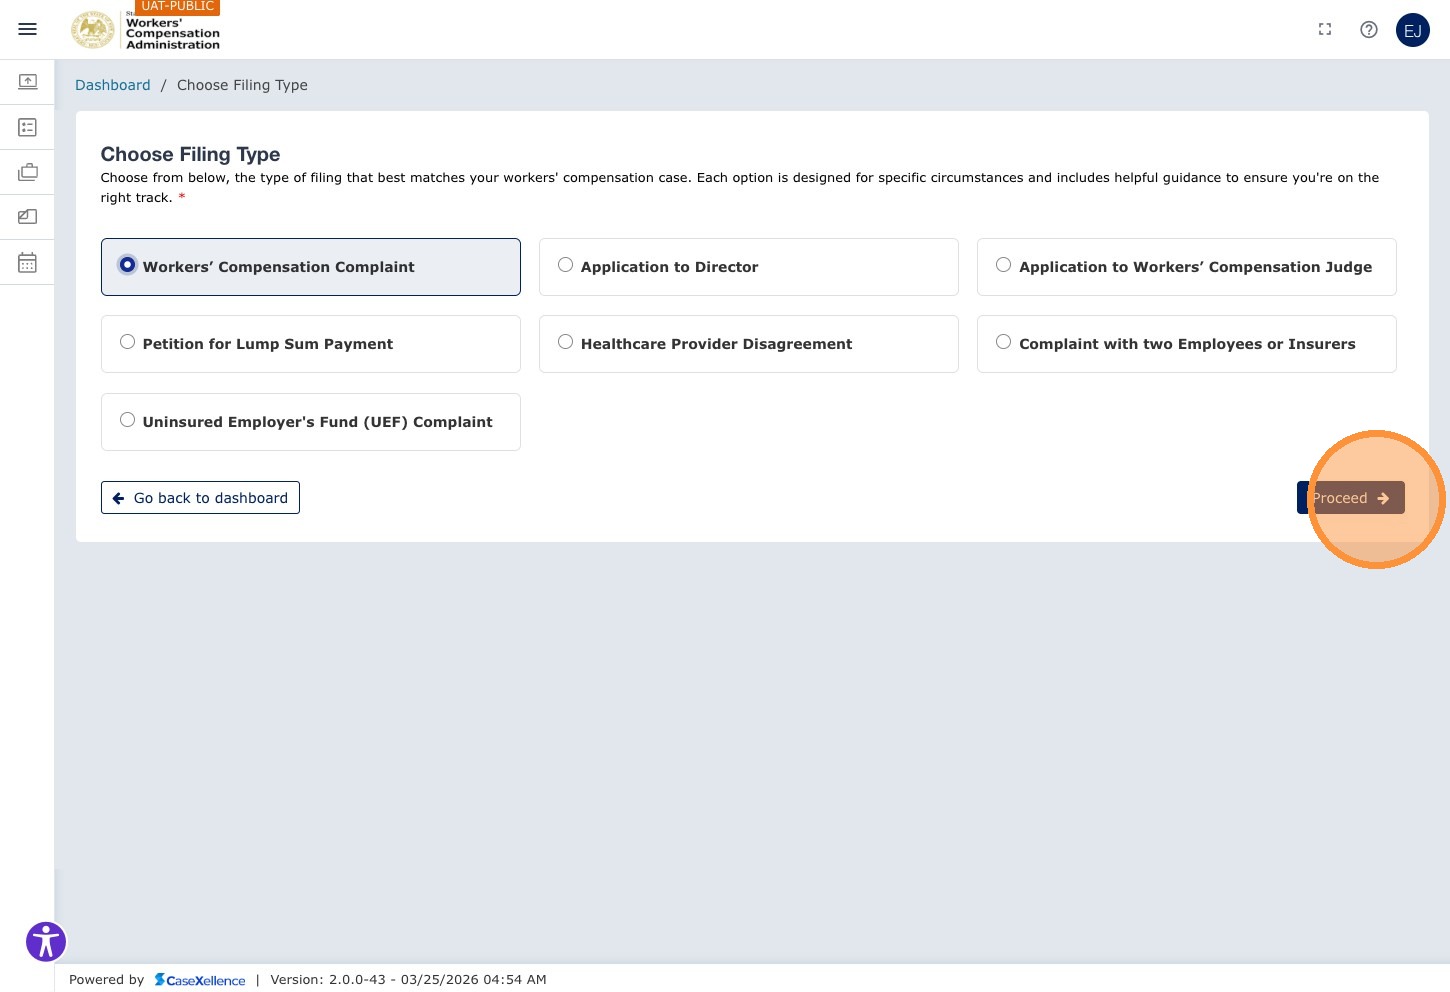
Step 4 — Proceed to the Form
Click Proceed to begin the Smart Form.
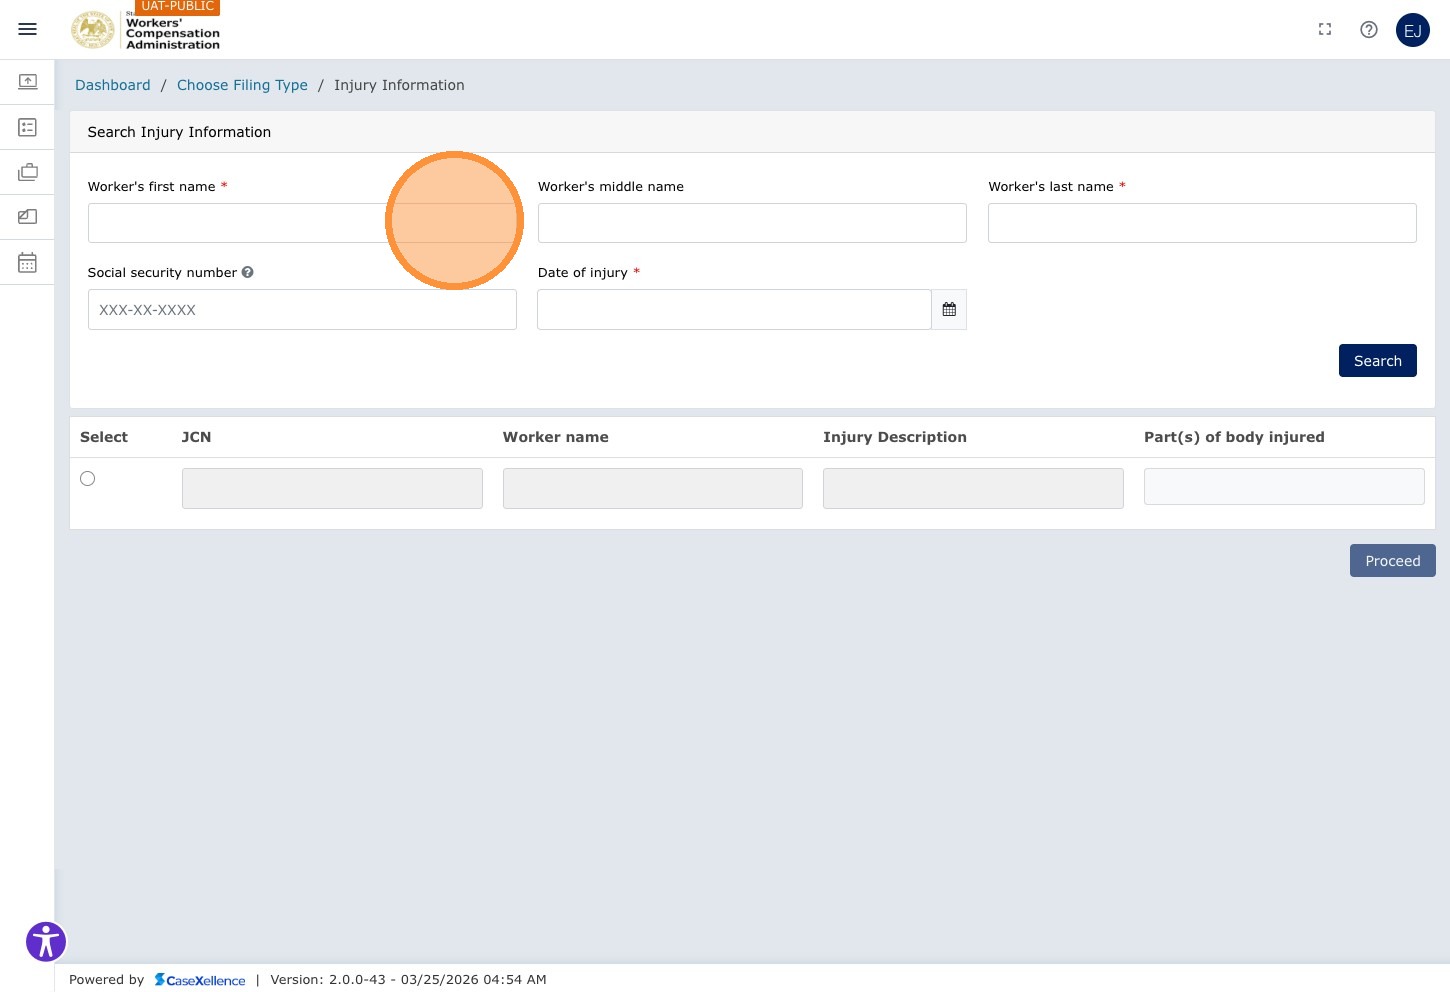
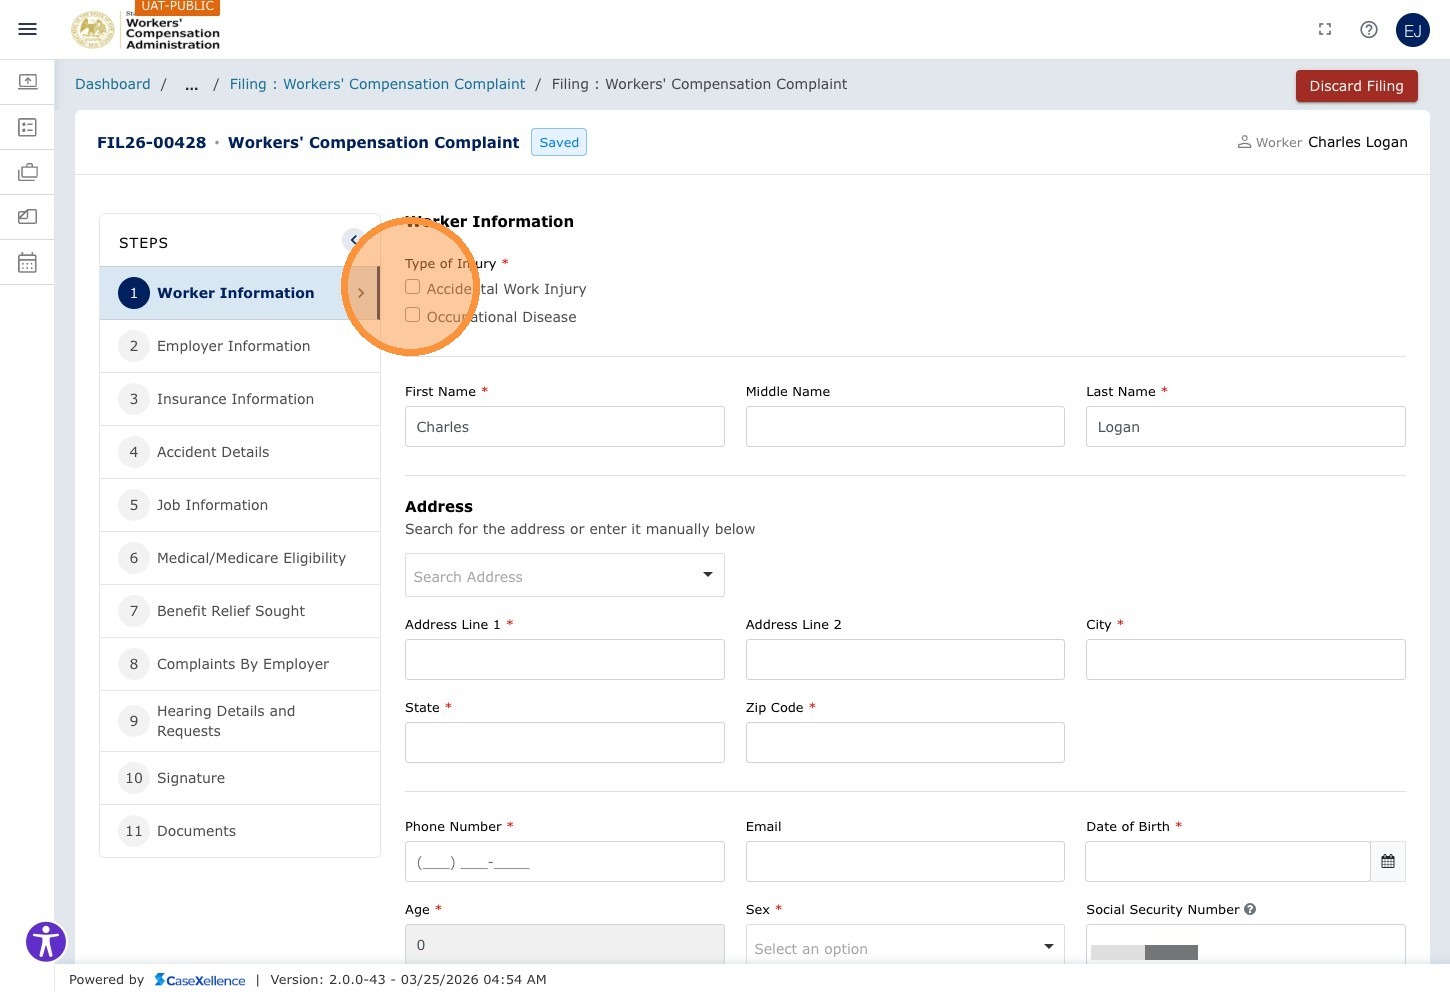
Chapter 1 — Worker Information
The first chapter collects details about the injured worker. After you enter Social Security Number and Date of Injury, the form usually asks you to run an EDI lookup: click Search so WCA can pre-fill claim data when a match exists. If there is no match—or you need to correct pre-filled values—complete or edit the fields manually.
Required fields are marked with an asterisk (*). You can jump between chapters when the form allows it, but every required field must be filled before submission. Use Save & Continue → to save the current section and move forward; use Save & Exit to stop and return later (the filing appears under Saved Filings on the Dashboard). For more on pausing a filing, see Saving a Filing to Complete Later.
Fields in this chapter include: Type of Injury (Accidental Work Injury or Occupational Disease), First Name, Middle Name, Last Name, Address Search, Address Line 1, Address Line 2, City, State, ZIP Code, Phone, Email, Date of Birth, Age, Sex, SSN, and Worker's Highest Level of School Completed. Use Address Search for quick lookup or auto-population. (On-screen labels may use "Zip"; this guide uses ZIP Code for consistency.)
Step 5 — Enter the Worker's Name
Click the Worker's first name field and type the worker's first name. Tab through to enter the middle name (if applicable) and last name.
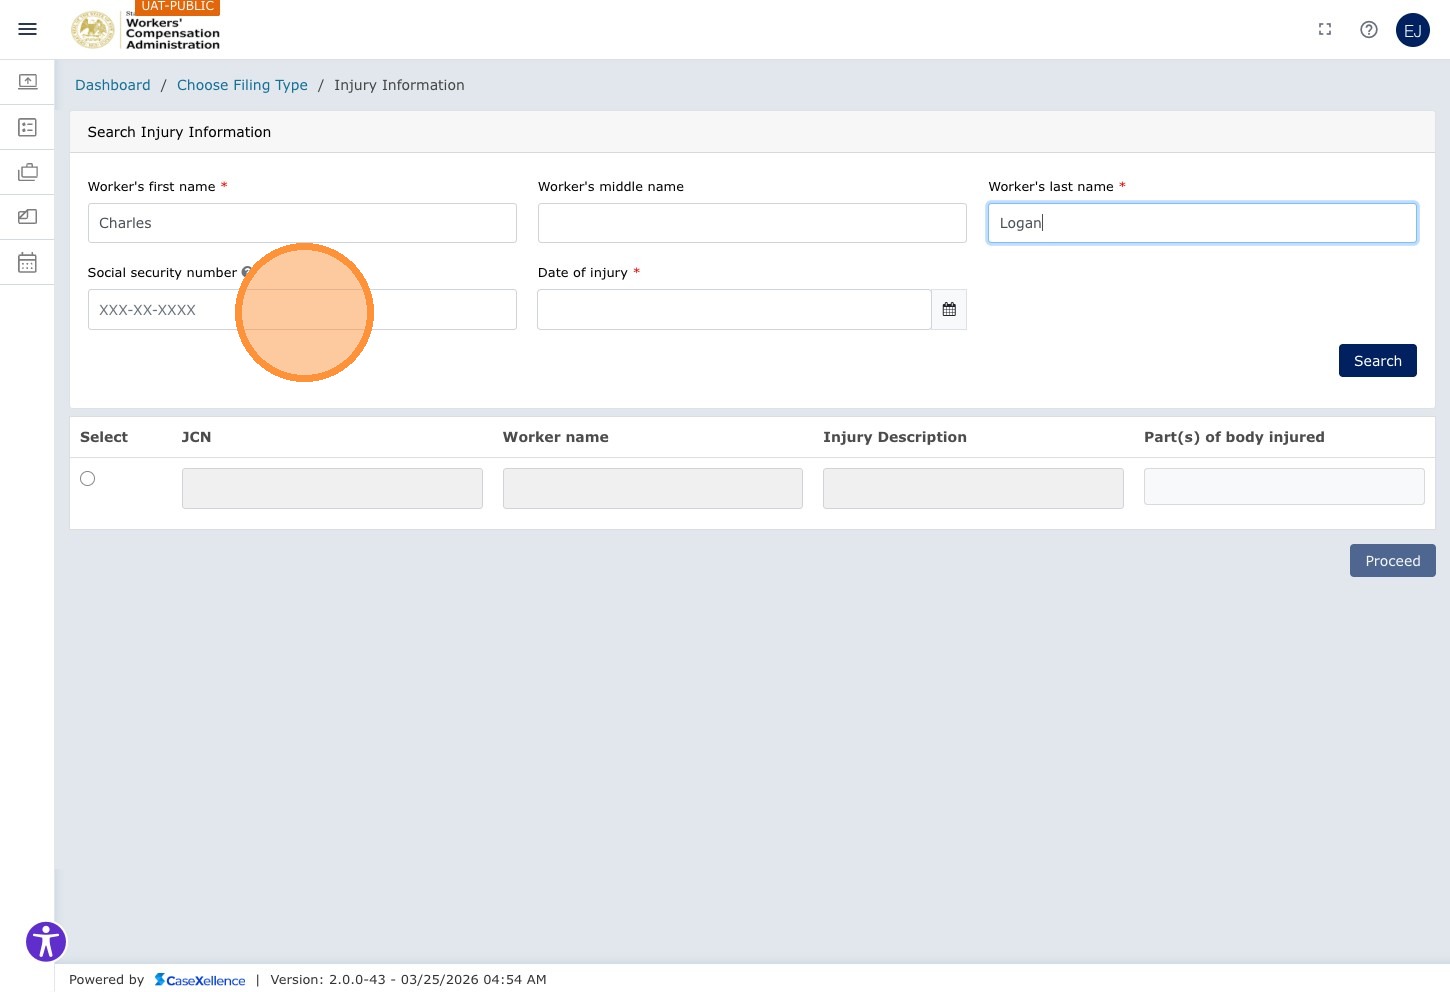
Step 6 — Enter the Social Security Number
Click the Social security number field and enter the worker's SSN.
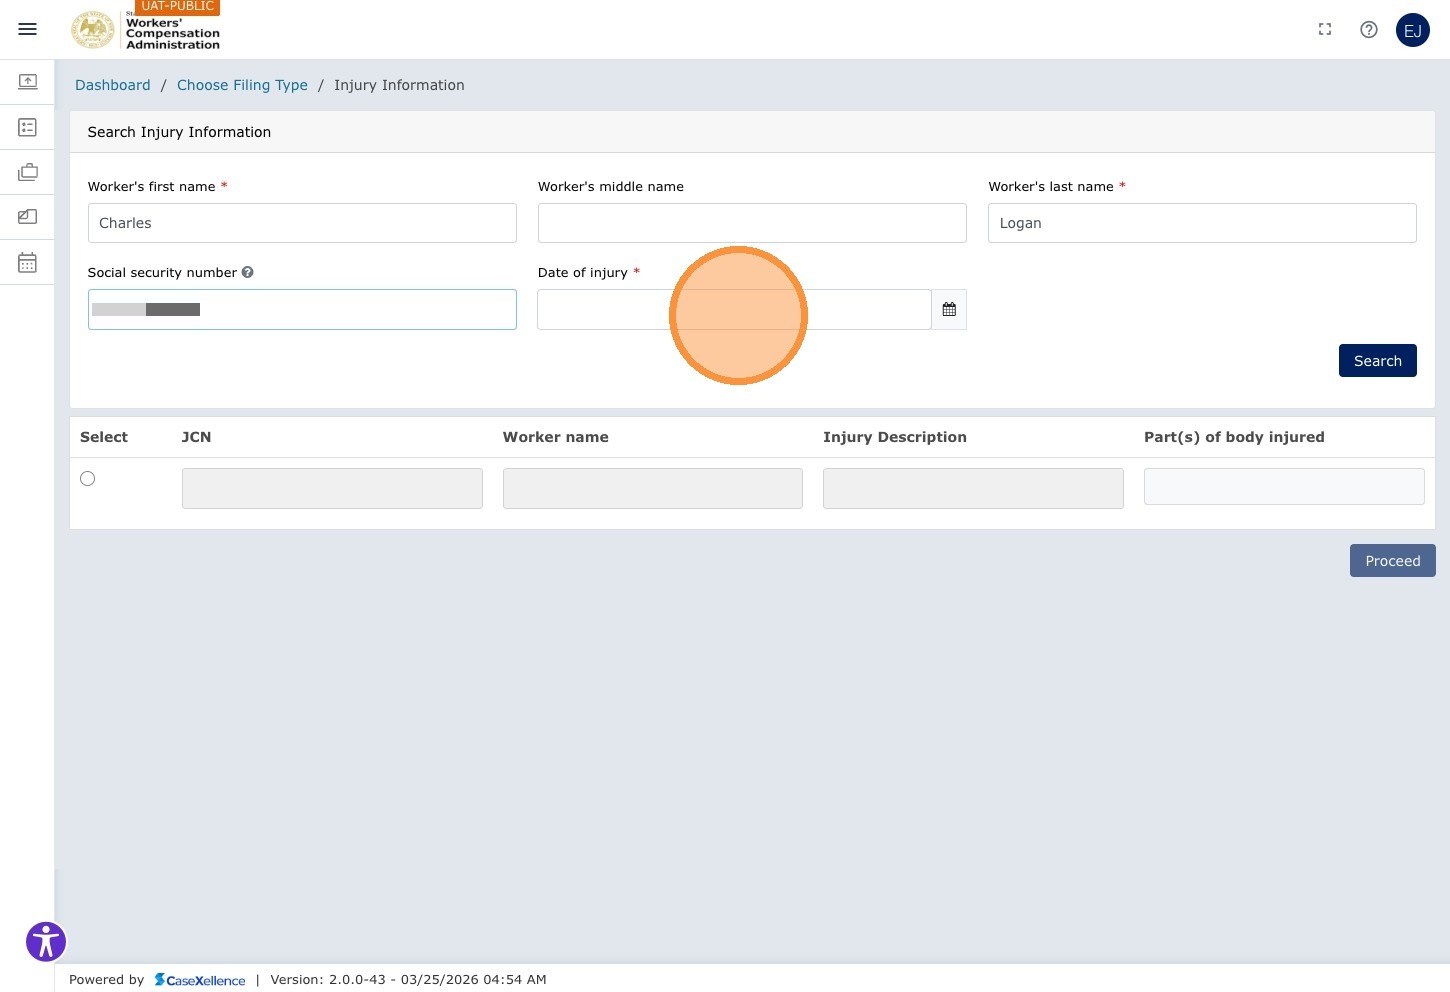
Step 7 — Enter the Date of Injury
Click the Date of Injury calendar field.
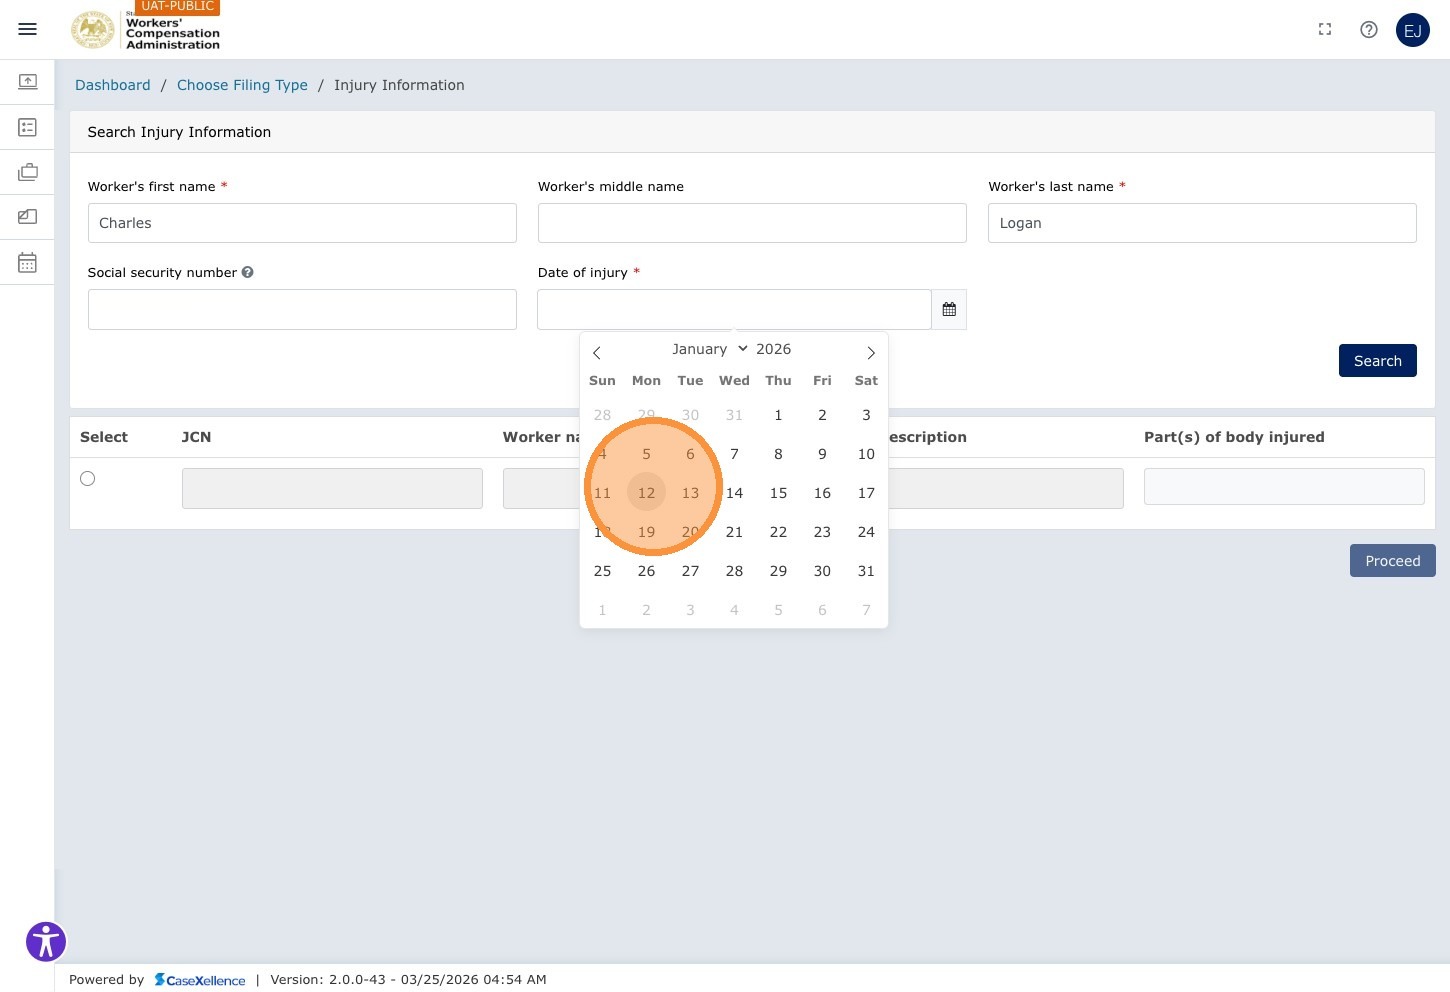
Select the day from the calendar picker (e.g., 12).
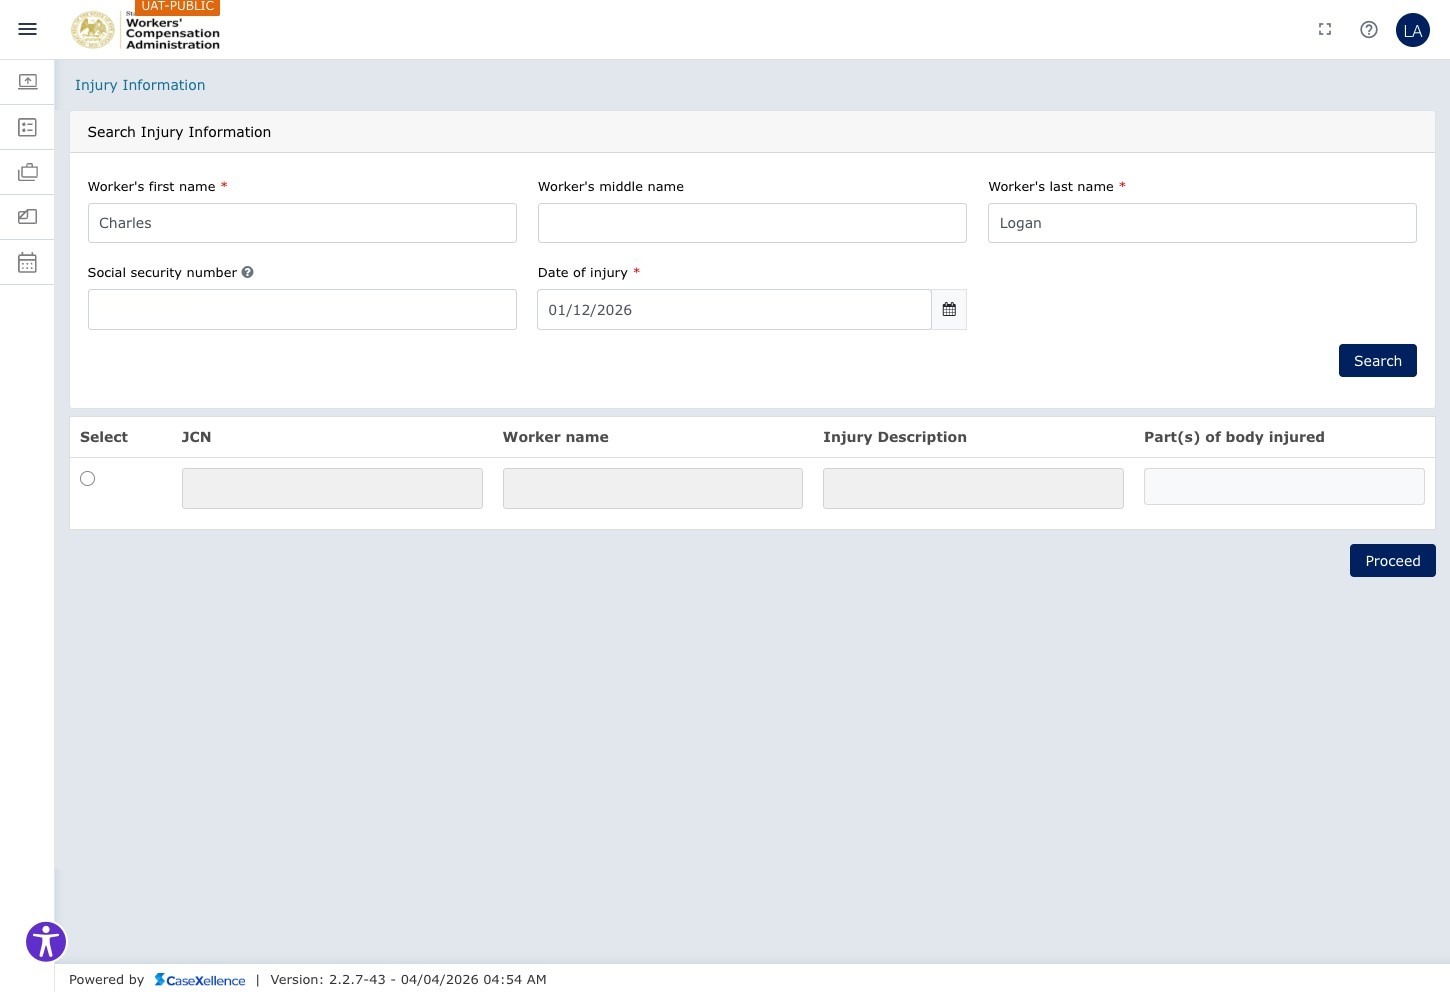
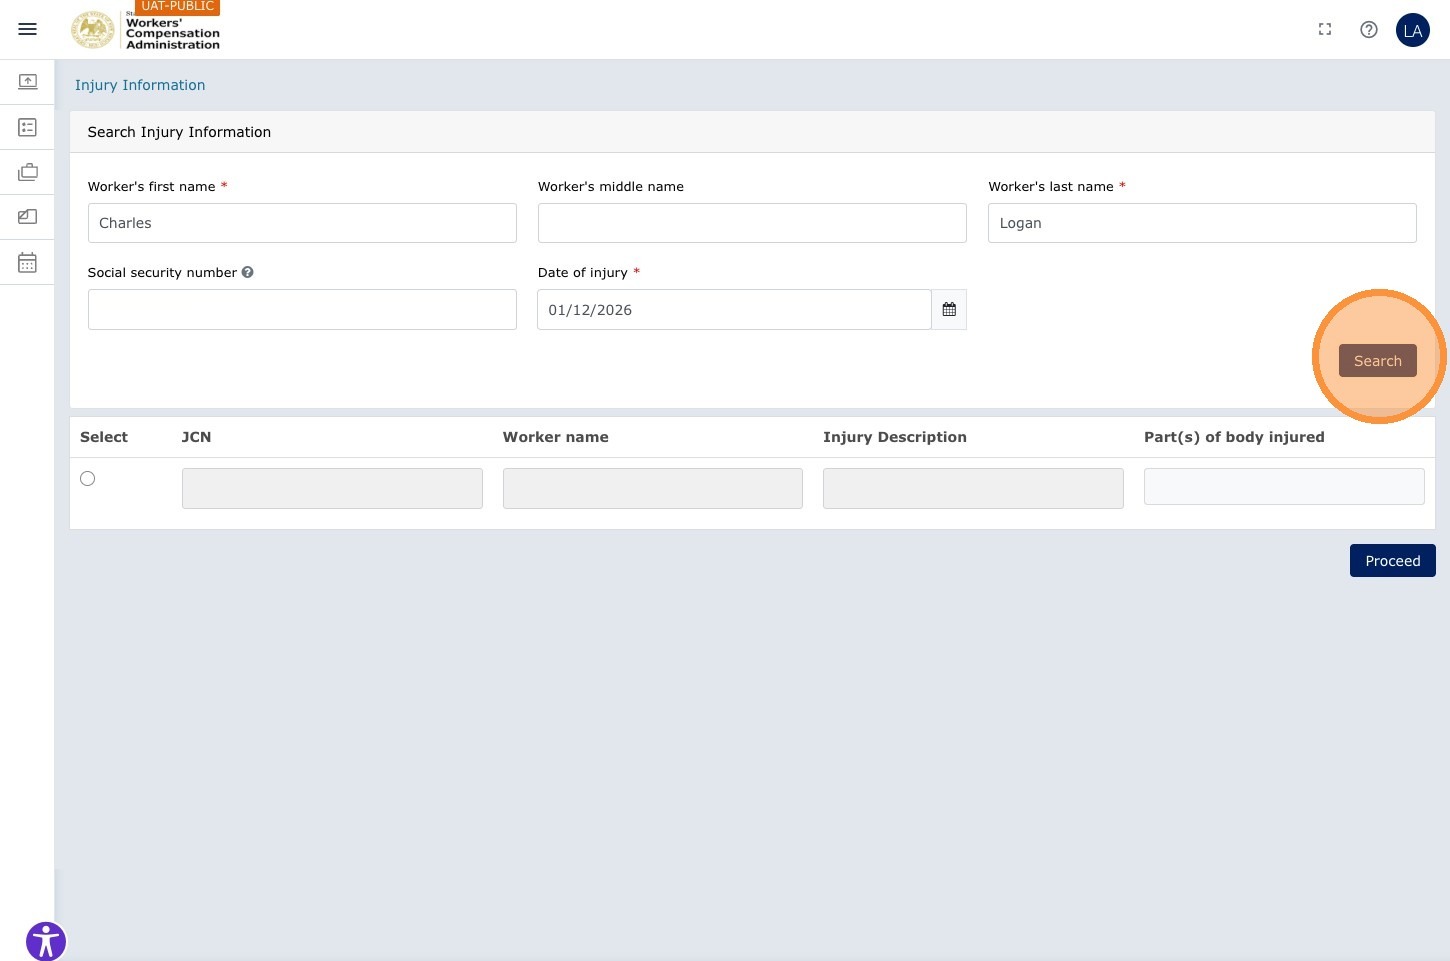
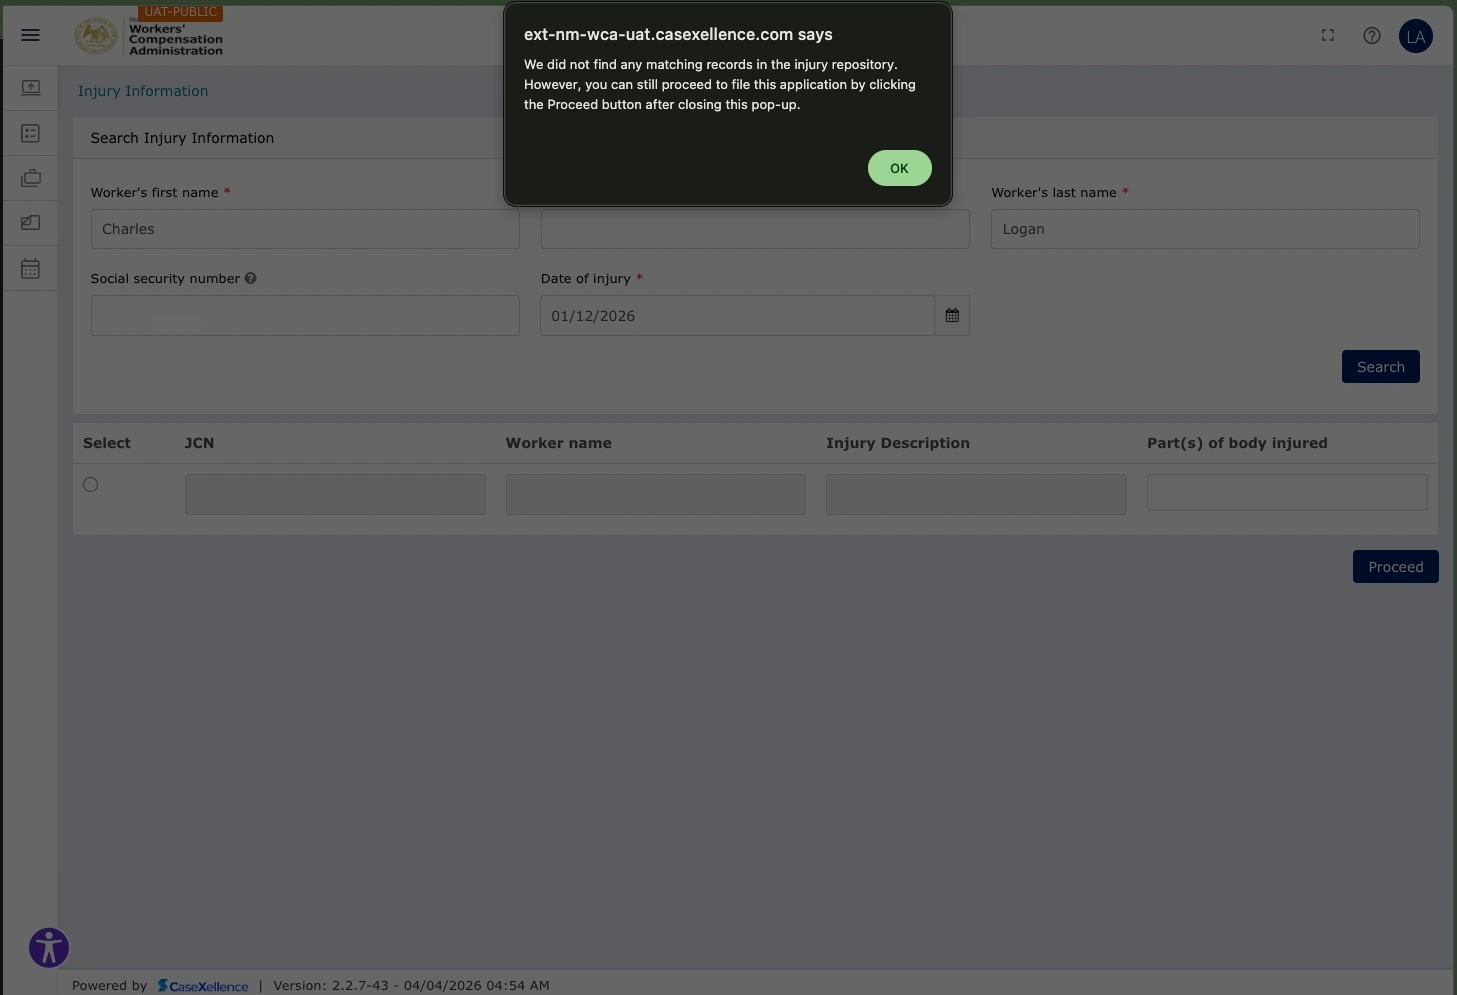
When Social Security Number and Date of Injury are entered, click Search to look up the worker in WCA's EDI records.
If Search finds a match, the portal pre-fills worker and injury details. Review each value, then click Proceed to move on.
If you do not have the worker's SSN, the lookup returns no rows, or the pre-filled data is incomplete or wrong, keep going: type or correct the fields in this chapter yourself. You do not need to stop the filing only because EDI did not find a record.
If there is no match, the portal displays a message that the information was not found. Continue by filling in the worker details in the rest of this chapter.
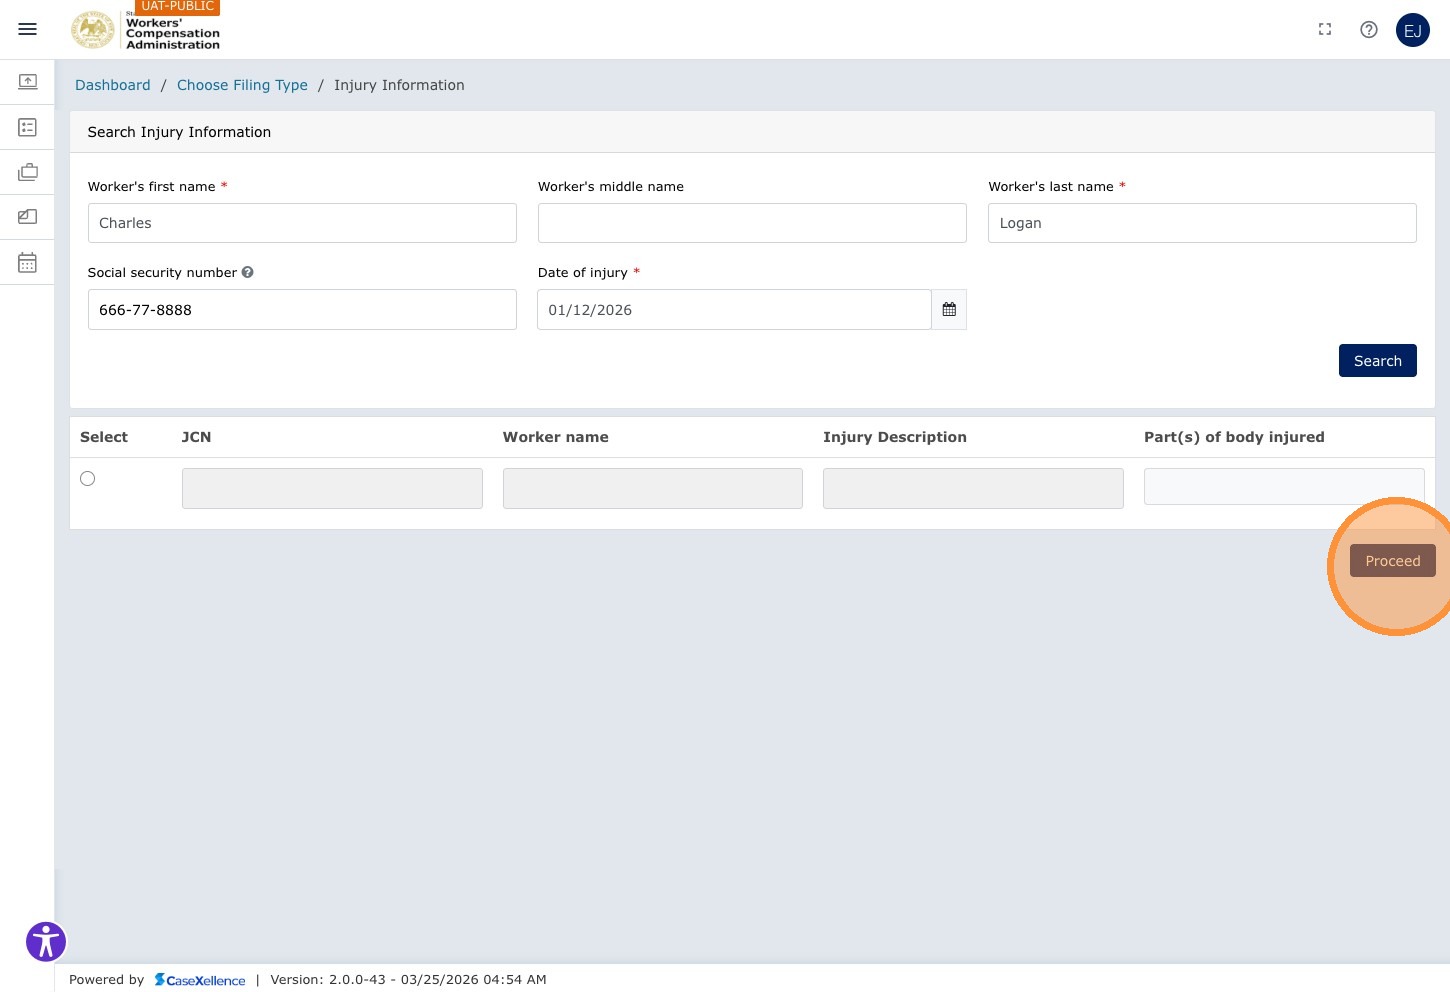
Step 8 — Proceed in the Smart Form
When the information on this screen is complete and accurate—including any values from EDI—click Proceed to continue.
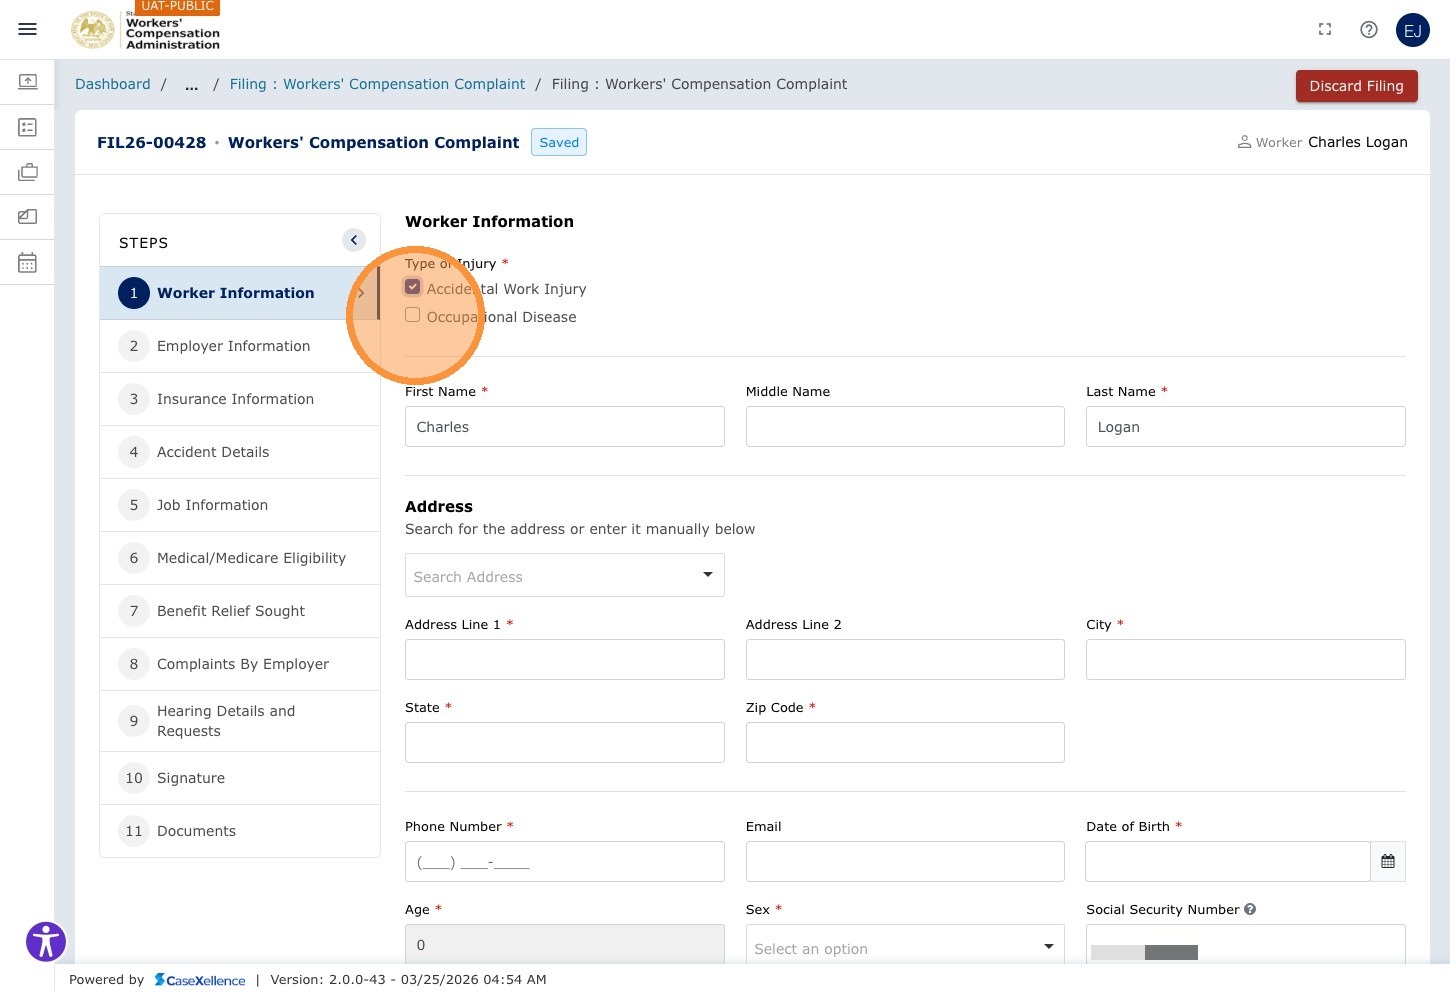
Step 9 — Select Injury Type
Click the Accidental Work Injury checkbox if the injury resulted from a workplace accident.
If the injury is an occupational disease, click the Occupational Disease checkbox instead (or in addition).
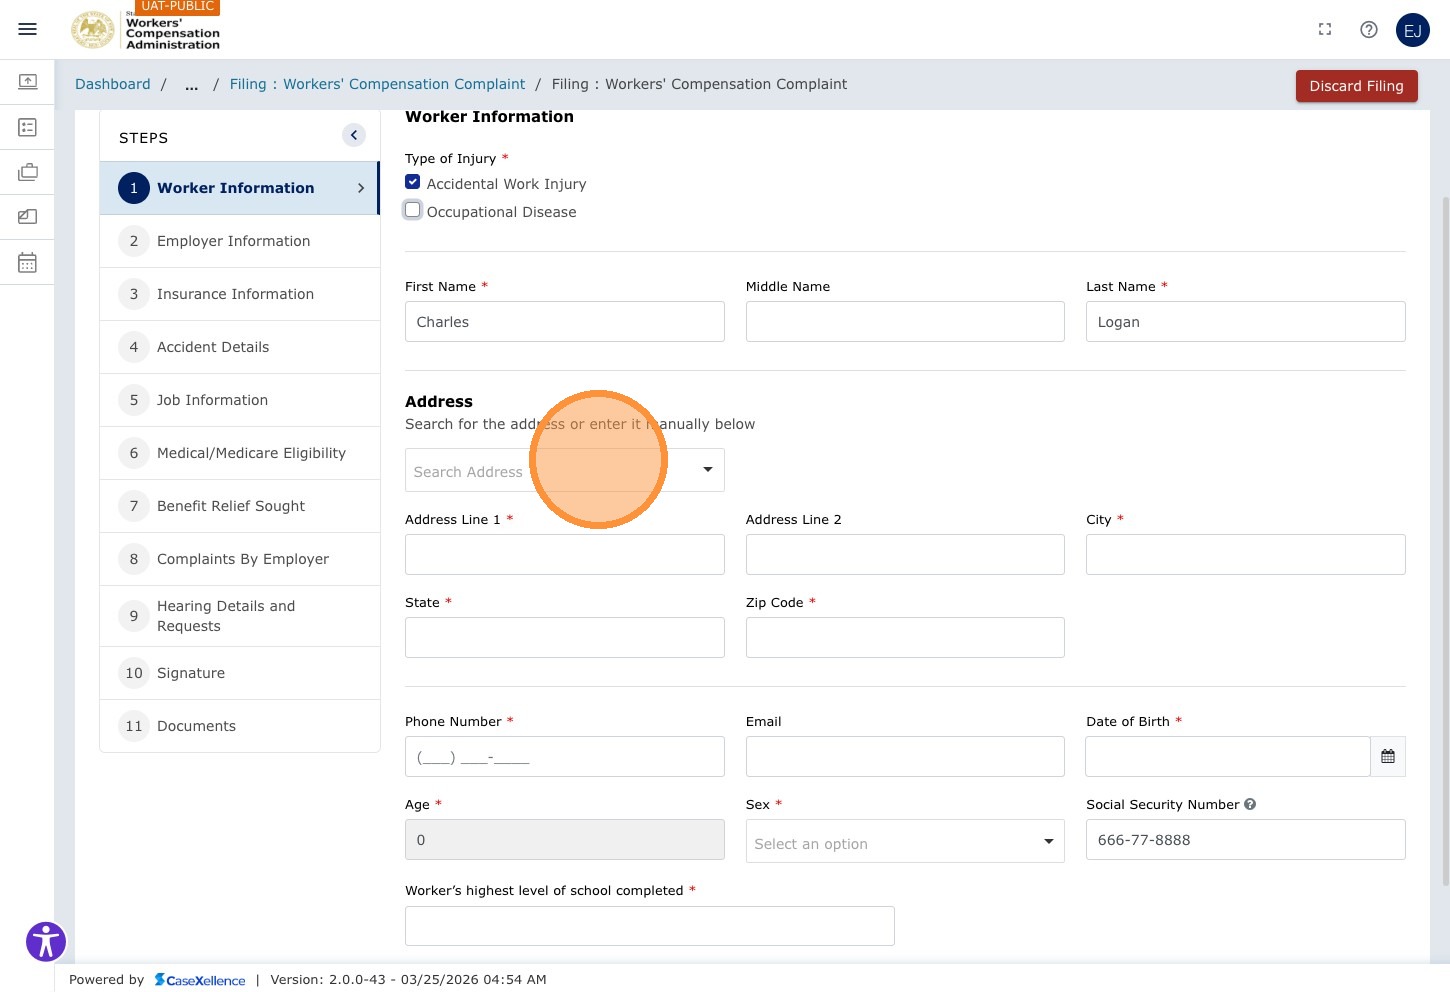
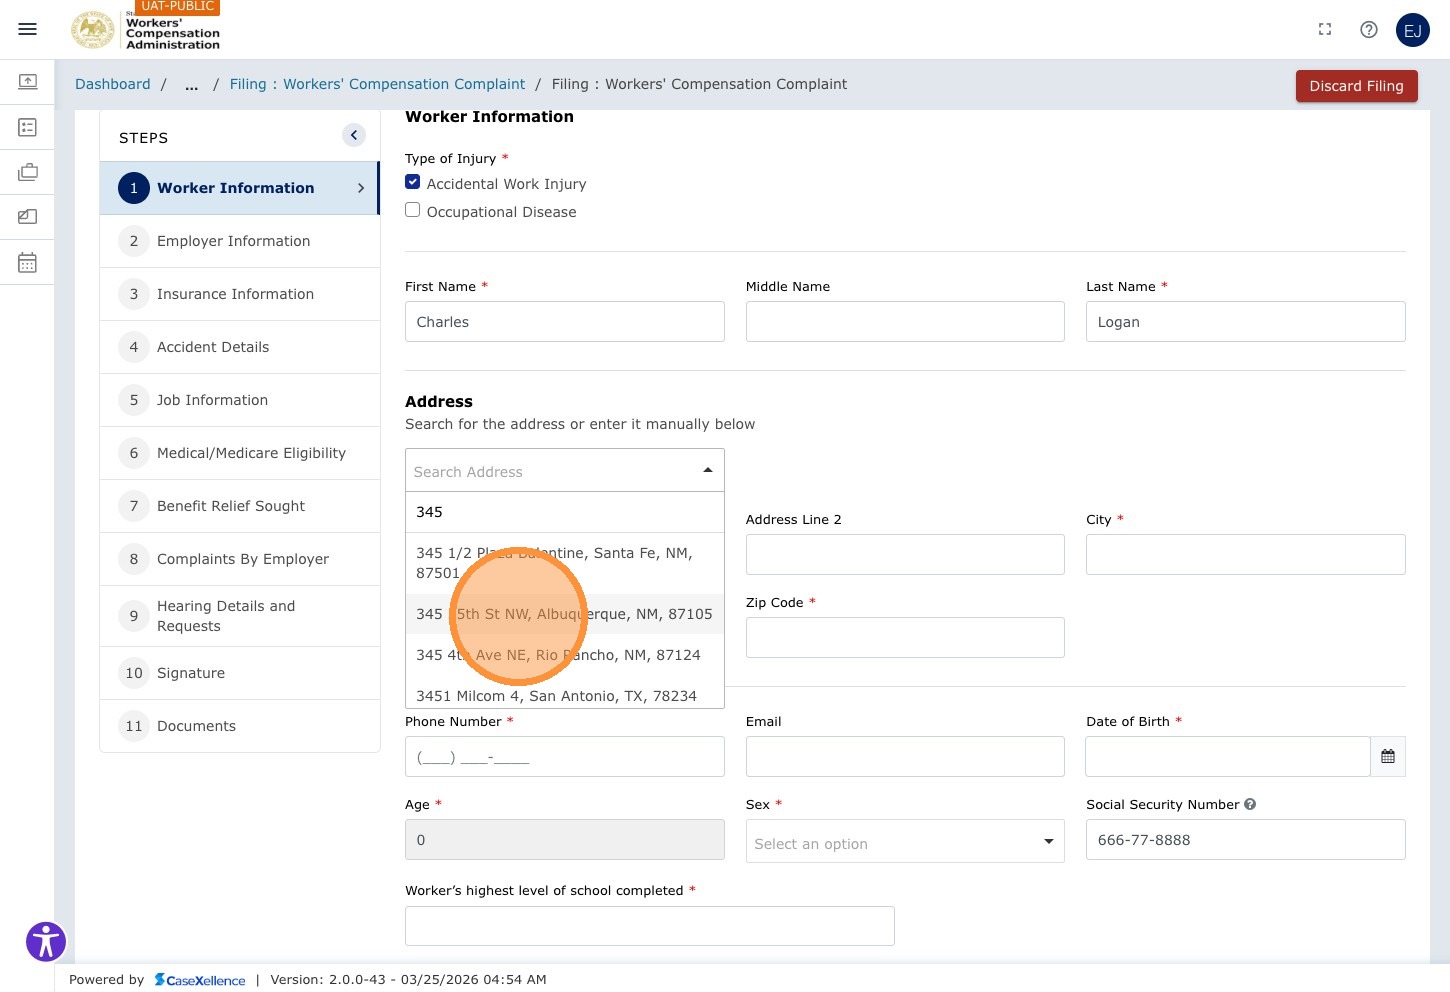
Step 10 — Enter the Worker's Address
Click Search Address and begin typing the worker's street address. Select the correct address from the auto-suggested results.
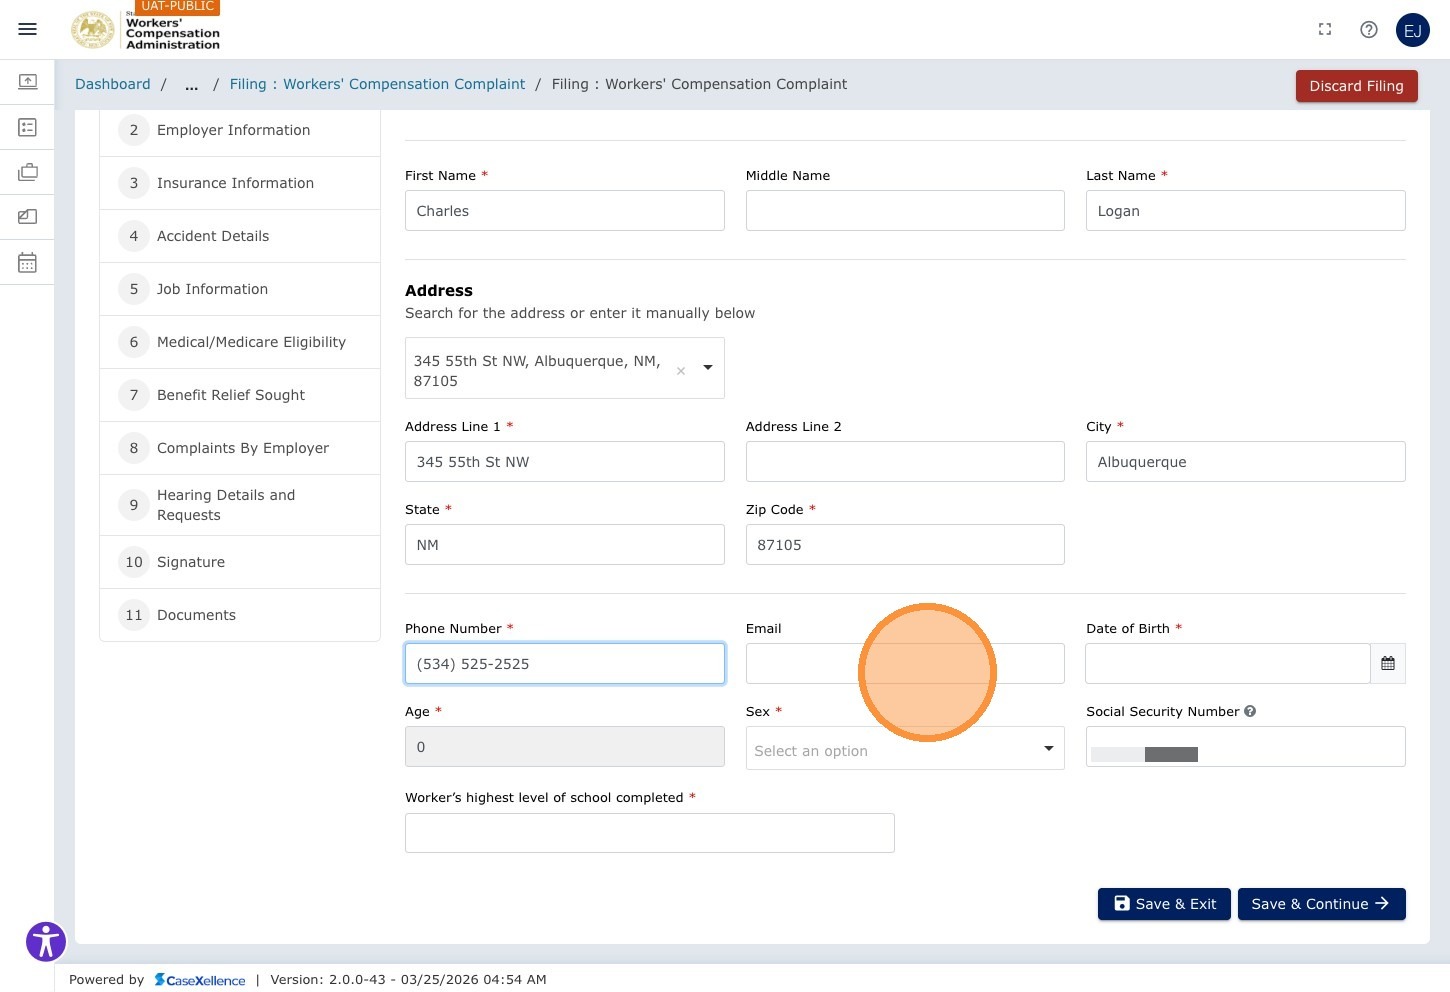
Step 11 — Enter Phone and Email
Click the Phone Number field and enter the worker's phone number (numeric only).

Click the Email field and enter the worker's email address.
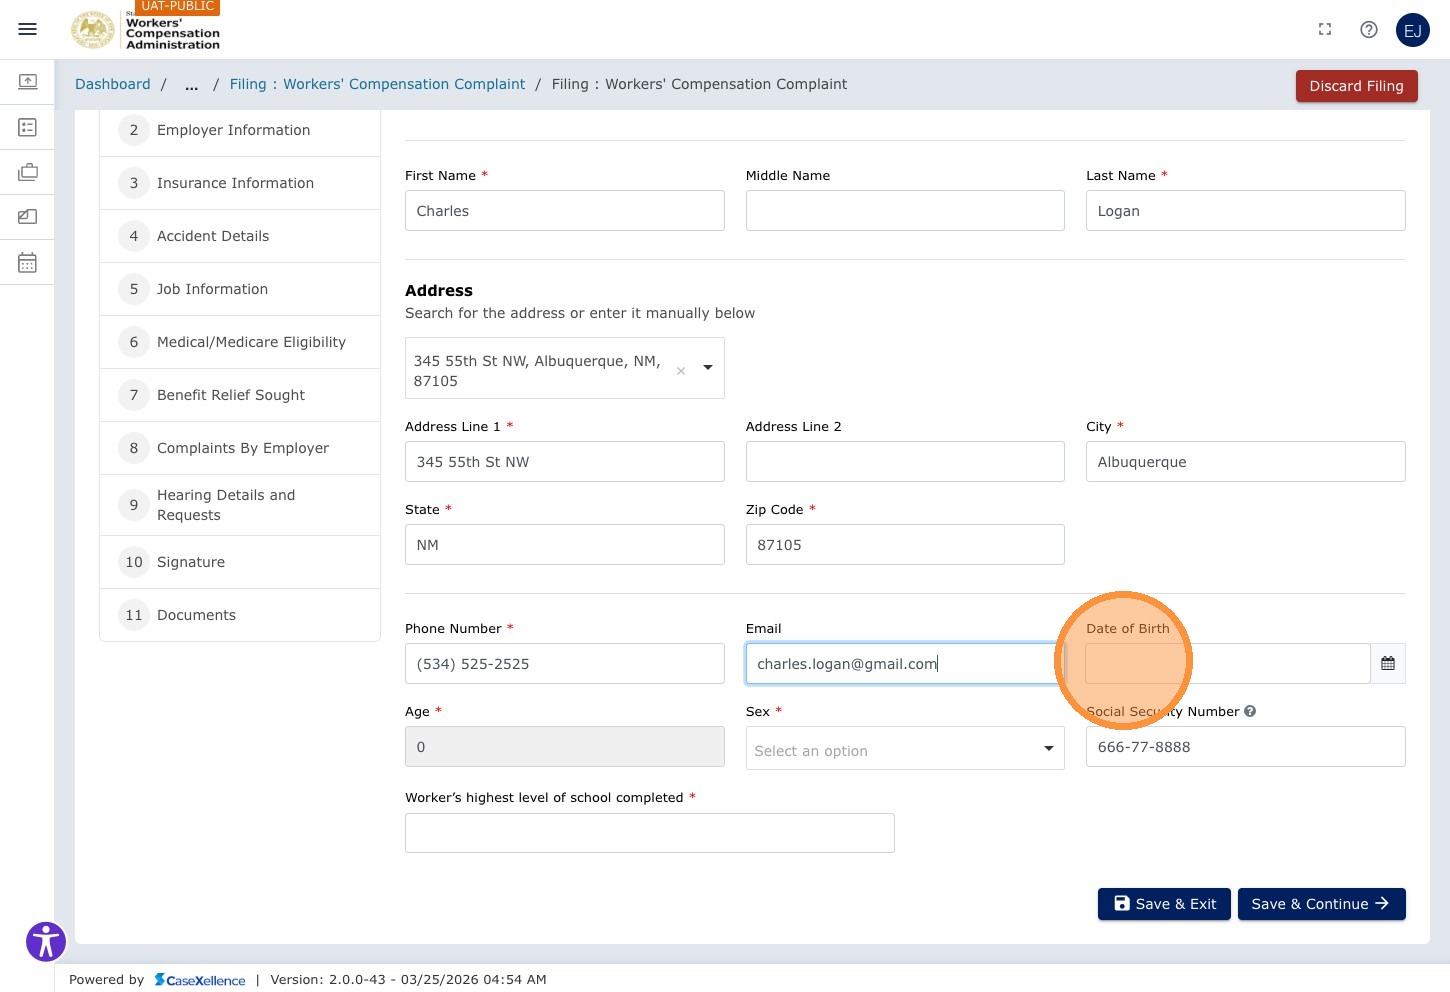
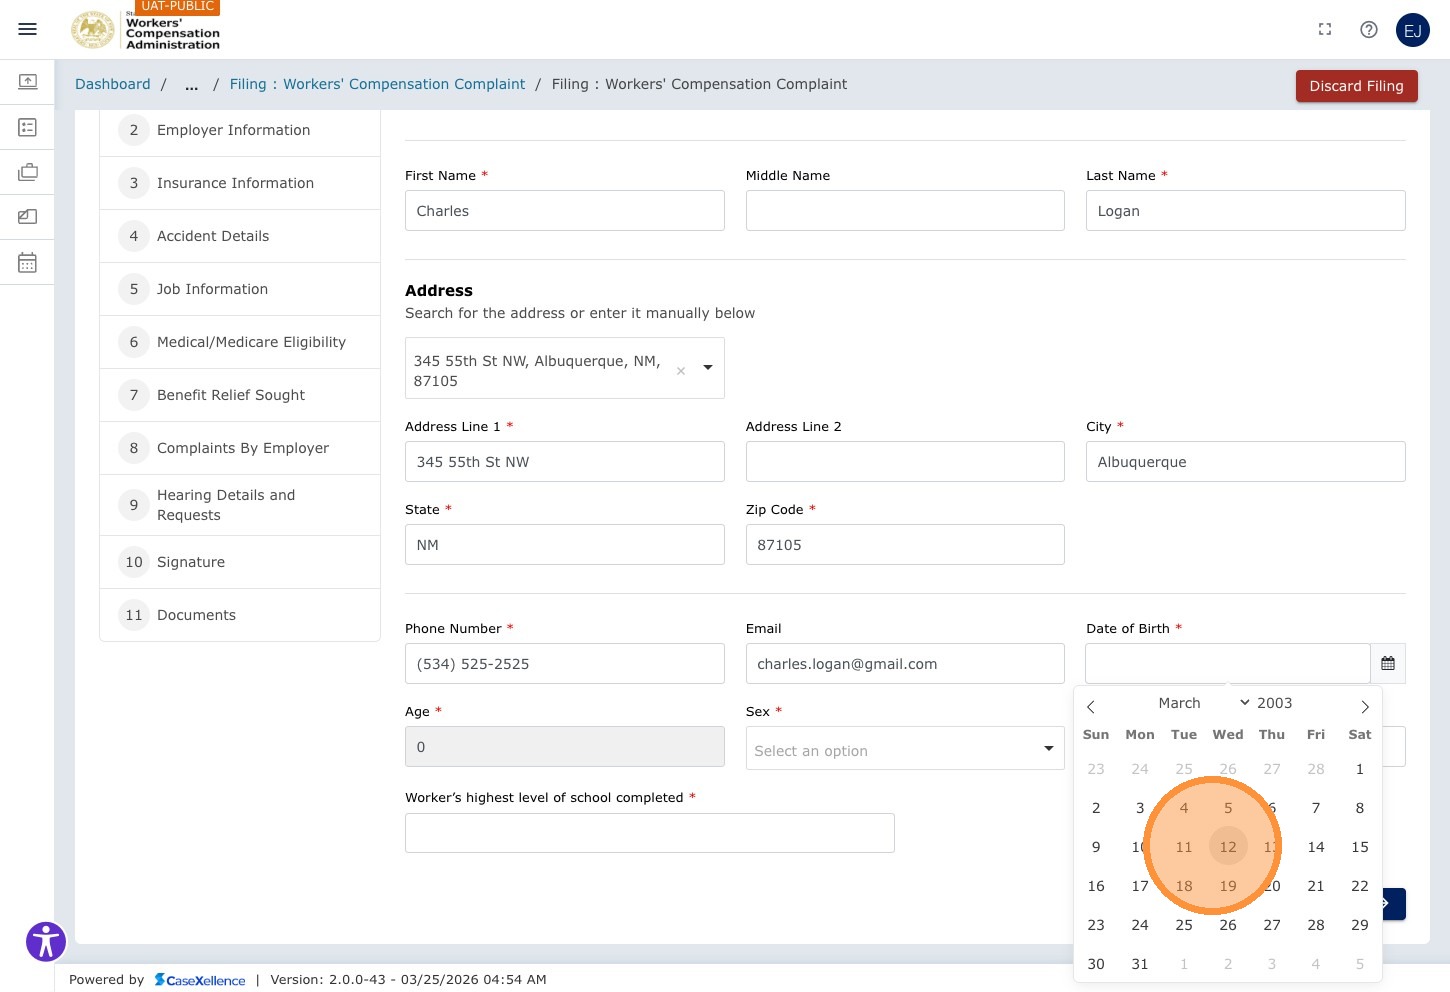
Step 12 — Enter Date of Birth
Click the Date of Birth calendar field and select the worker's date of birth.
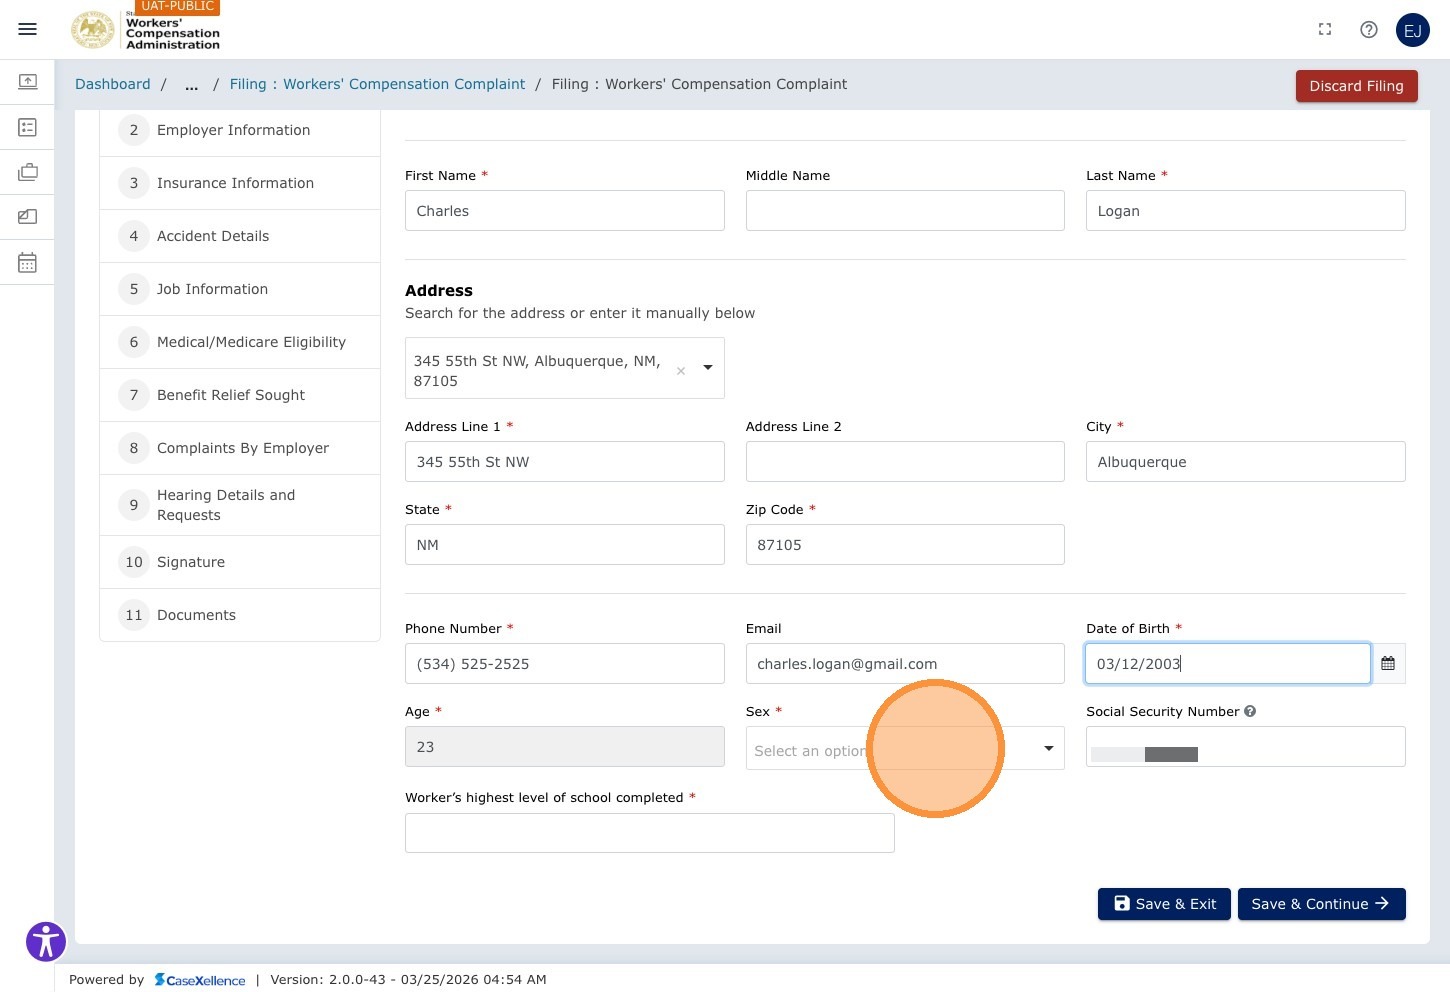
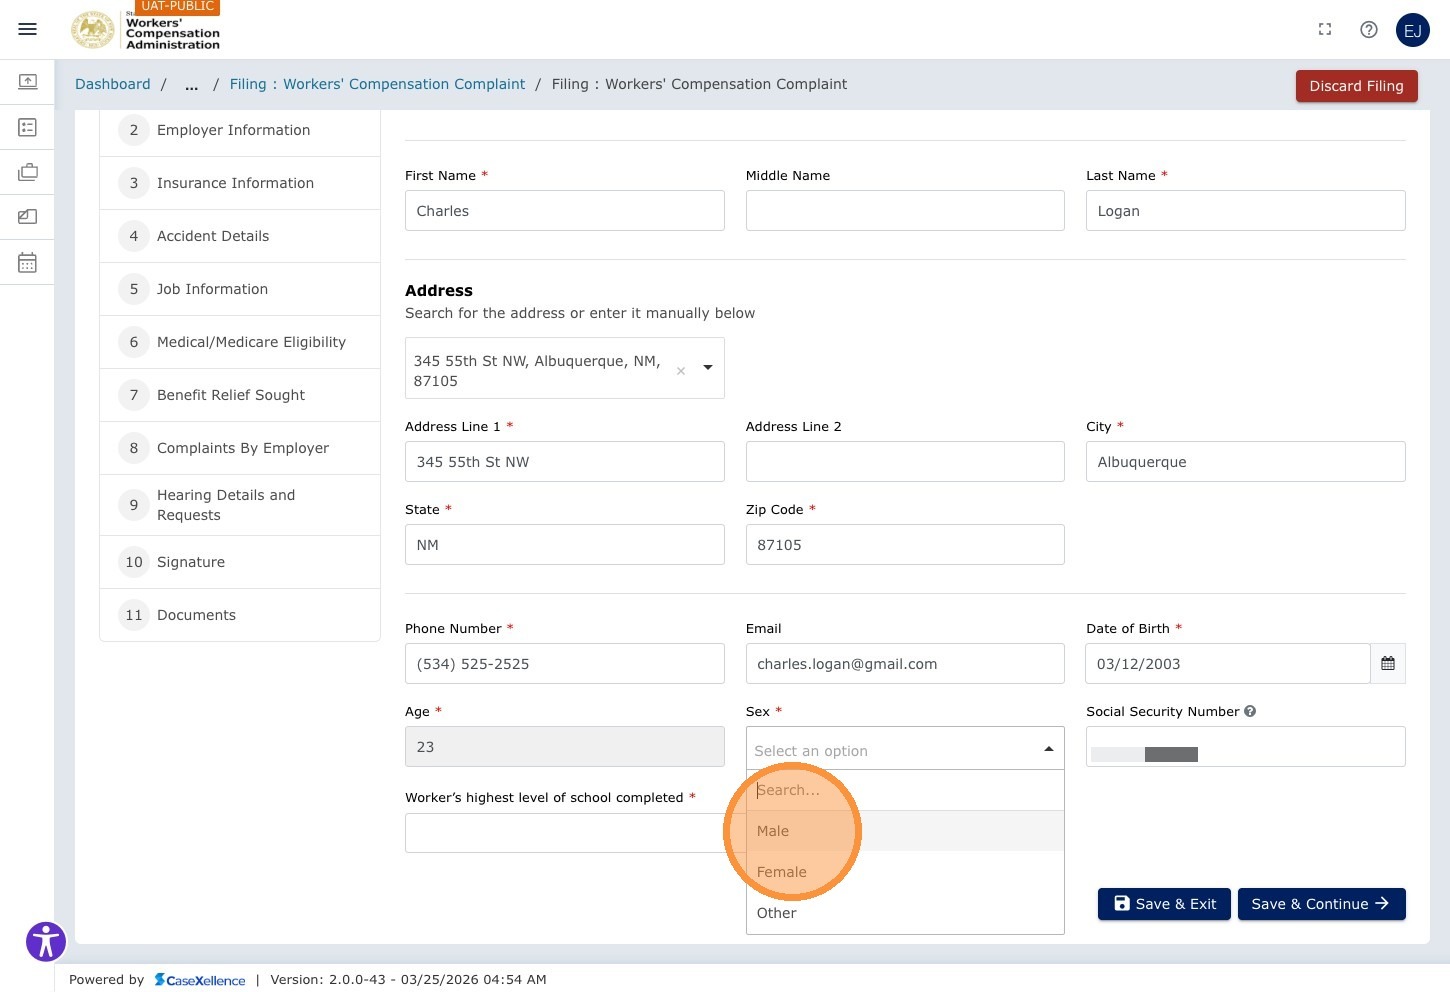
Step 13 — Select Gender
Click the Gender dropdown and select the applicable option.
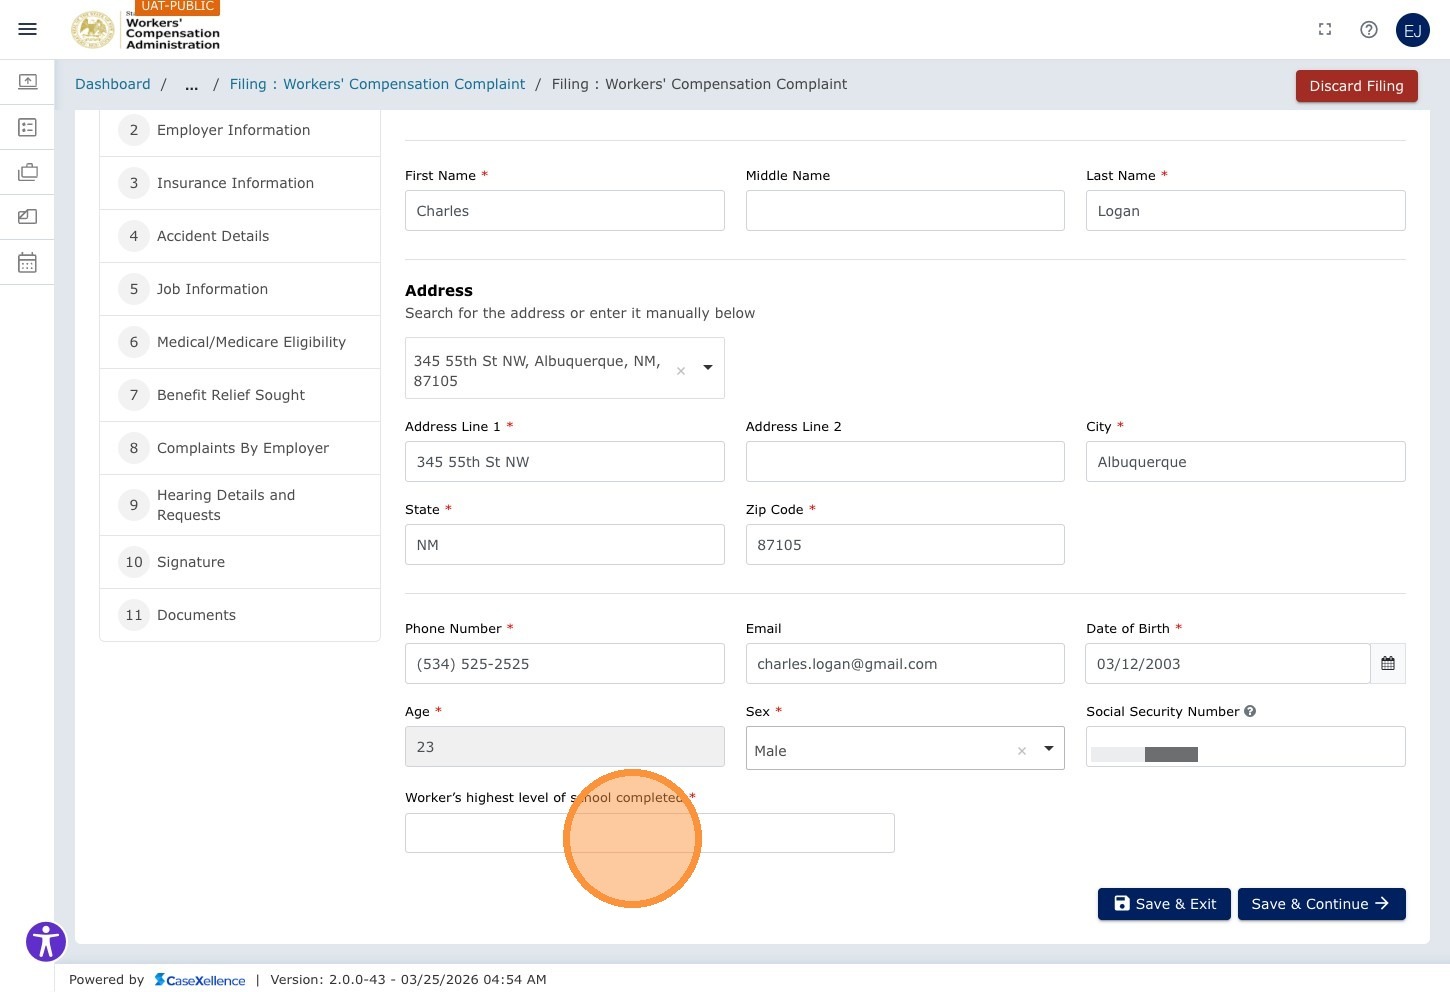
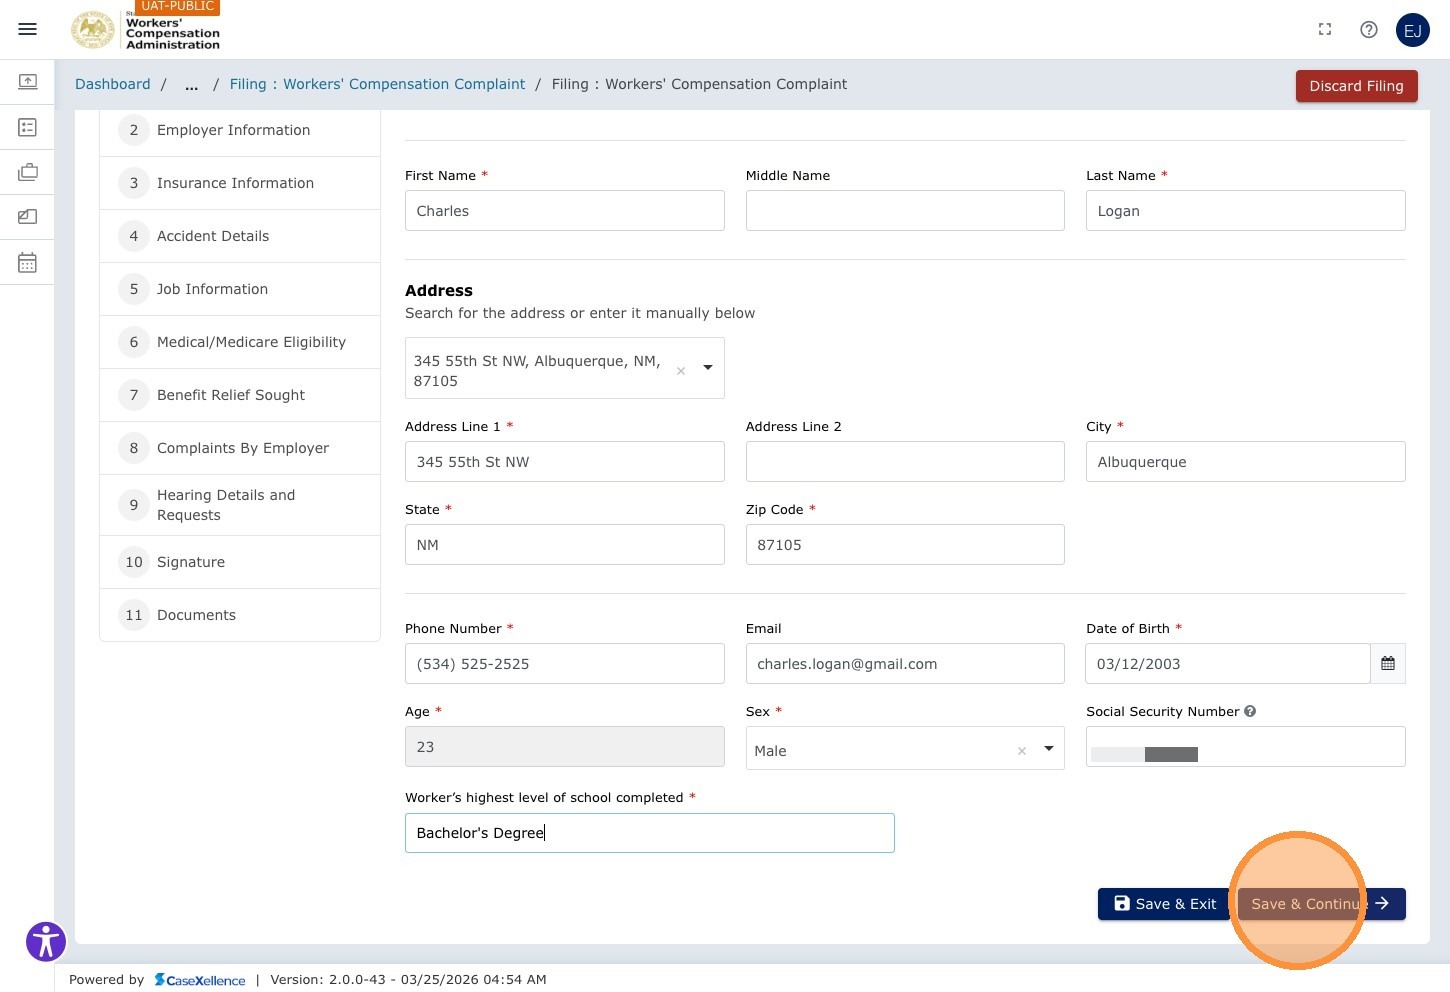
Step 14 — Enter Education Level
Click the Worker's highest level of school completed field and enter the applicable value.
Step 15 — Save and Continue
When all Worker Information fields are complete, click Save & Continue →.
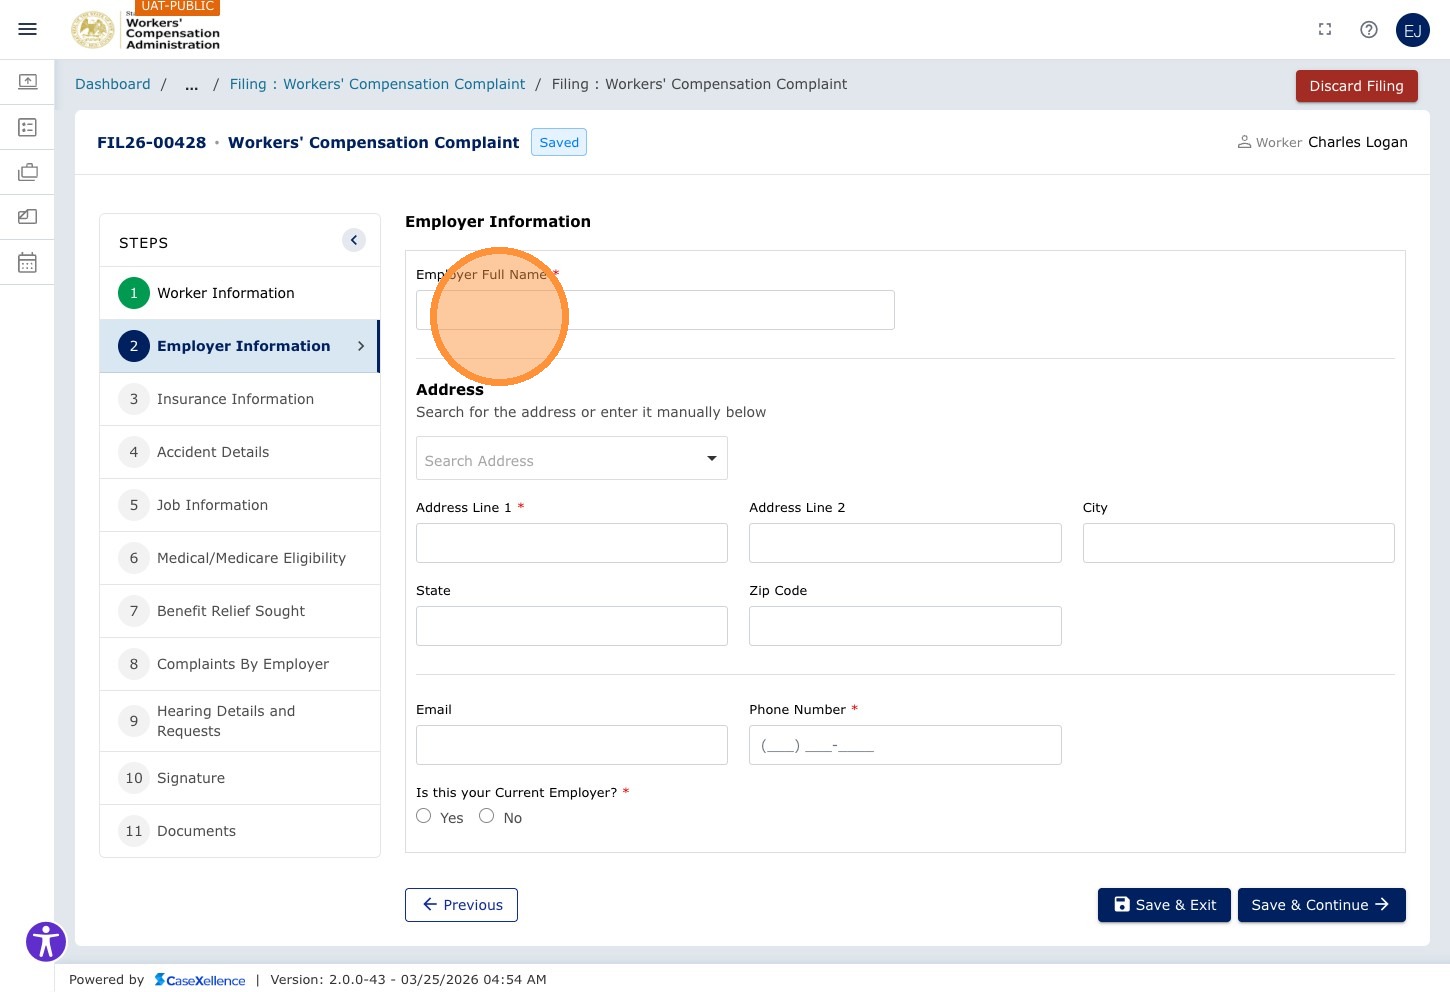
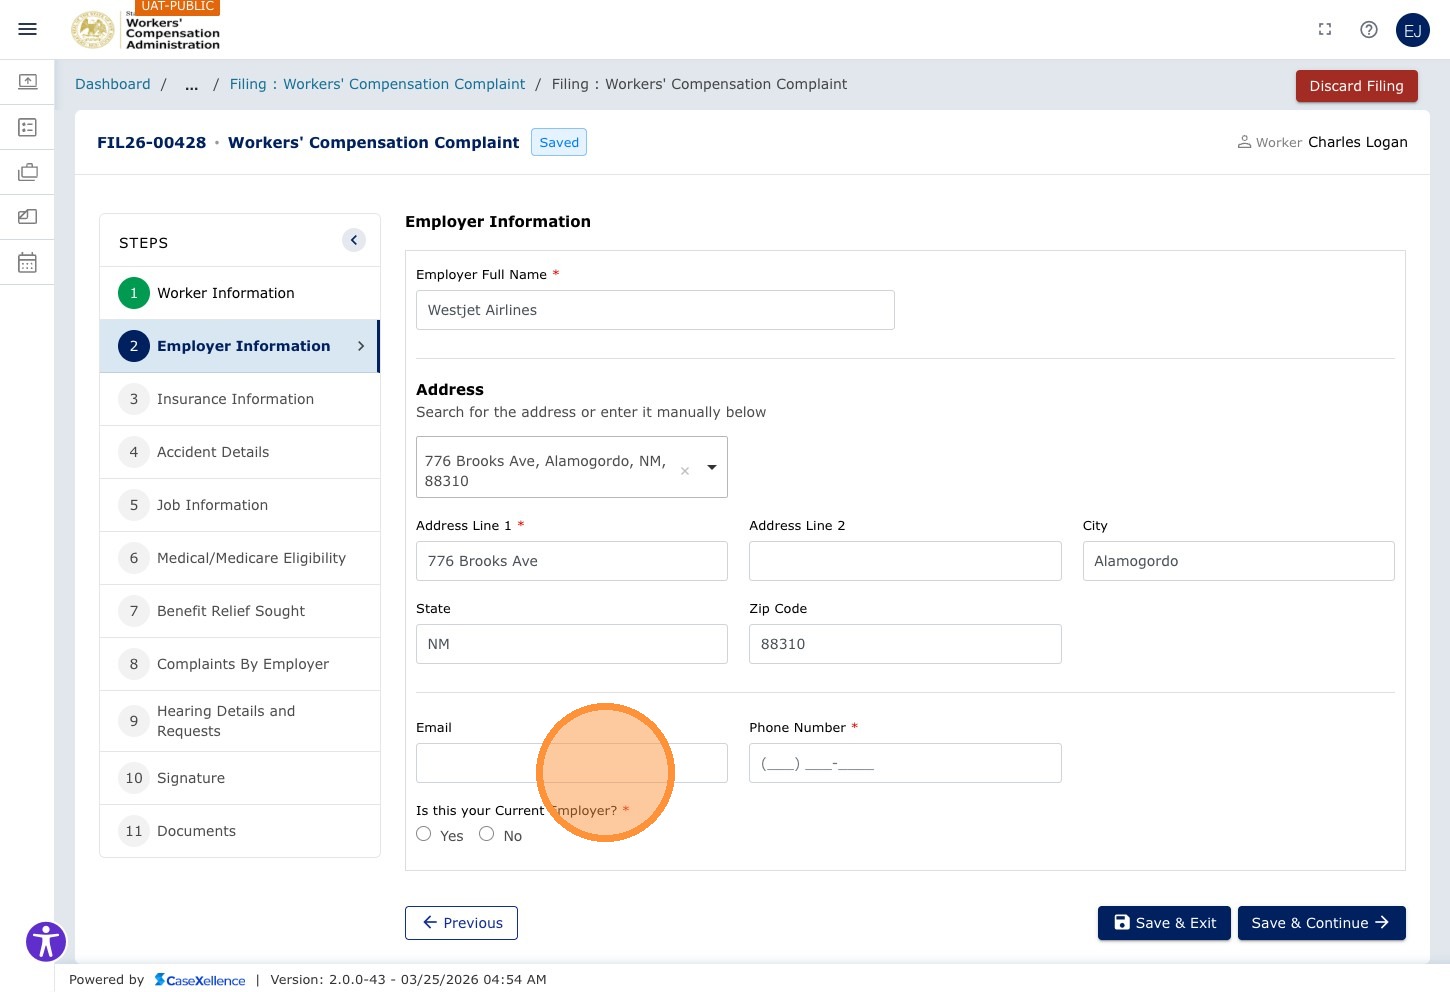
Chapter 2 — Employer Information
Fields in this chapter include: Employer Full Name, Address Search, Address Line 1, Address Line 2, City, State, ZIP Code, Phone, Email, and Is this your Current Employer? (Yes or No). Click Save & Continue when the section is complete.
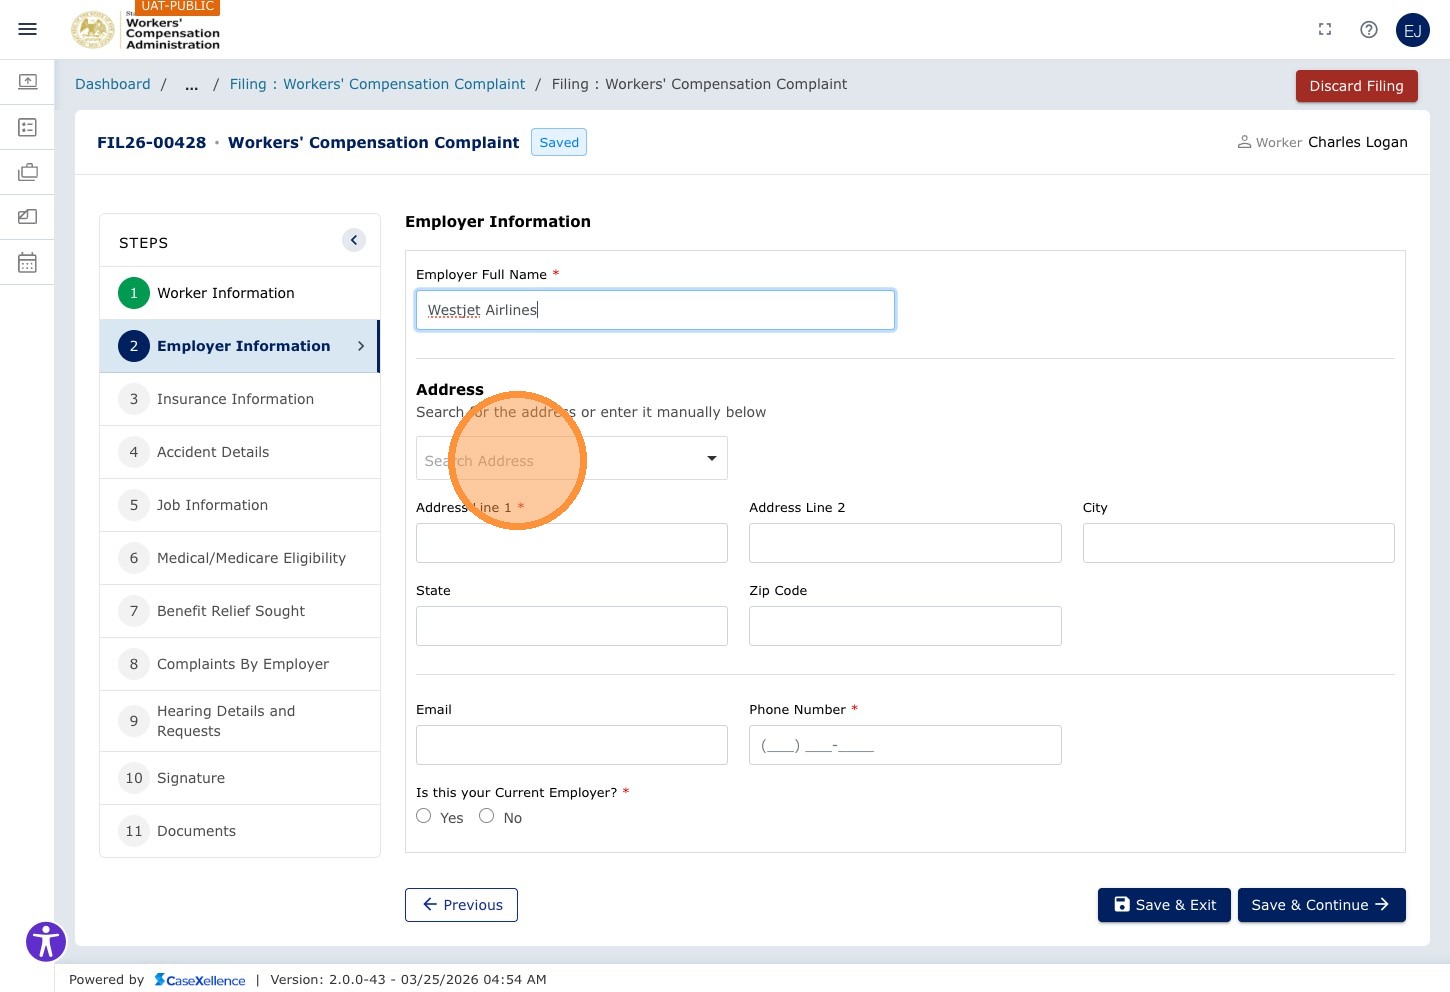
Step 16 — Enter Employer Name and Address
Click the Employer Full Name field and enter the employer's legal name.
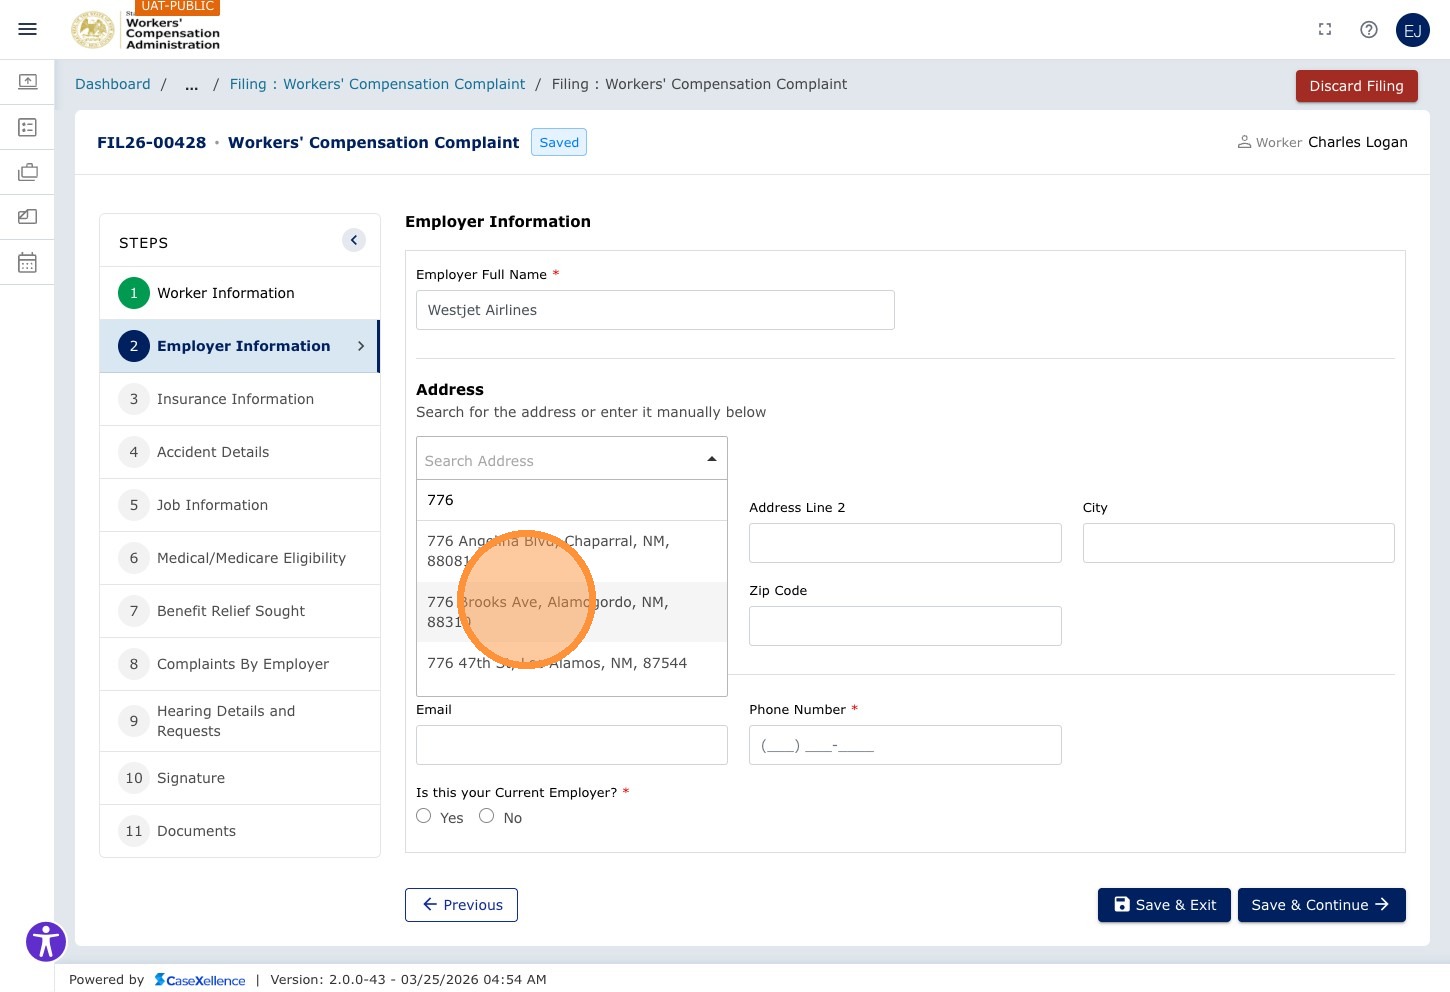
Click Search Address and type the employer's street address to find and select the full address from the autocomplete list.
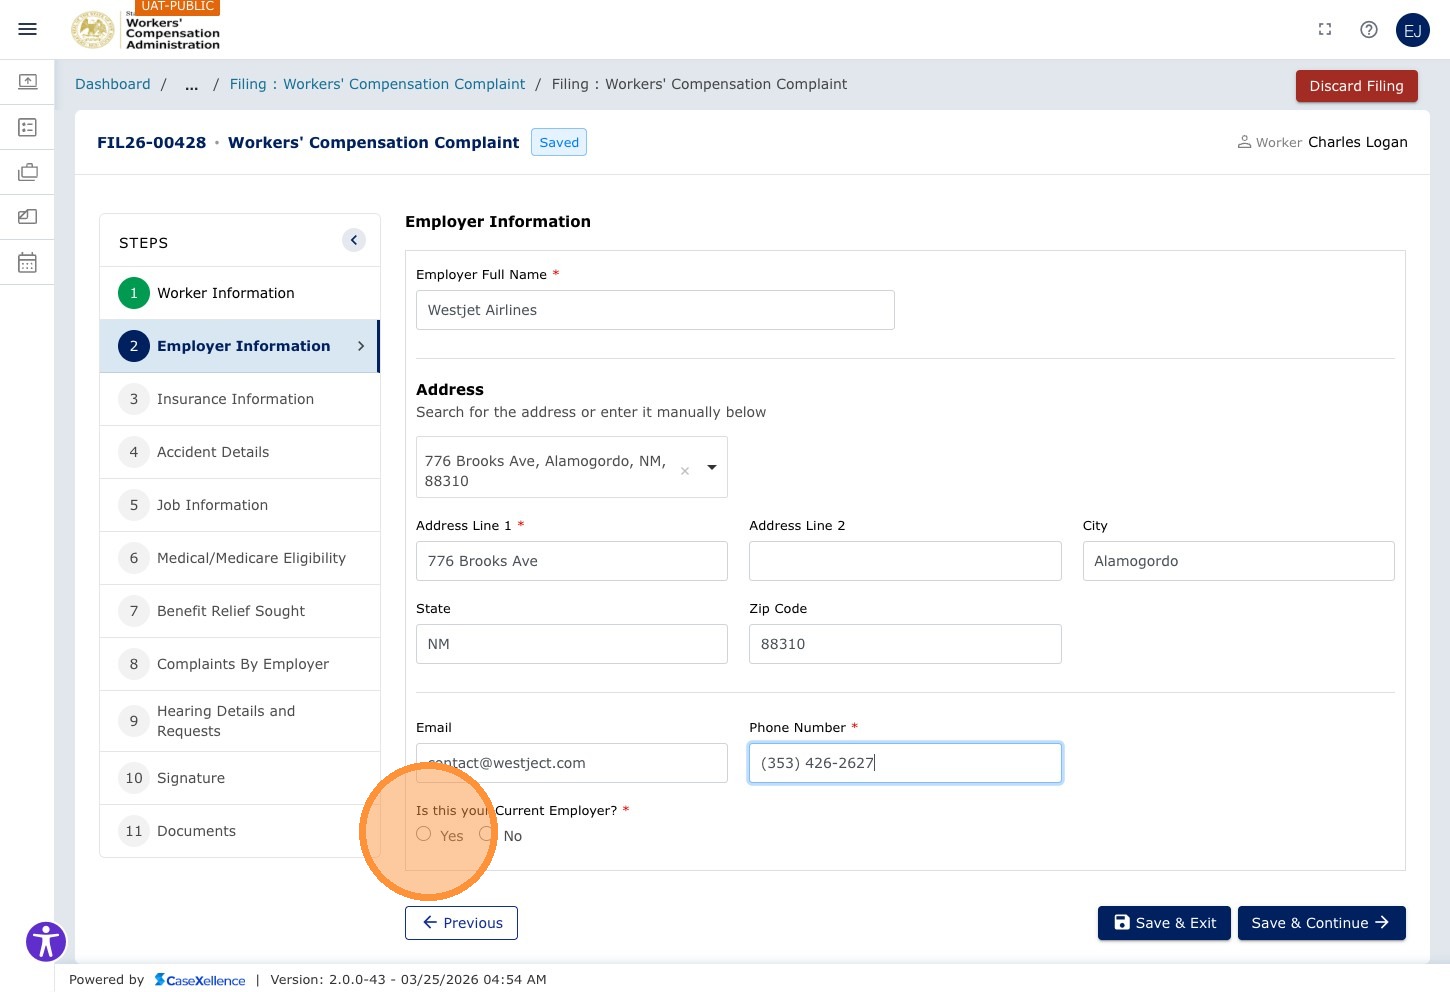
Step 17 — Enter Employer Contact Details
Click the Email field and enter the employer's email address, then Tab to enter the phone number.
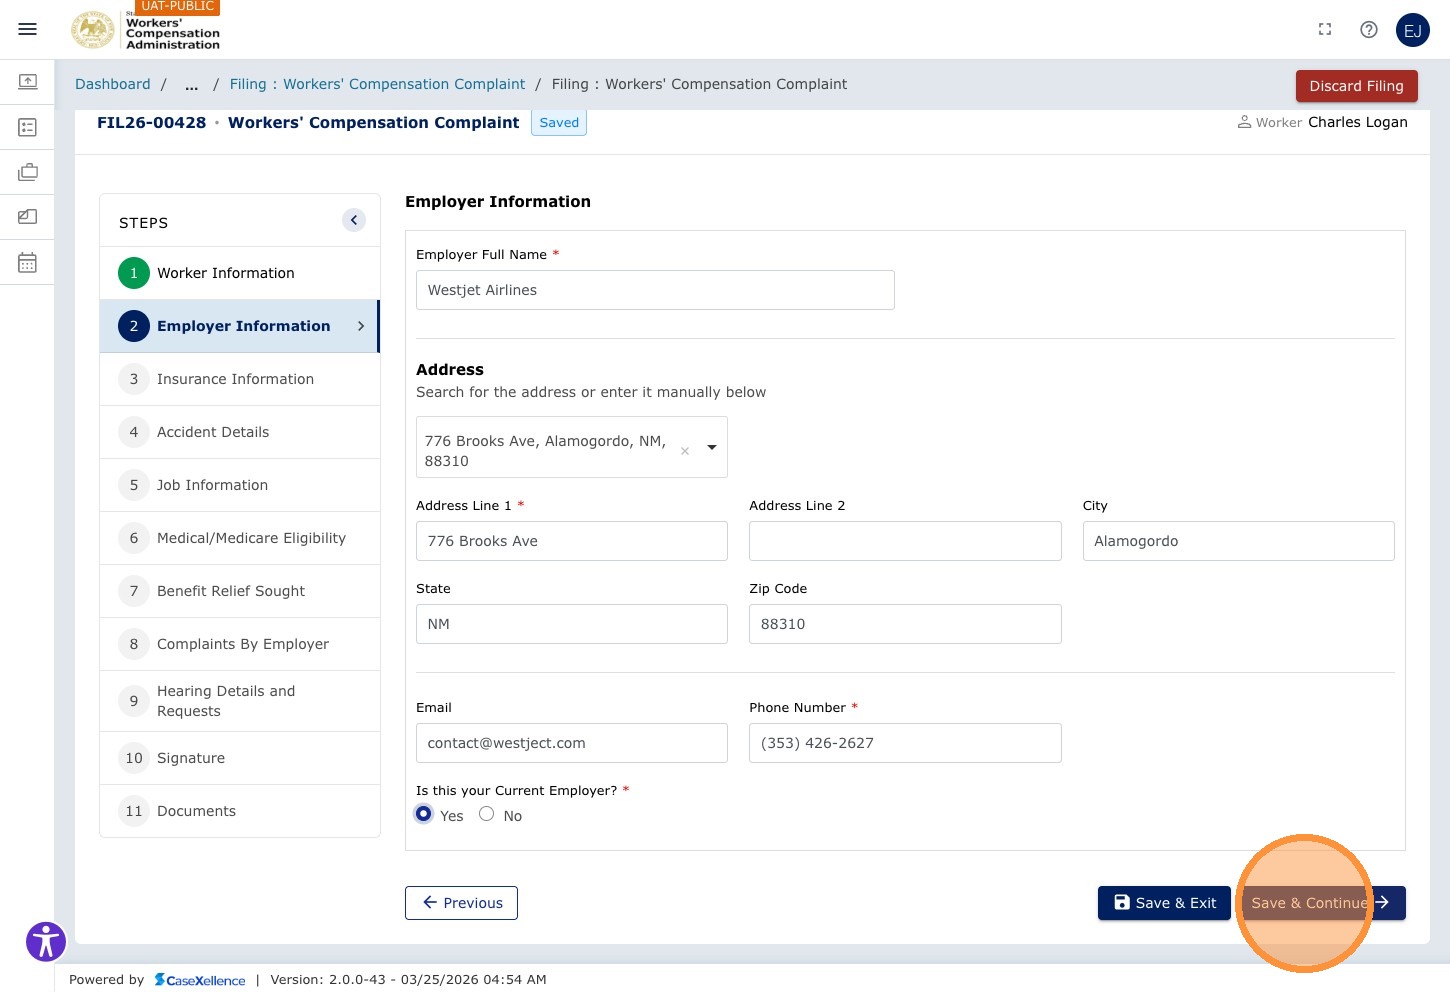
Step 18 — Confirm Employer is Insured
Select Yes to confirm the employer is insured (or No if applicable).
Step 19 — Save and Continue
Click Save & Continue → to proceed to the Insurer chapter.
Chapter 3 — Insurance / Carrier Information
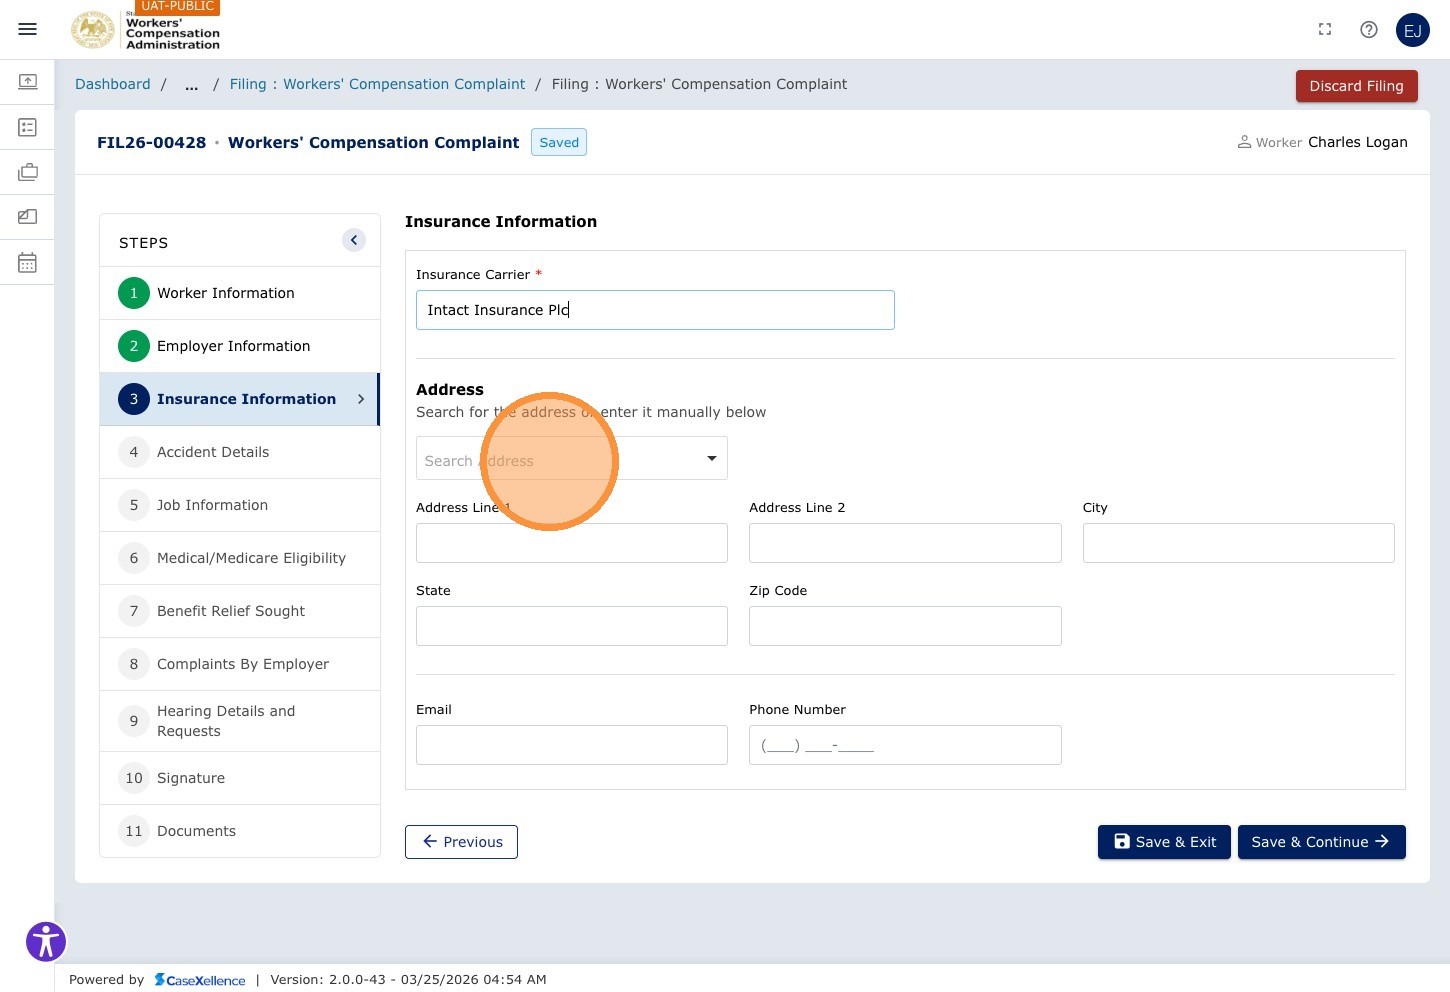
Fields in this chapter include: Insurance Carrier, Address Search, Address Line 1, Address Line 2, City, State, ZIP Code, Email, and Phone Number. Click Save & Continue when you are done.
Step 20 — Enter Insurance Carrier Details
Click the Insurance Carrier field and enter the carrier name.
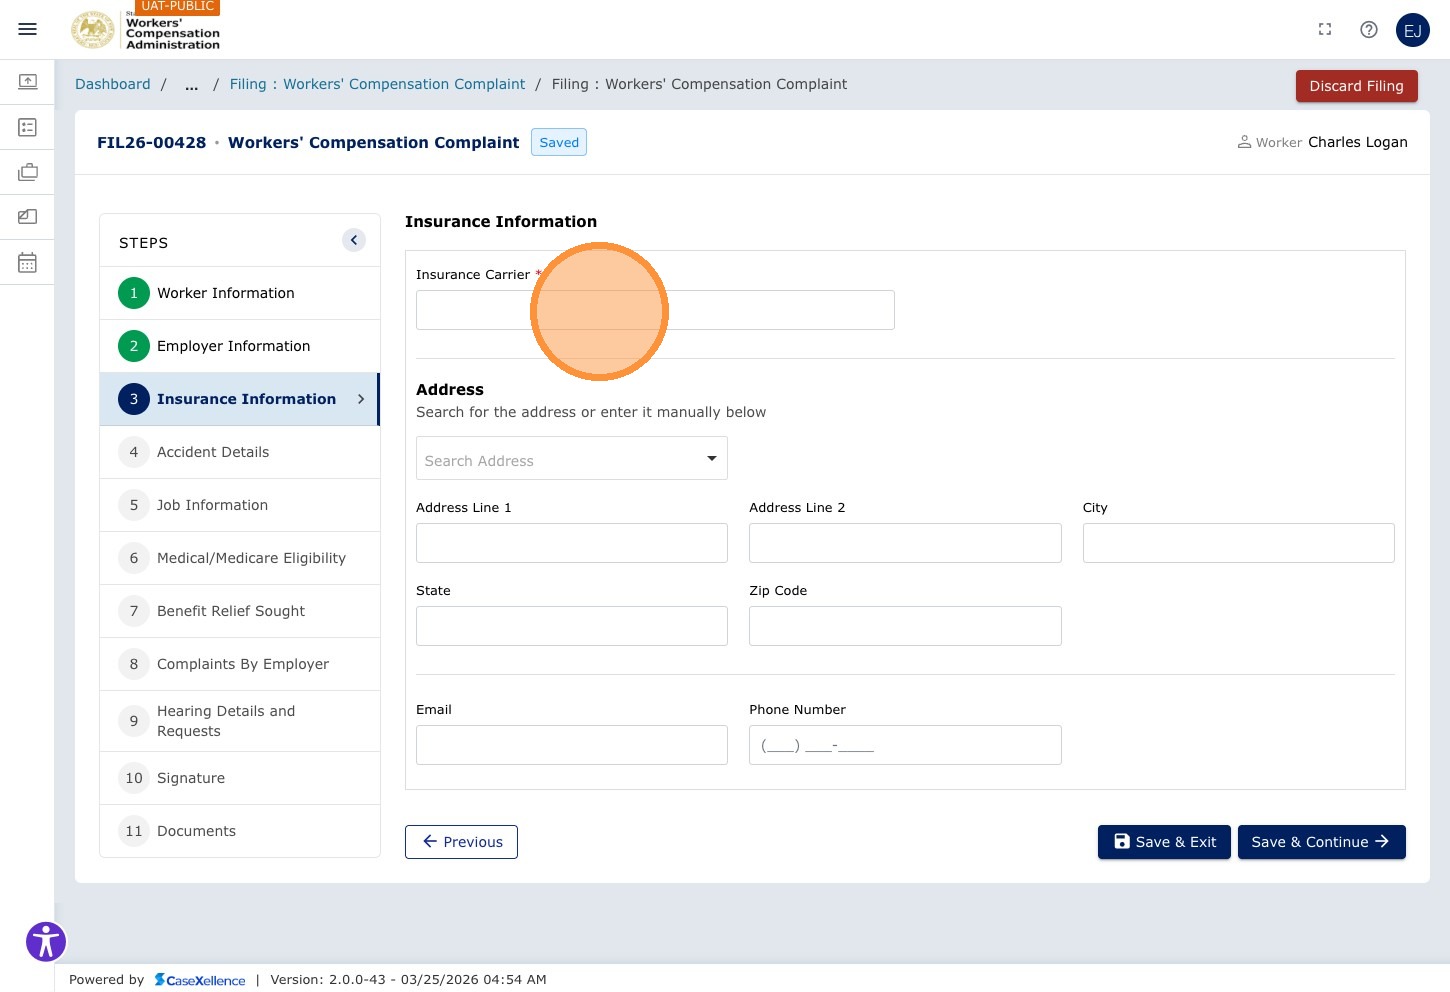
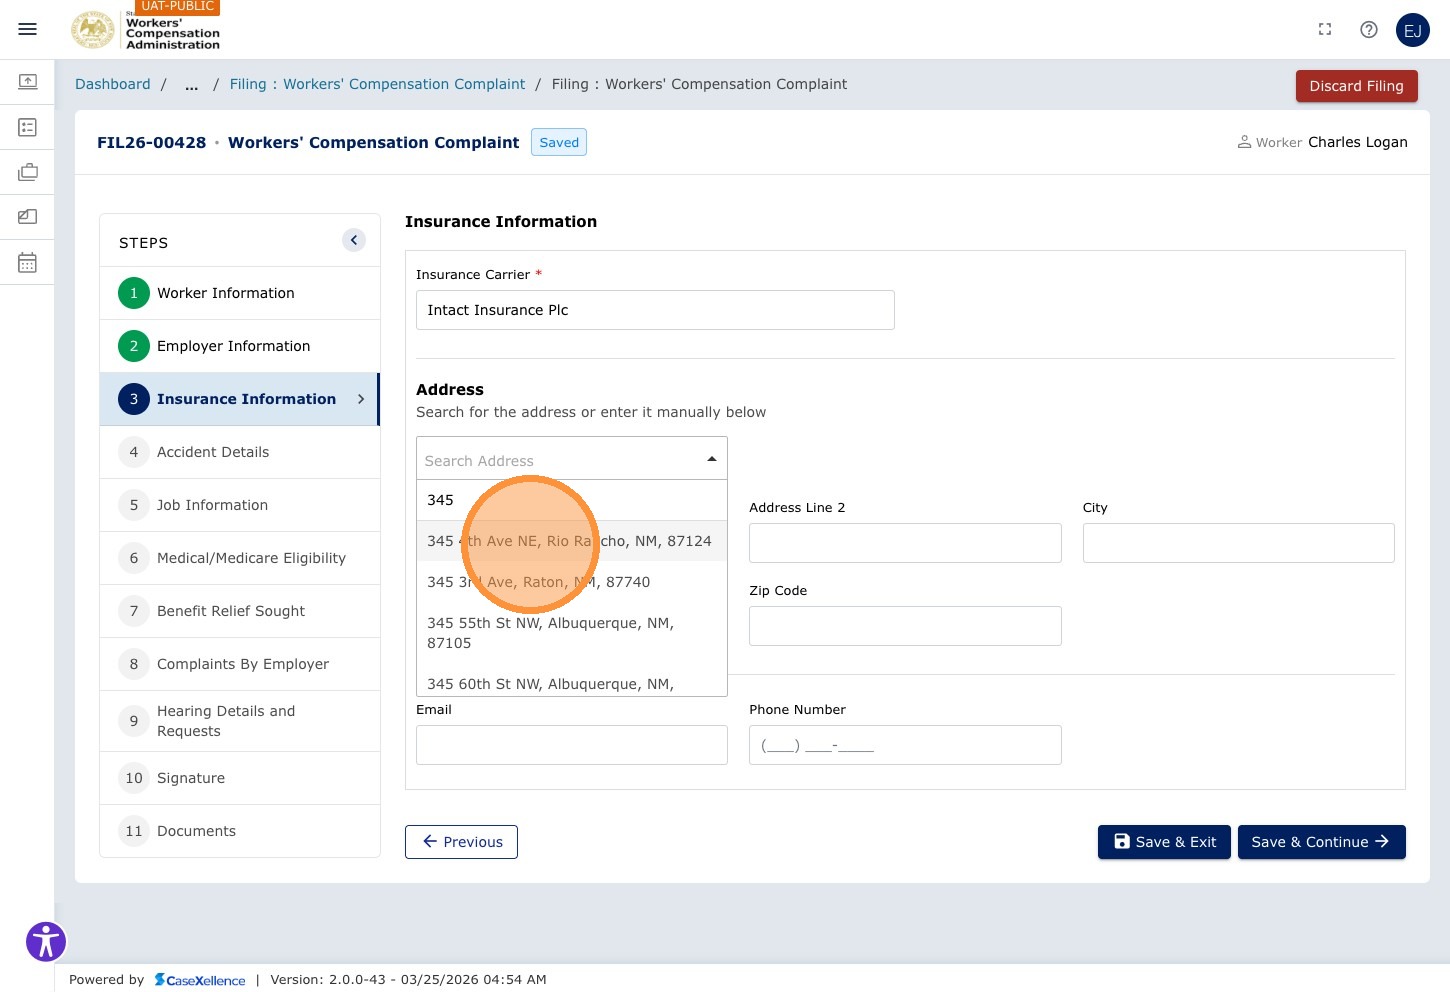
Click Search Address and enter the carrier's street address to find and select the full address.
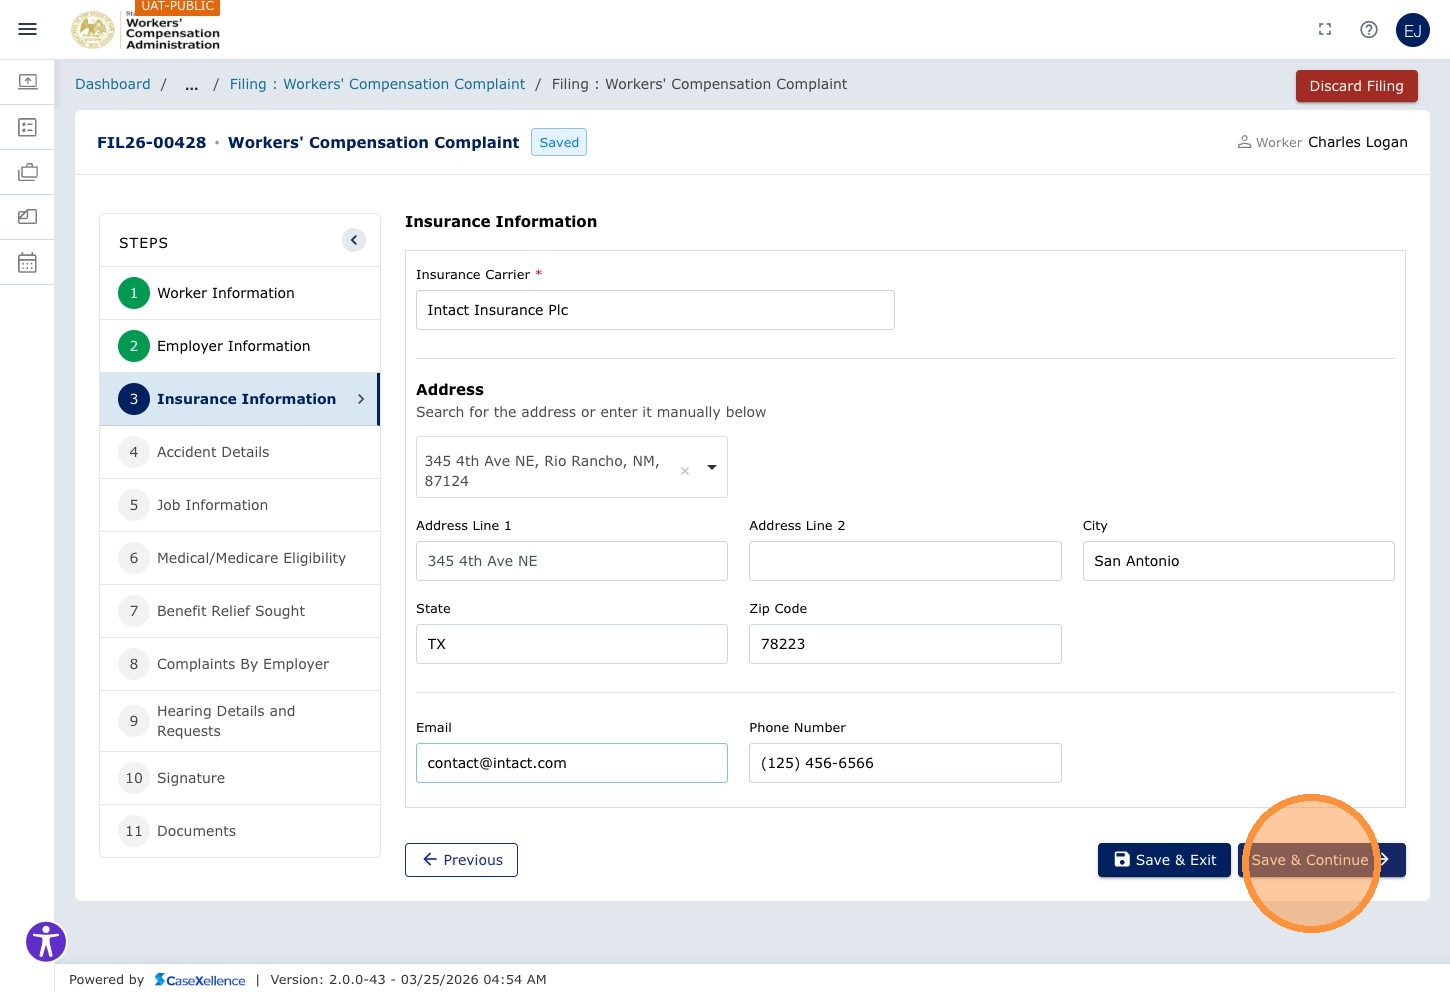
Step 21 — Enter Carrier Email
Click the Email field and enter the insurance carrier's email address.

Step 22 — Save and Continue
Click Save & Continue →.
Accident, Job, and Healthcare Provider Information
The following chapters collect accident details, employment information, and medical / healthcare provider information. Accident and job fields include: Date of Injury, City of Accident, Nature of Injury, Part(s) of Body Injured, First Date Unable to Work, How Did the Accident Occur?, Worker's Job at the Time of the Accident, Average Weekly Wage, and Weekly Compensation Rate (some fields appear in Chapter 4 — Accident Details, Chapter 5 — Employment Details, and Chapter 6 — Medical Information).
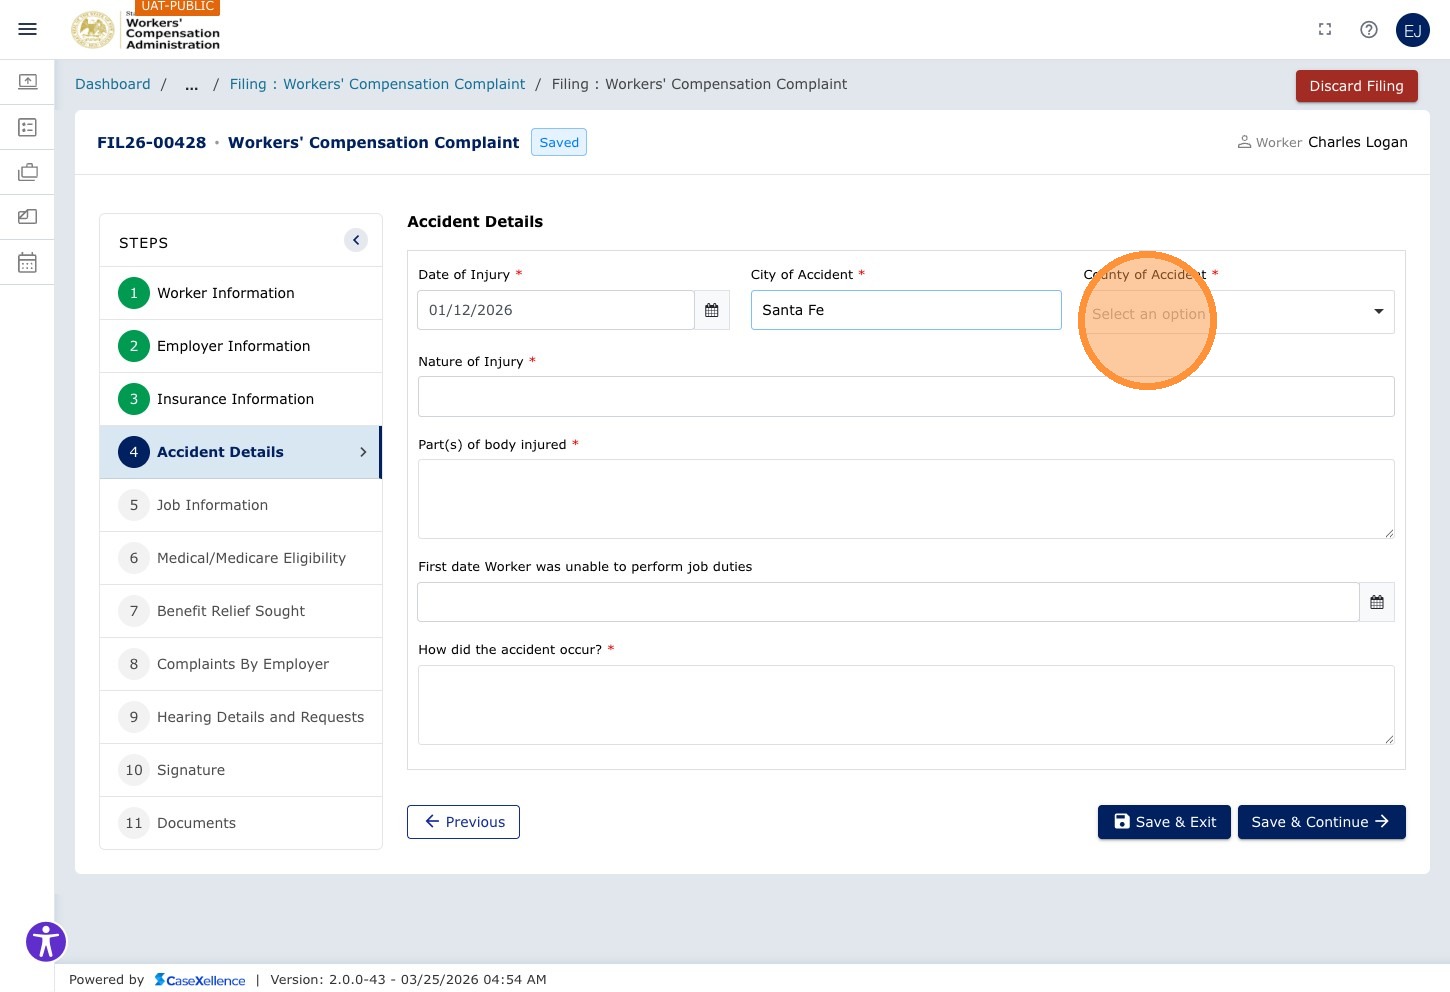
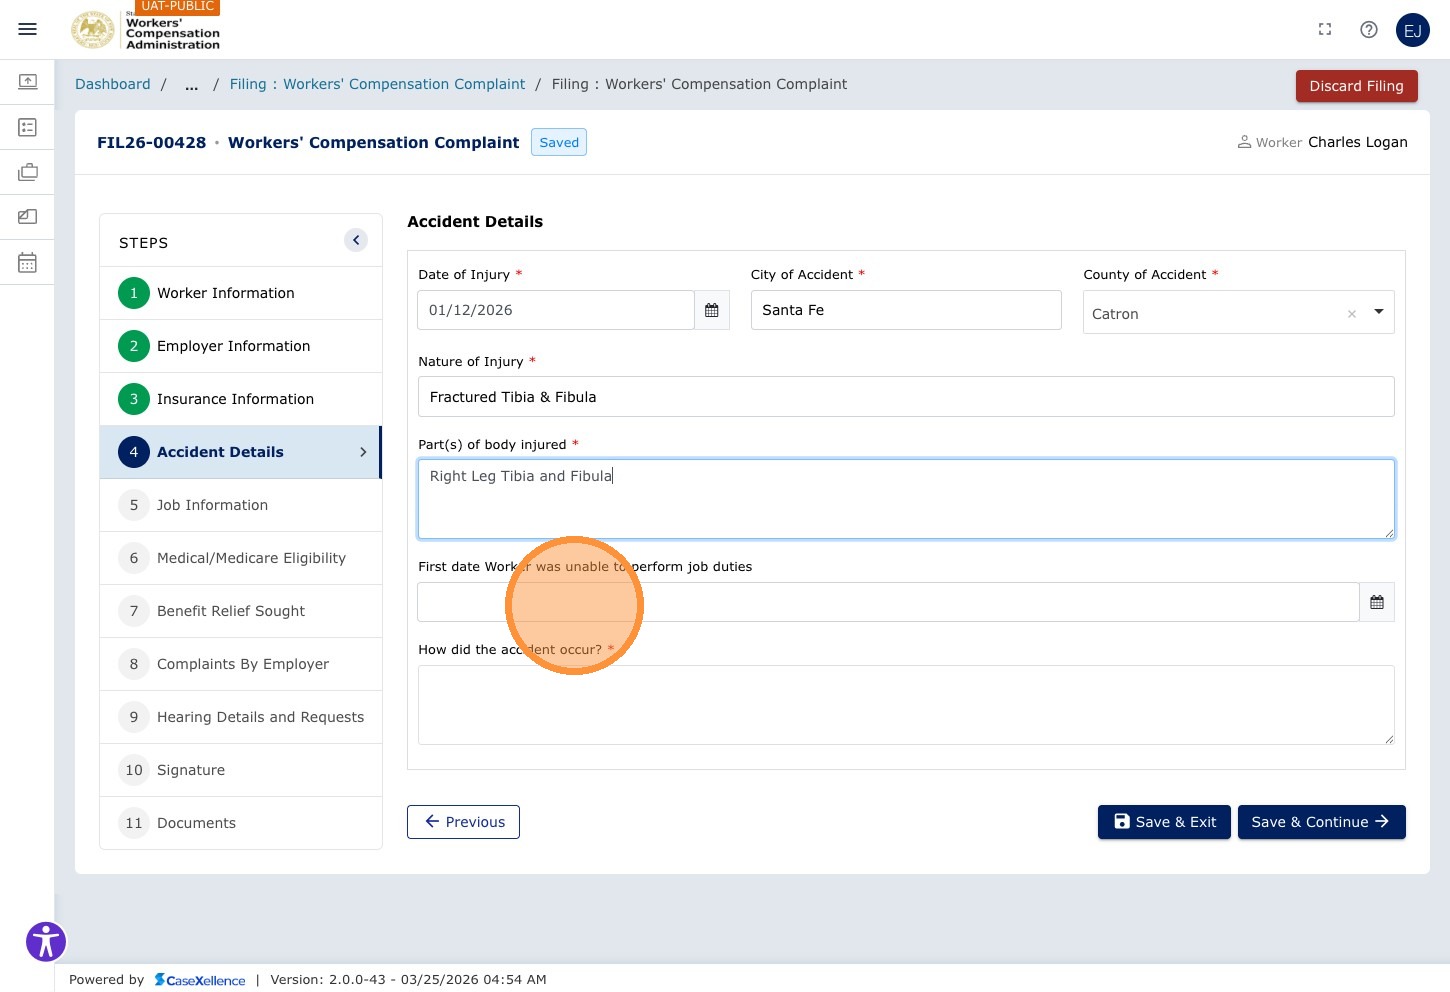
Chapter 4 — Accident Details
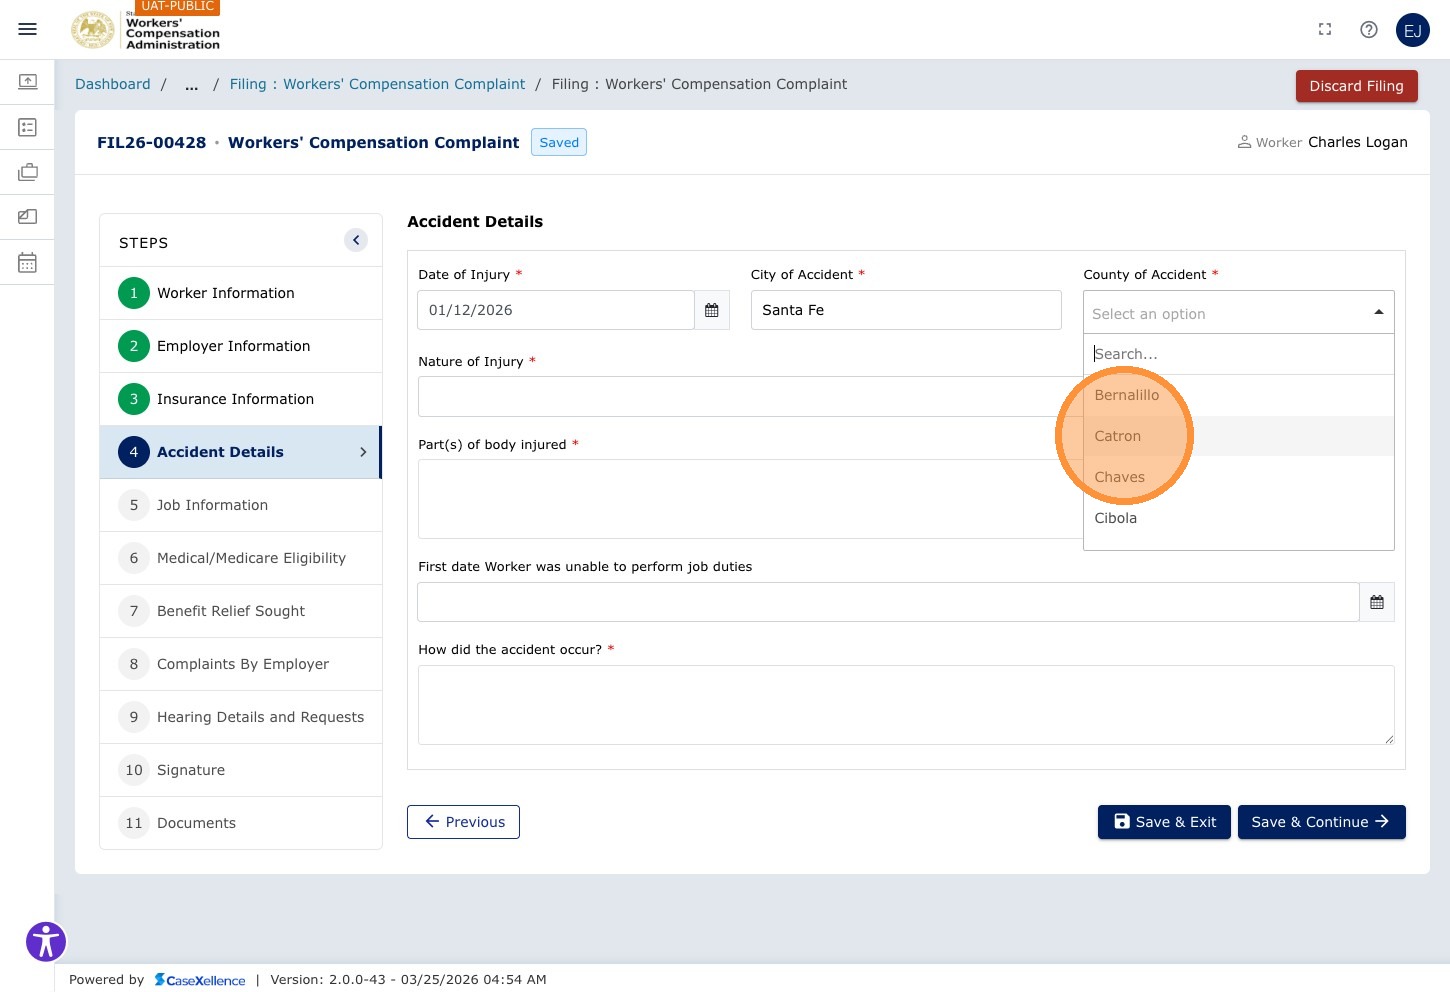
Step 23 — Enter City and County of Accident
Click the City of Accident field and enter the city where the accident occurred.
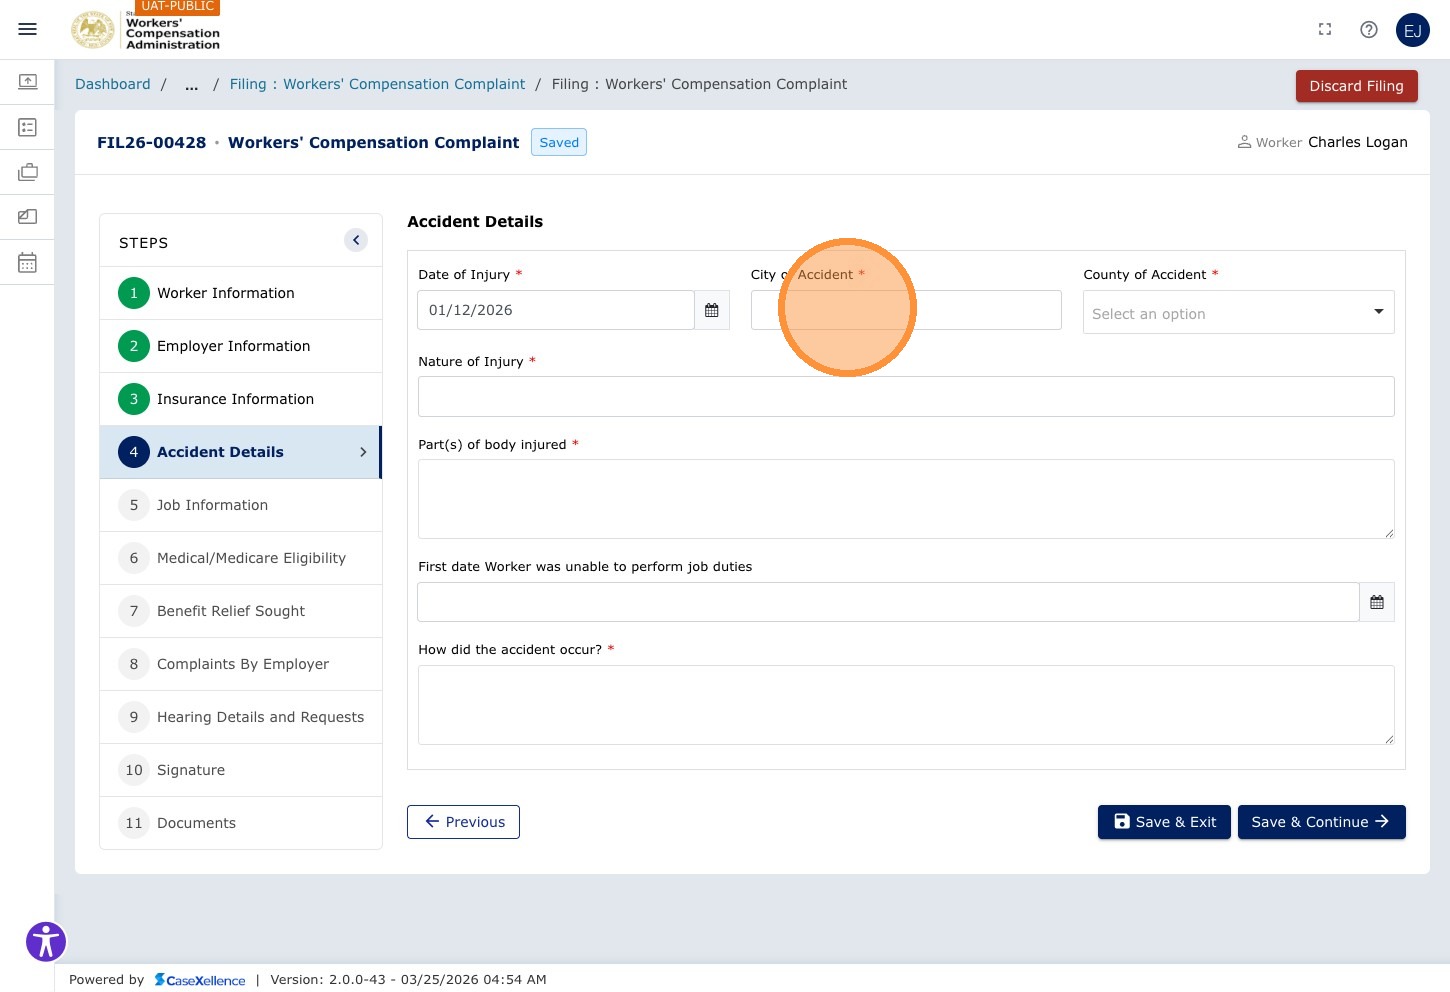
Click the County dropdown and select the county.
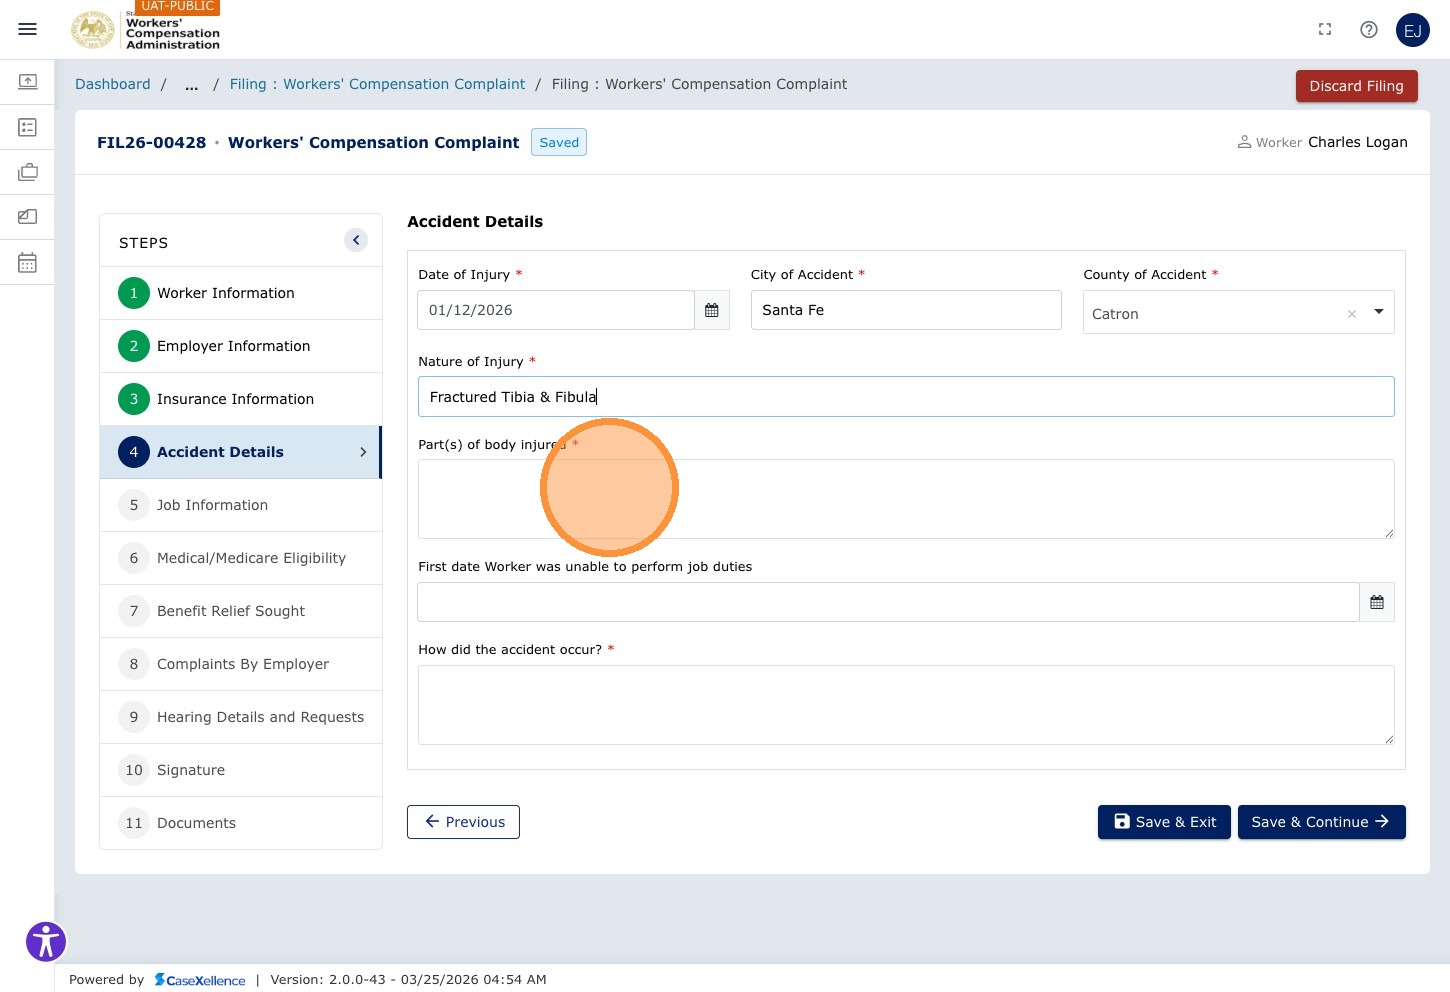
Step 24 — Enter Nature of Injury and Body Parts
Click the Nature of Injury field and describe the nature of the injury.
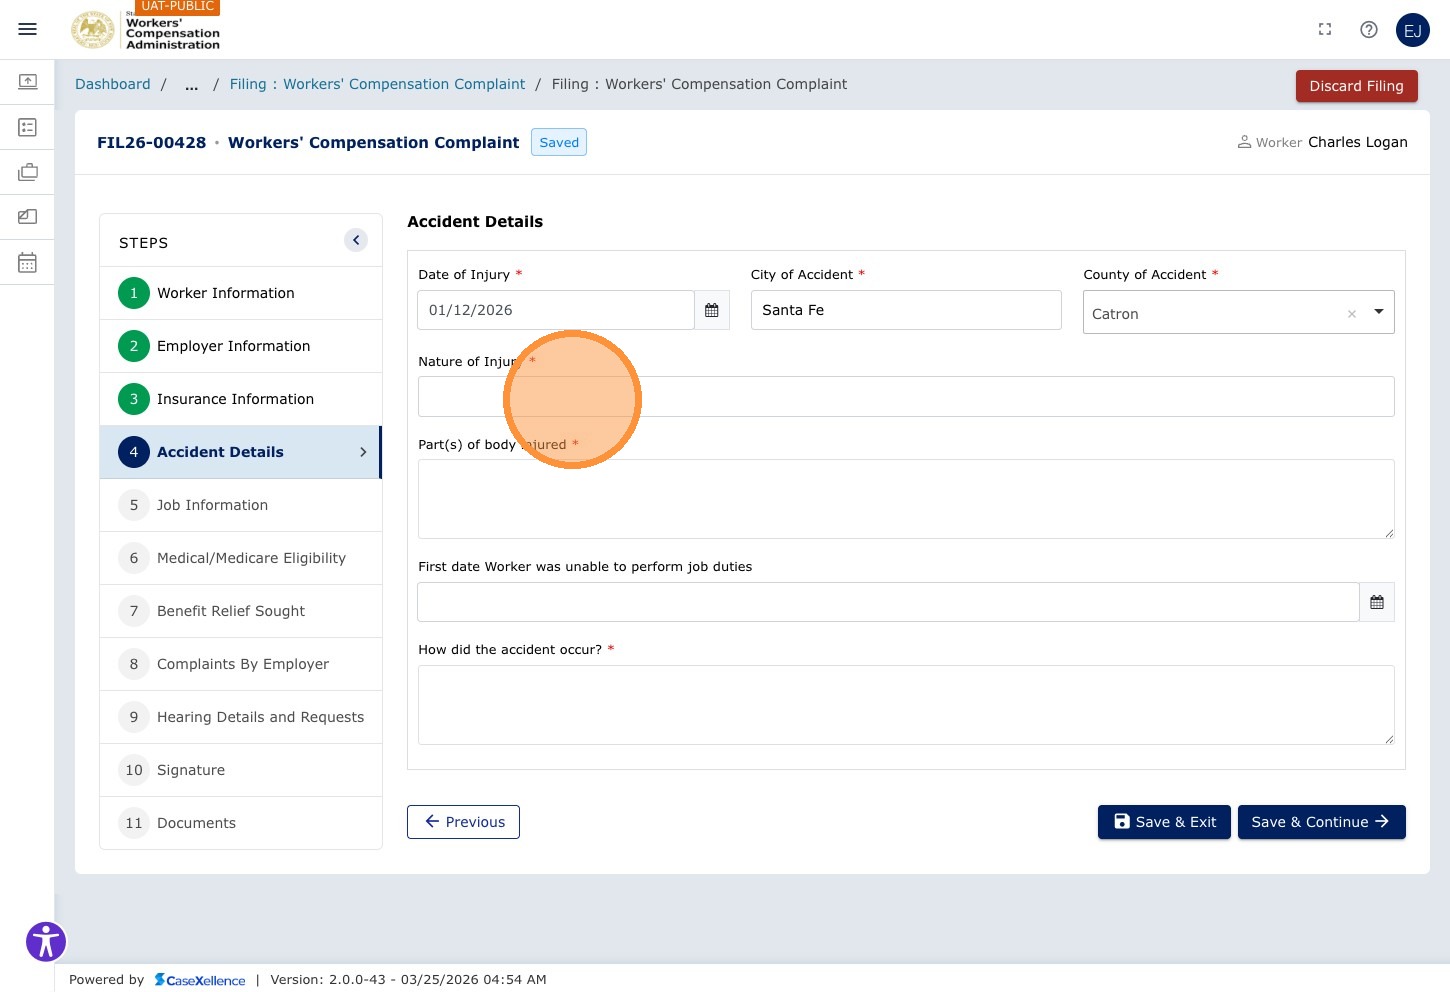
Click the Part(s) of body injured field and enter the body part(s) affected (e.g., Right Leg Tibia and Fibula).
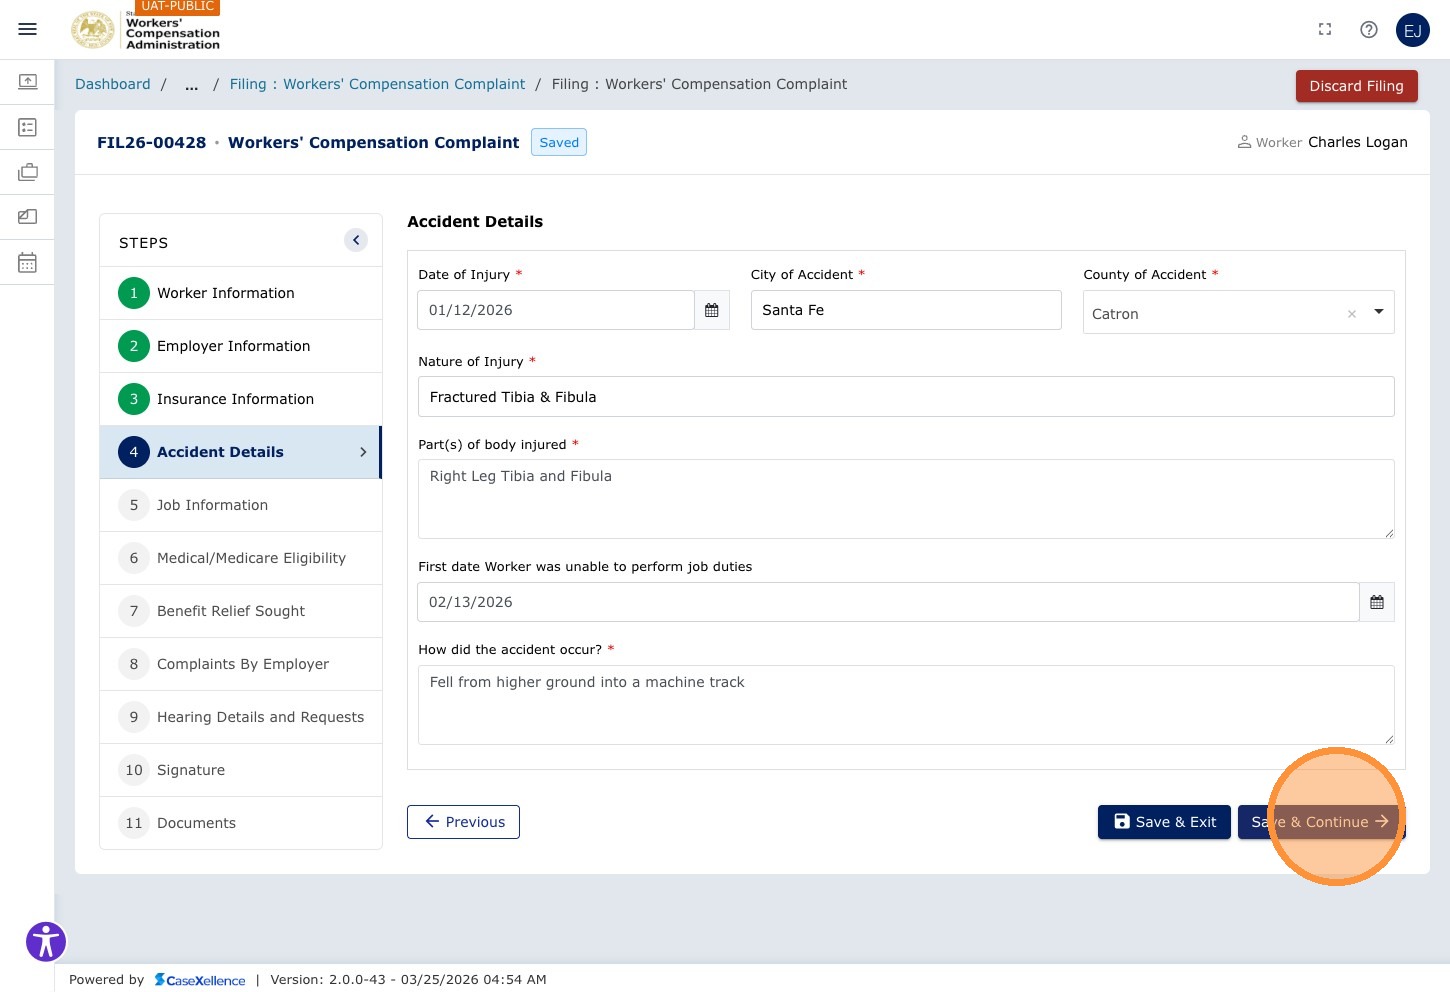
Step 25 — Enter Accident Date and Time
Click the accident date/time field and enter the date and time of the accident.
Step 26 — Save and Continue
Click Save & Continue →.
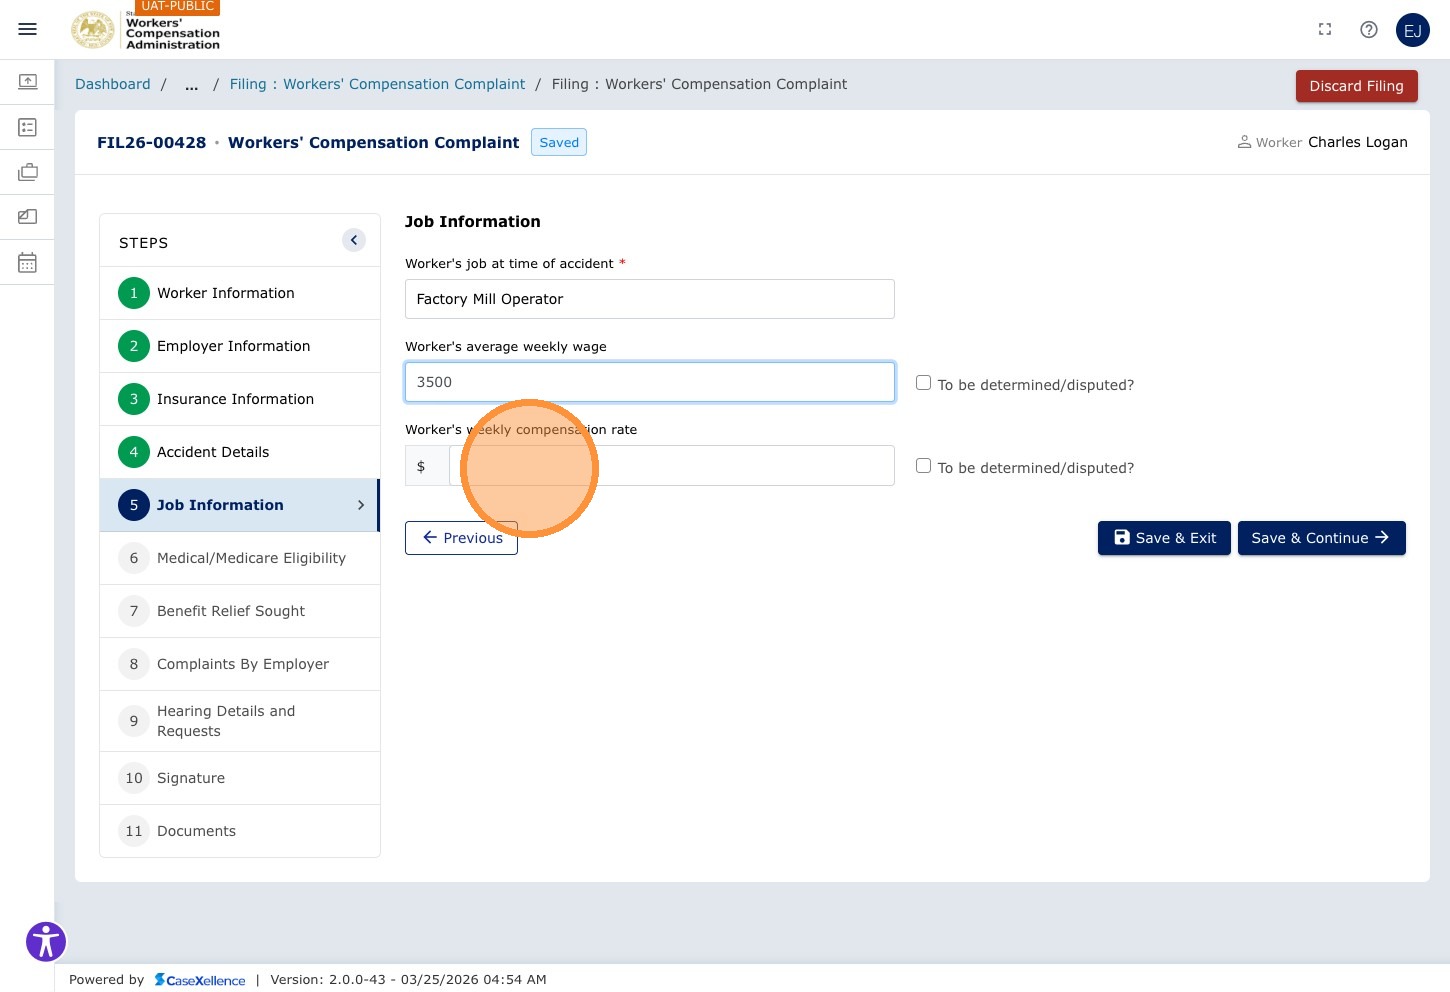
Chapter 5 — Employment Details
Step 27 — Enter Job Title and Wages
Click the Worker's job at time of accident field and enter the worker's job title or role.
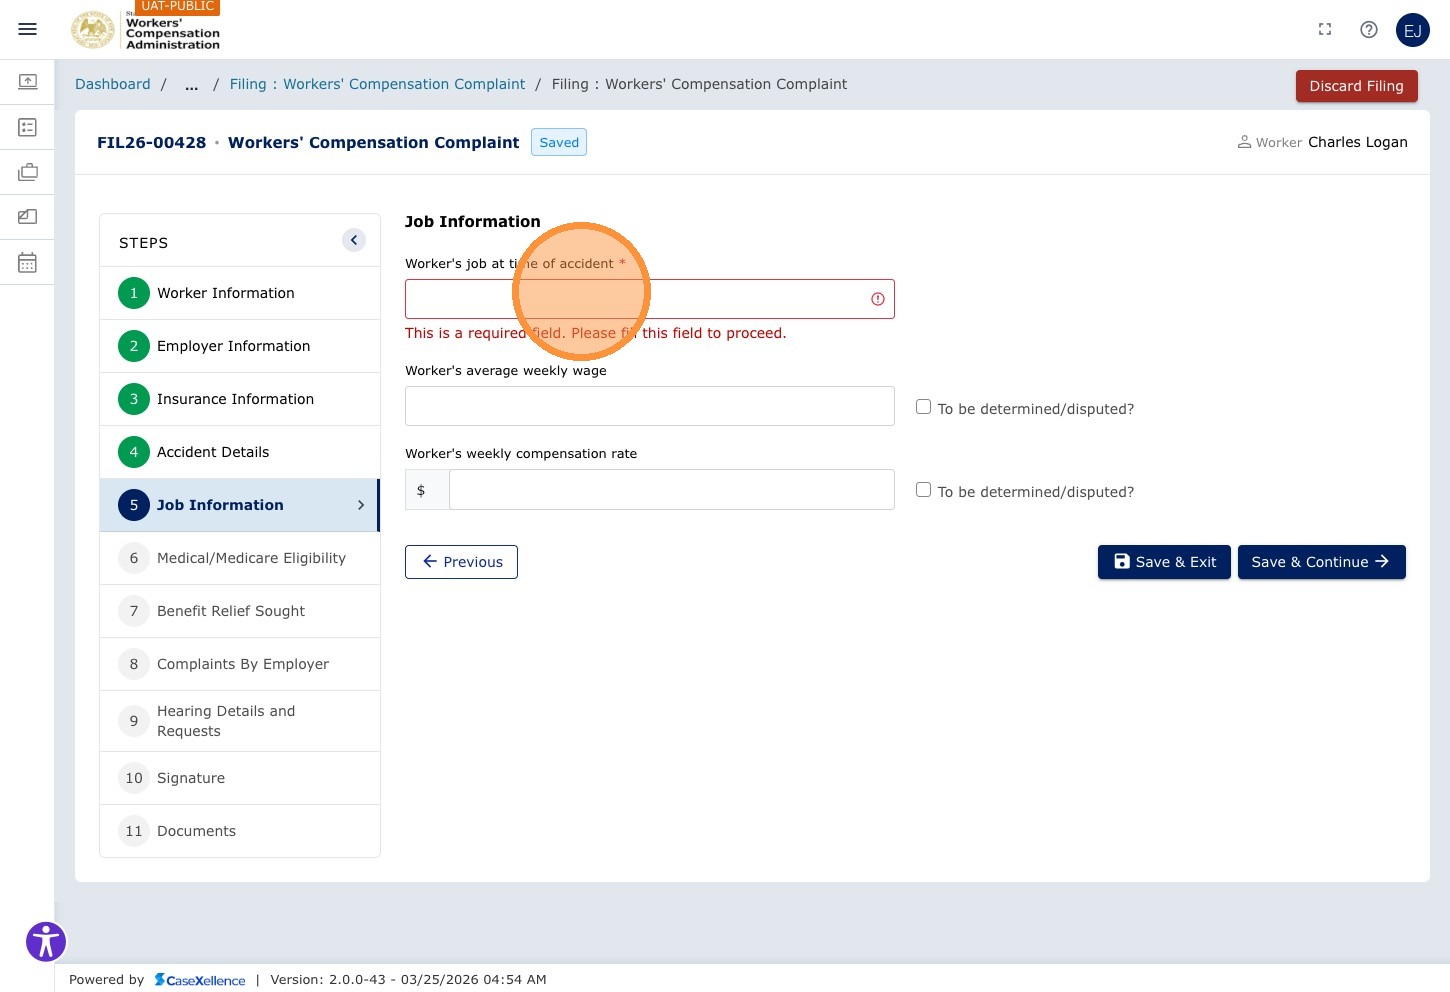
Click the Worker's average weekly wage field and enter the amount (numeric).
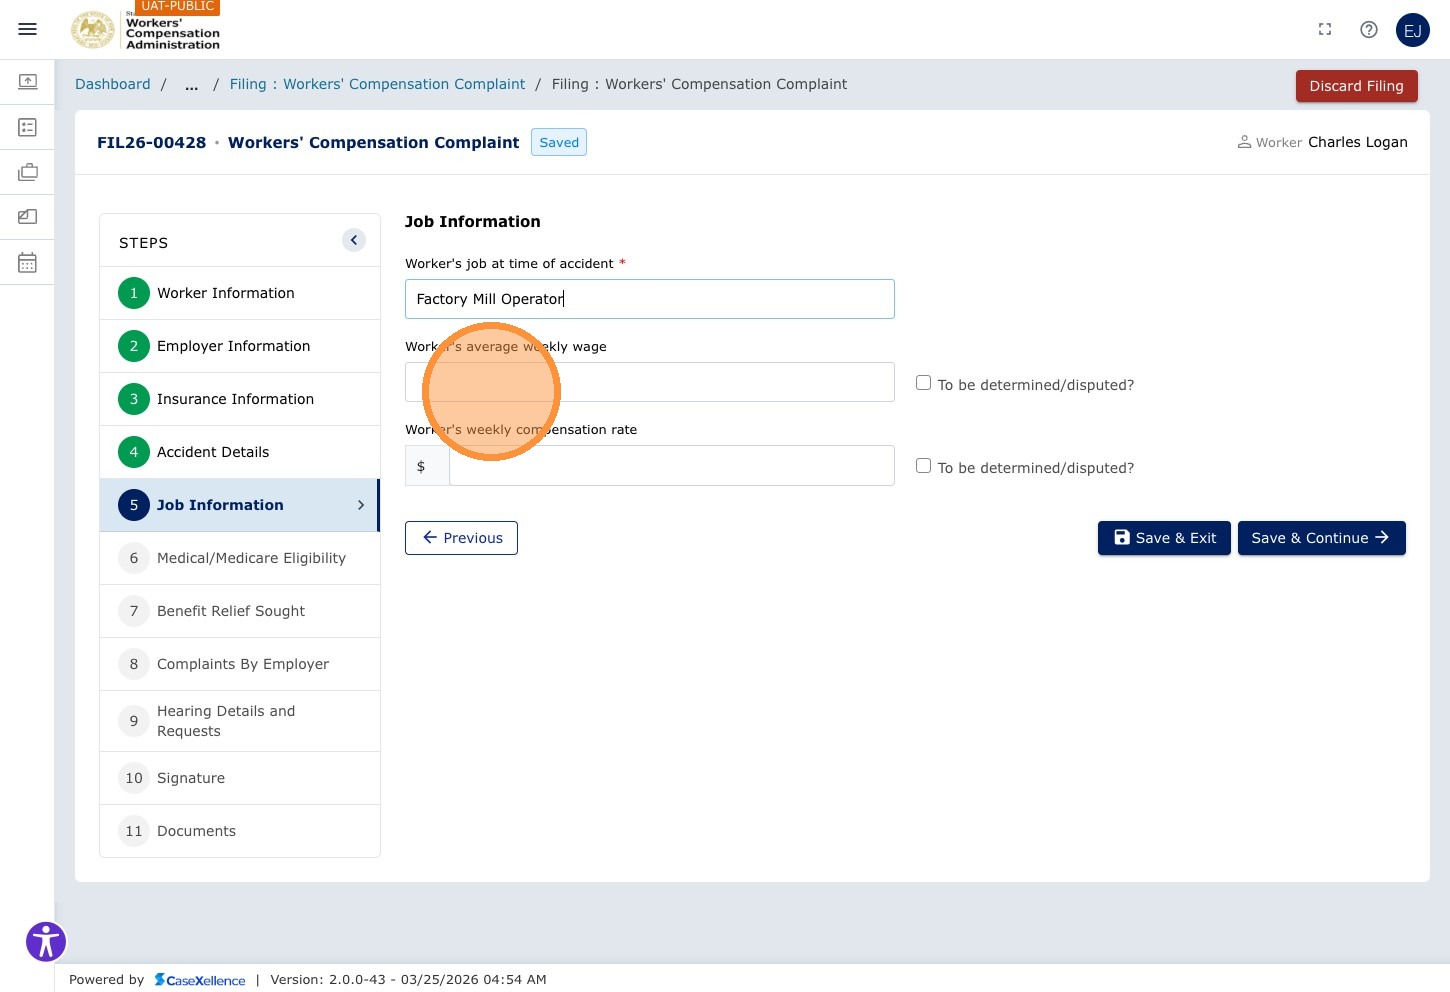
Click the Worker's weekly compensation rate field and enter the compensation rate.
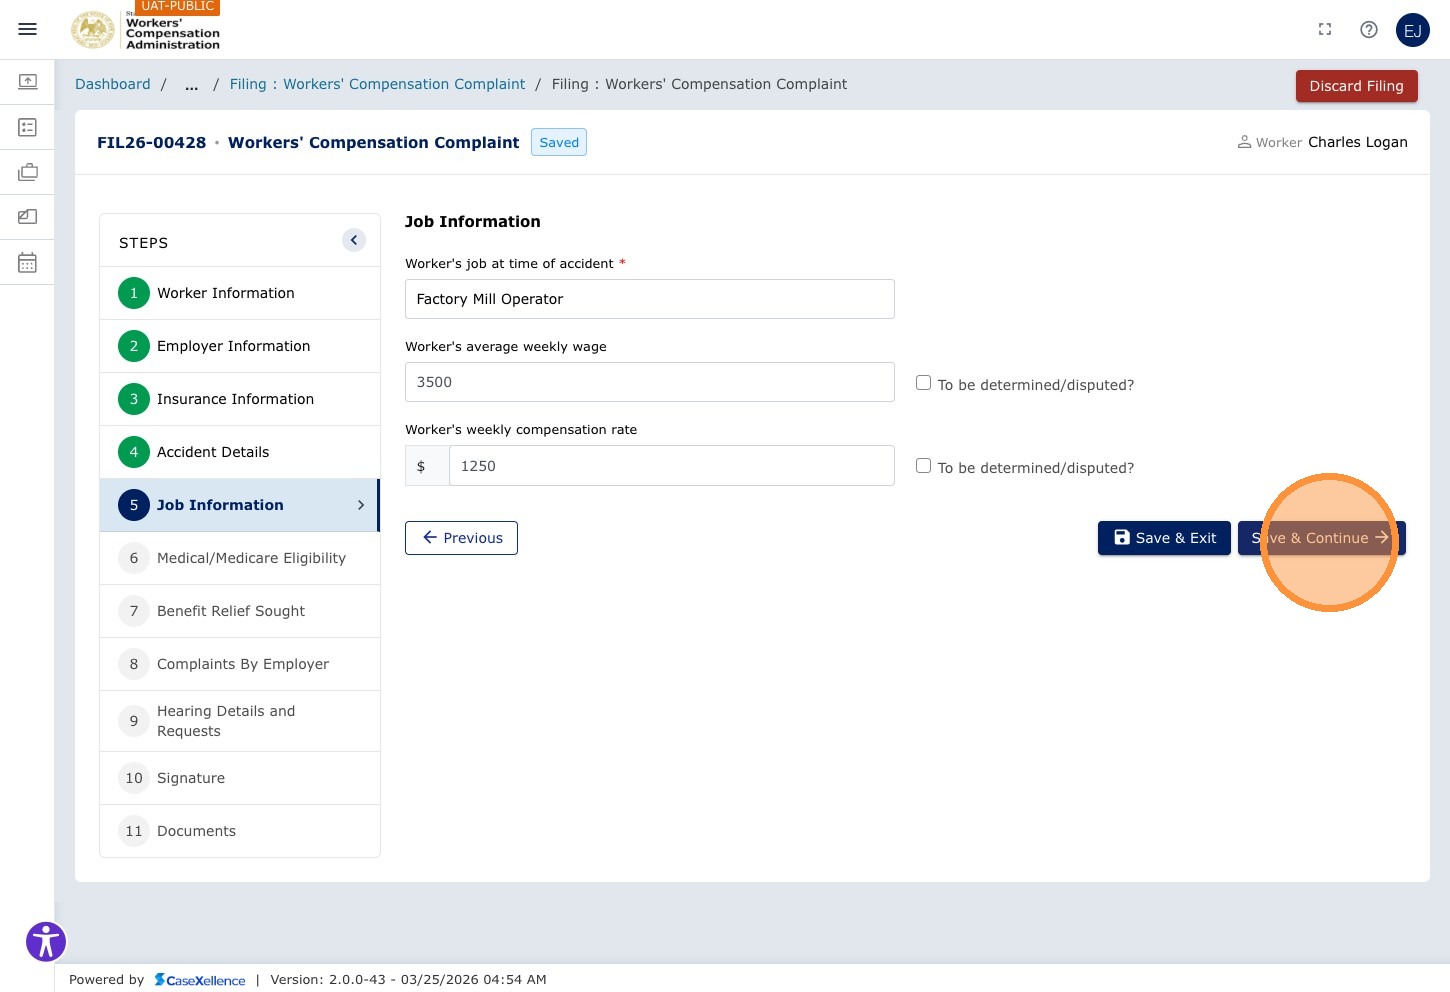
Step 28 — Save and Continue
Click Save & Continue →.
Chapter 6 — Medical Information
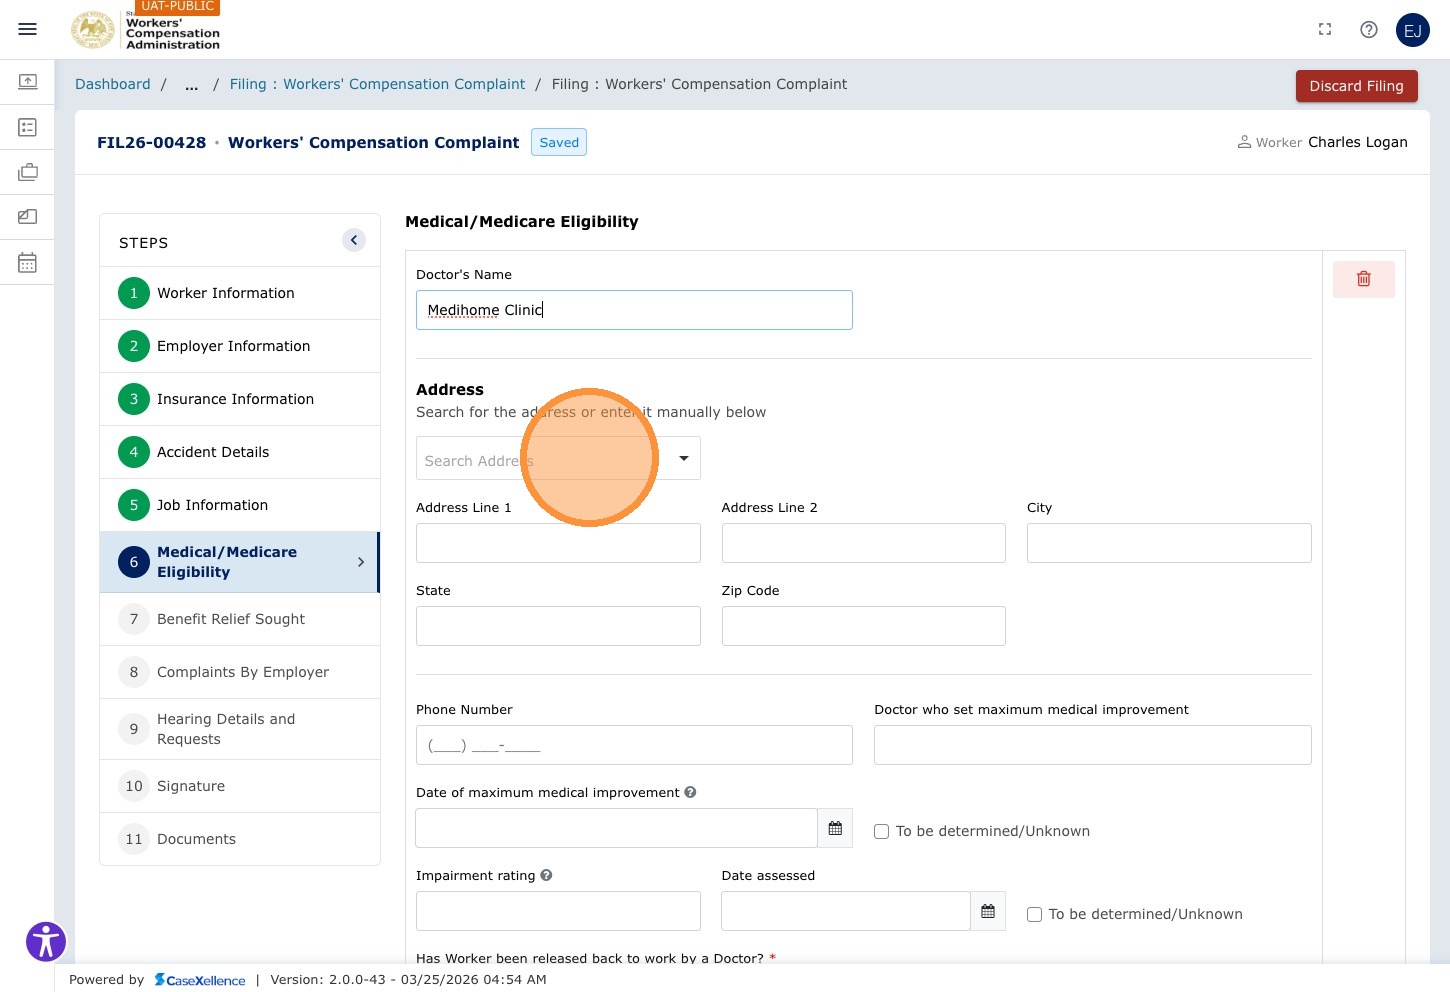
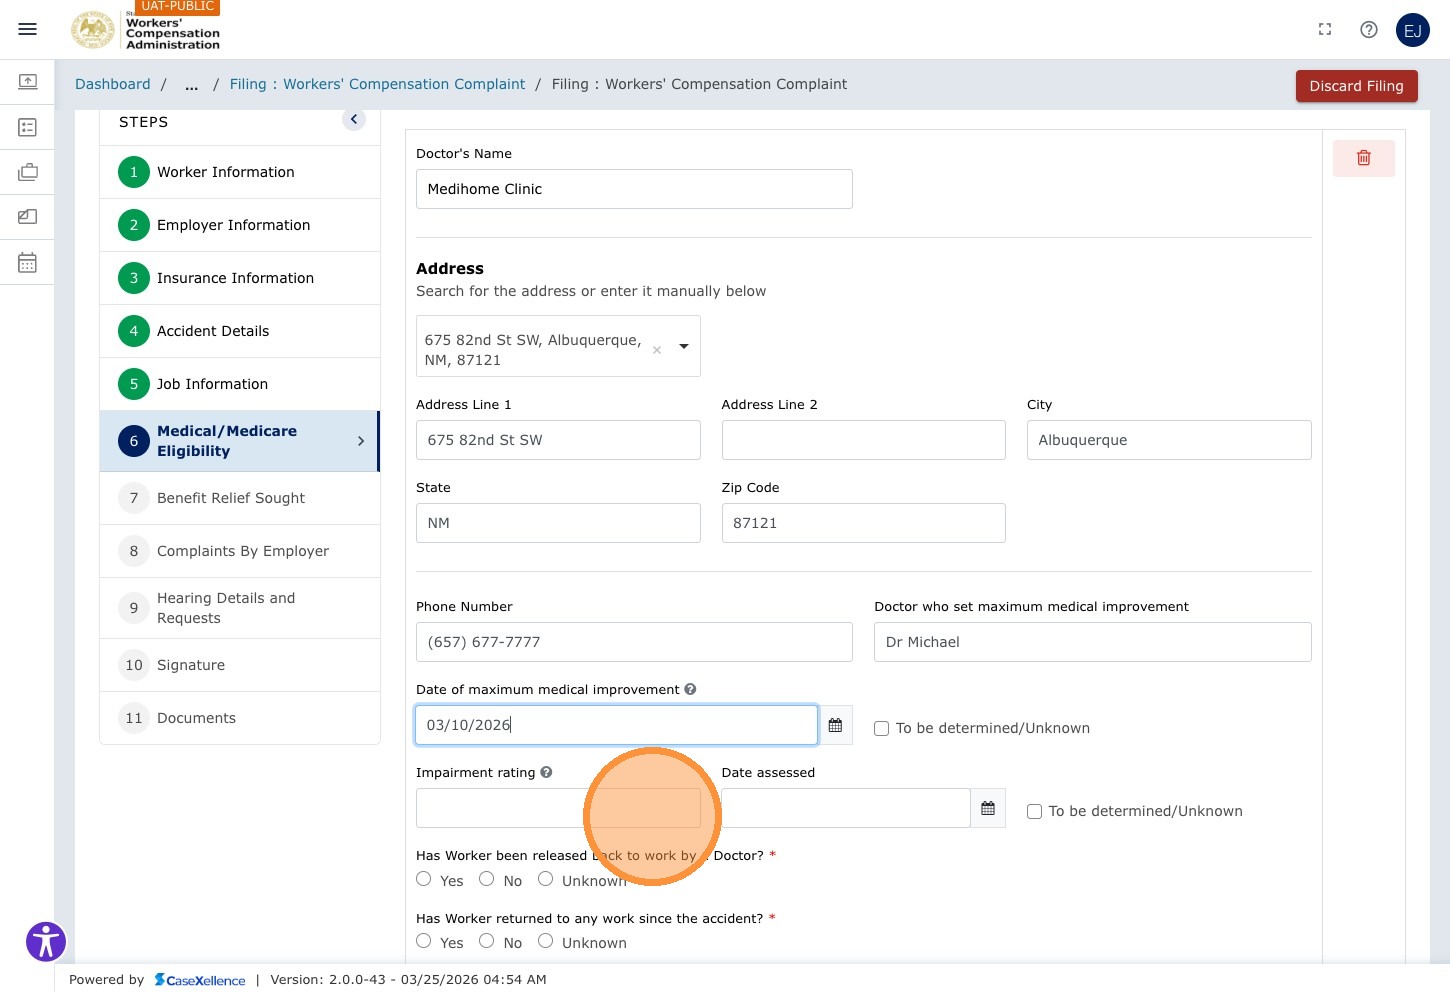
Step 29 — Enter Treating Doctor Details
Click the Doctor's Name field and enter the treating physician's name.
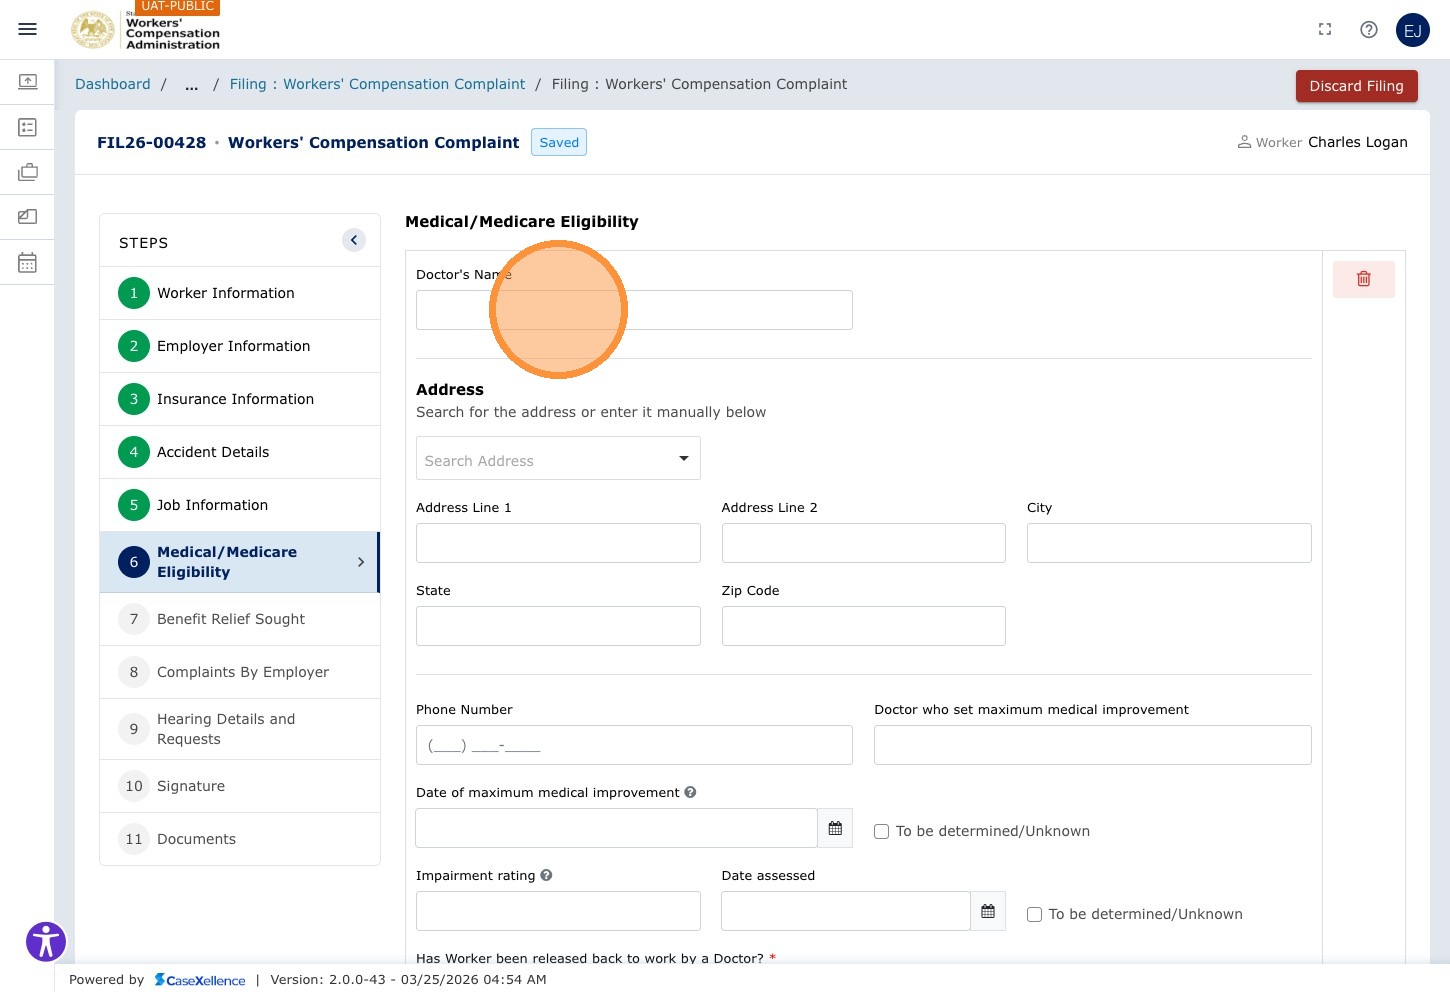
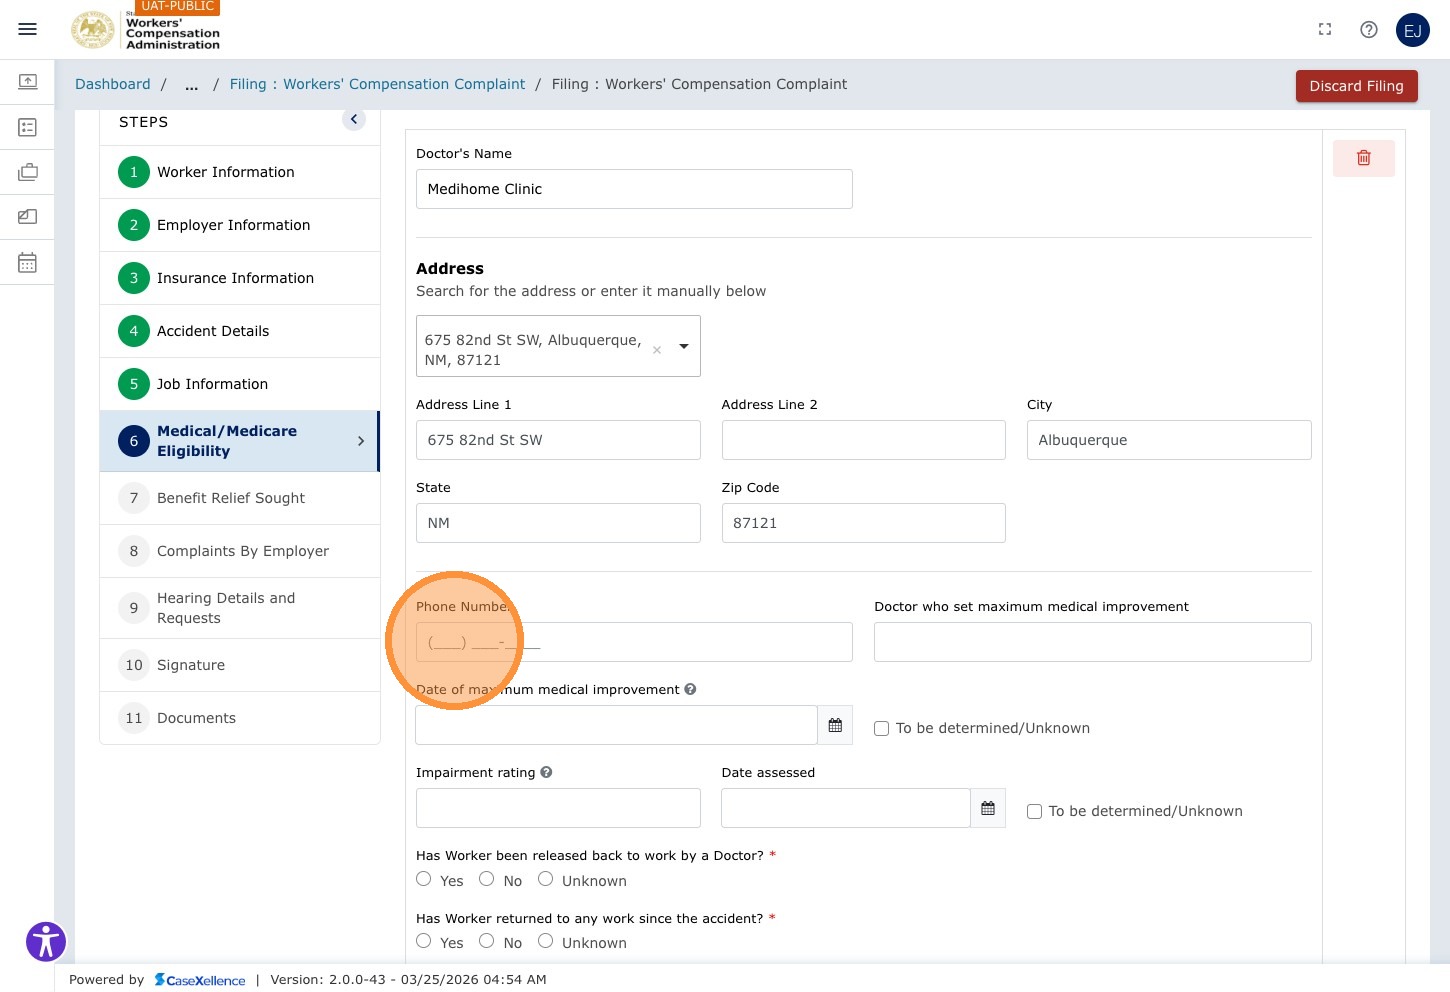
Click Search Address and type the doctor's clinic or office address to find and select from the autocomplete.
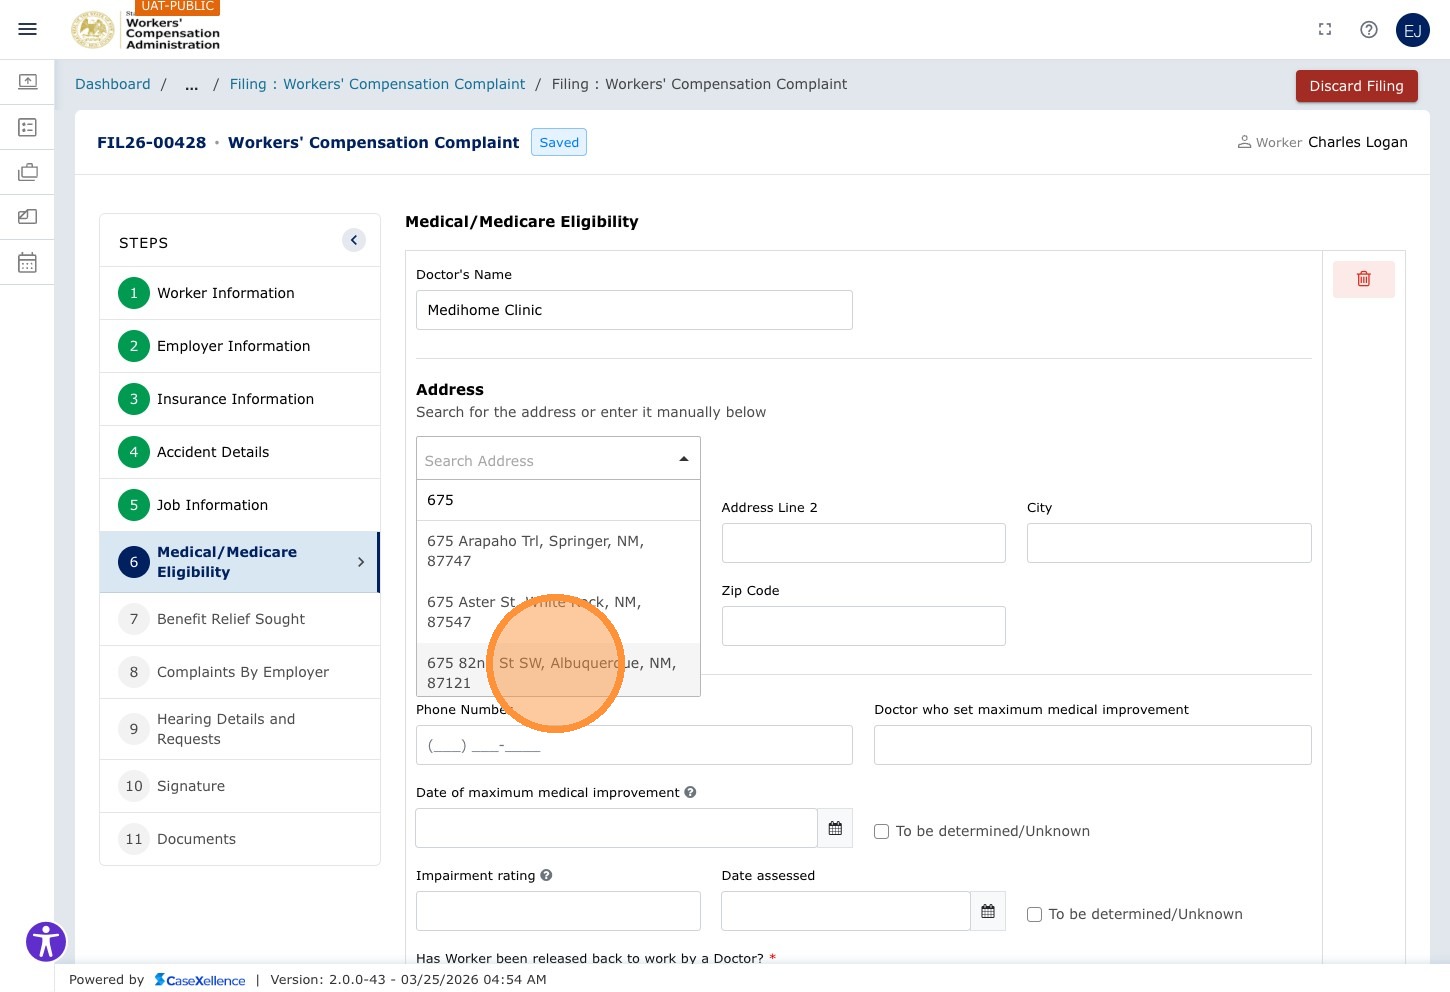
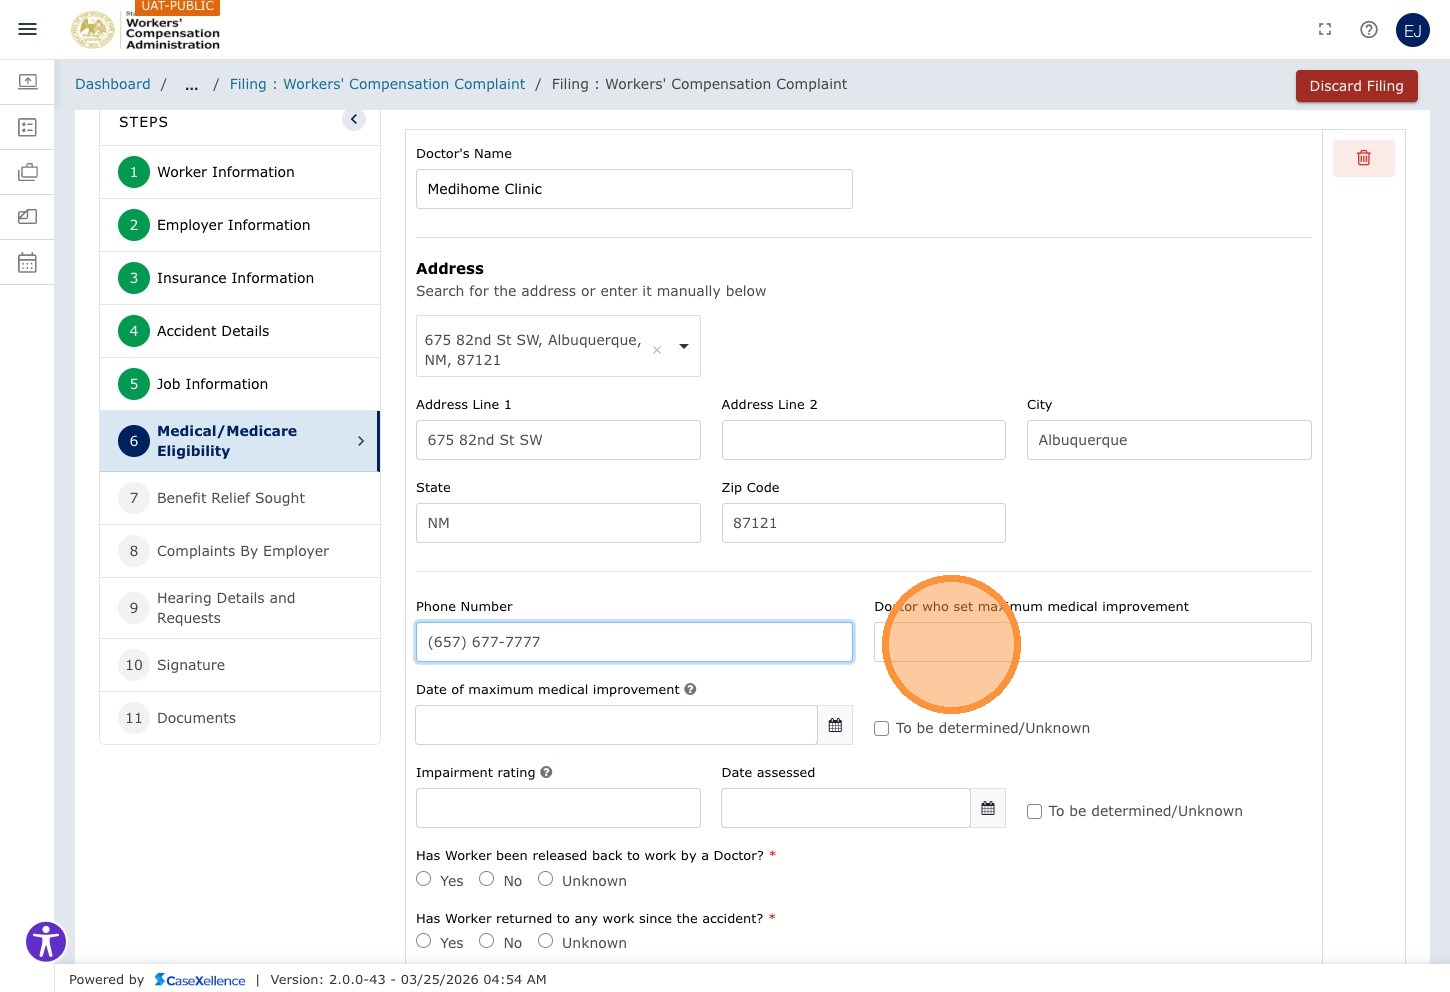
Click the Phone Number field and enter the doctor's phone number (numeric only).
Step 30 — Enter MMI Information
Click the Doctor who set maximum medical improvement field and enter the name of the MMI physician.
Click the MMI Date calendar field and select the date MMI was reached.
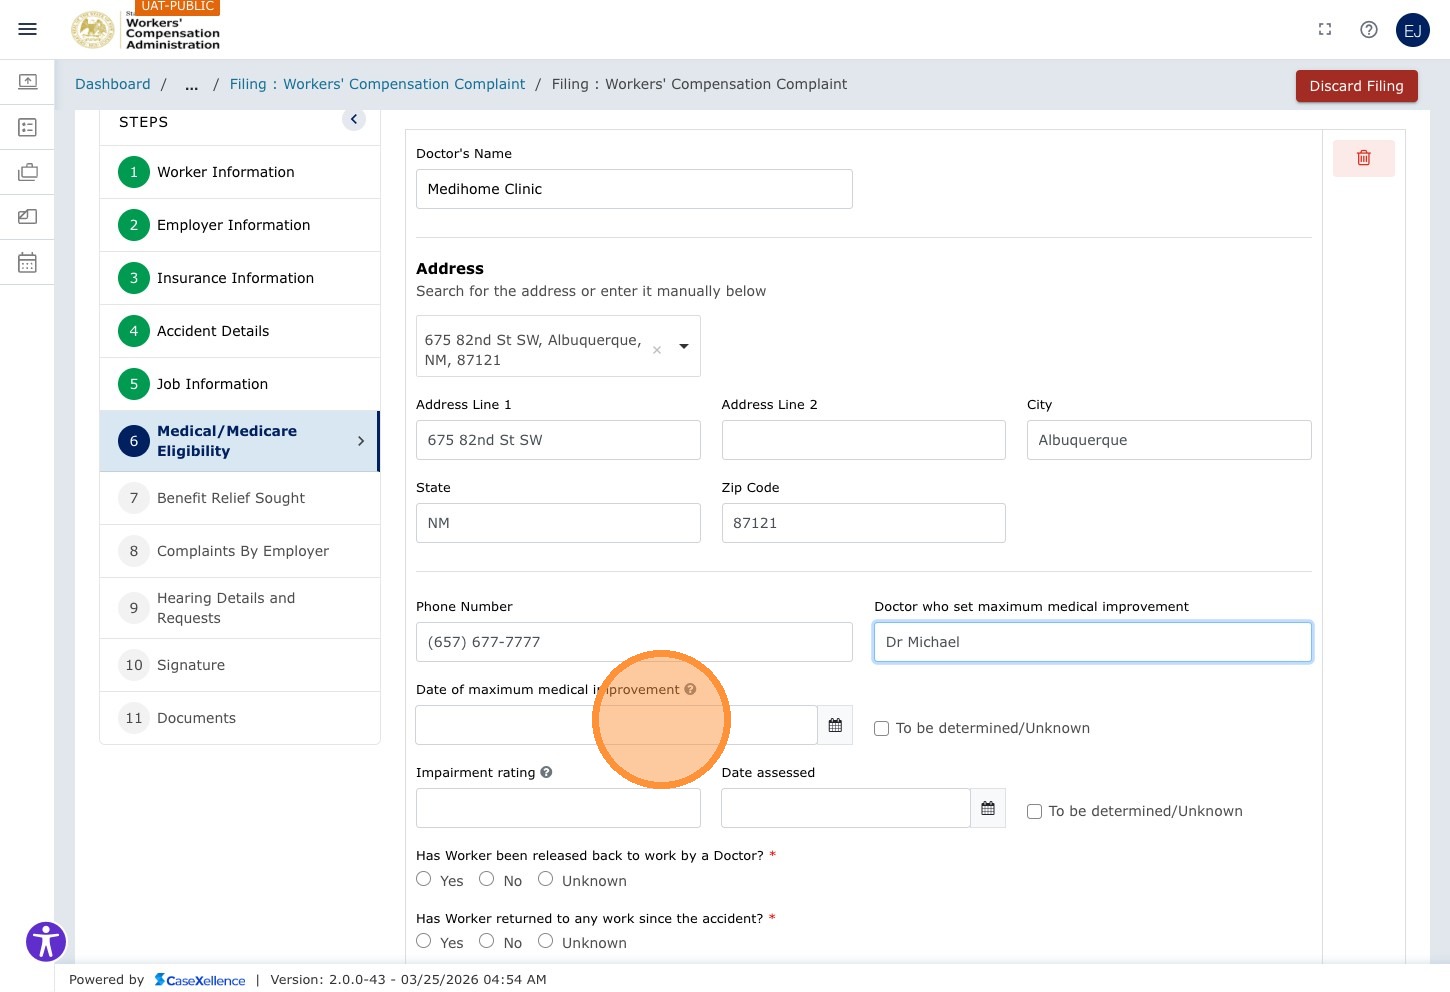

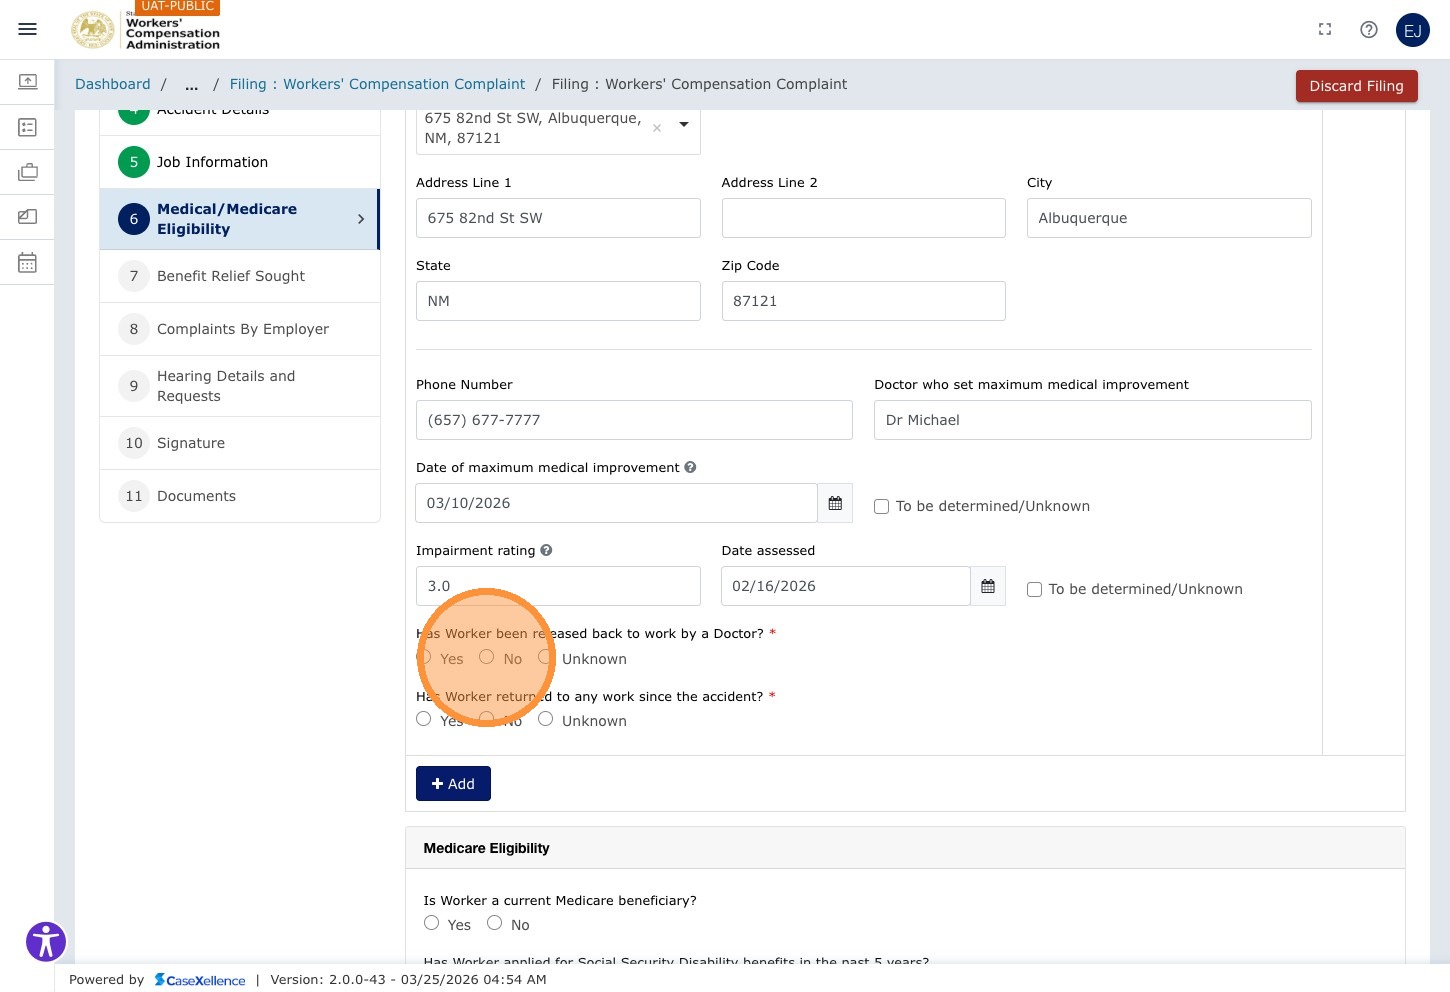
Step 31 — Enter Impairment Rating
Click the Impairment rating field and enter the percentage (e.g., 3.0).
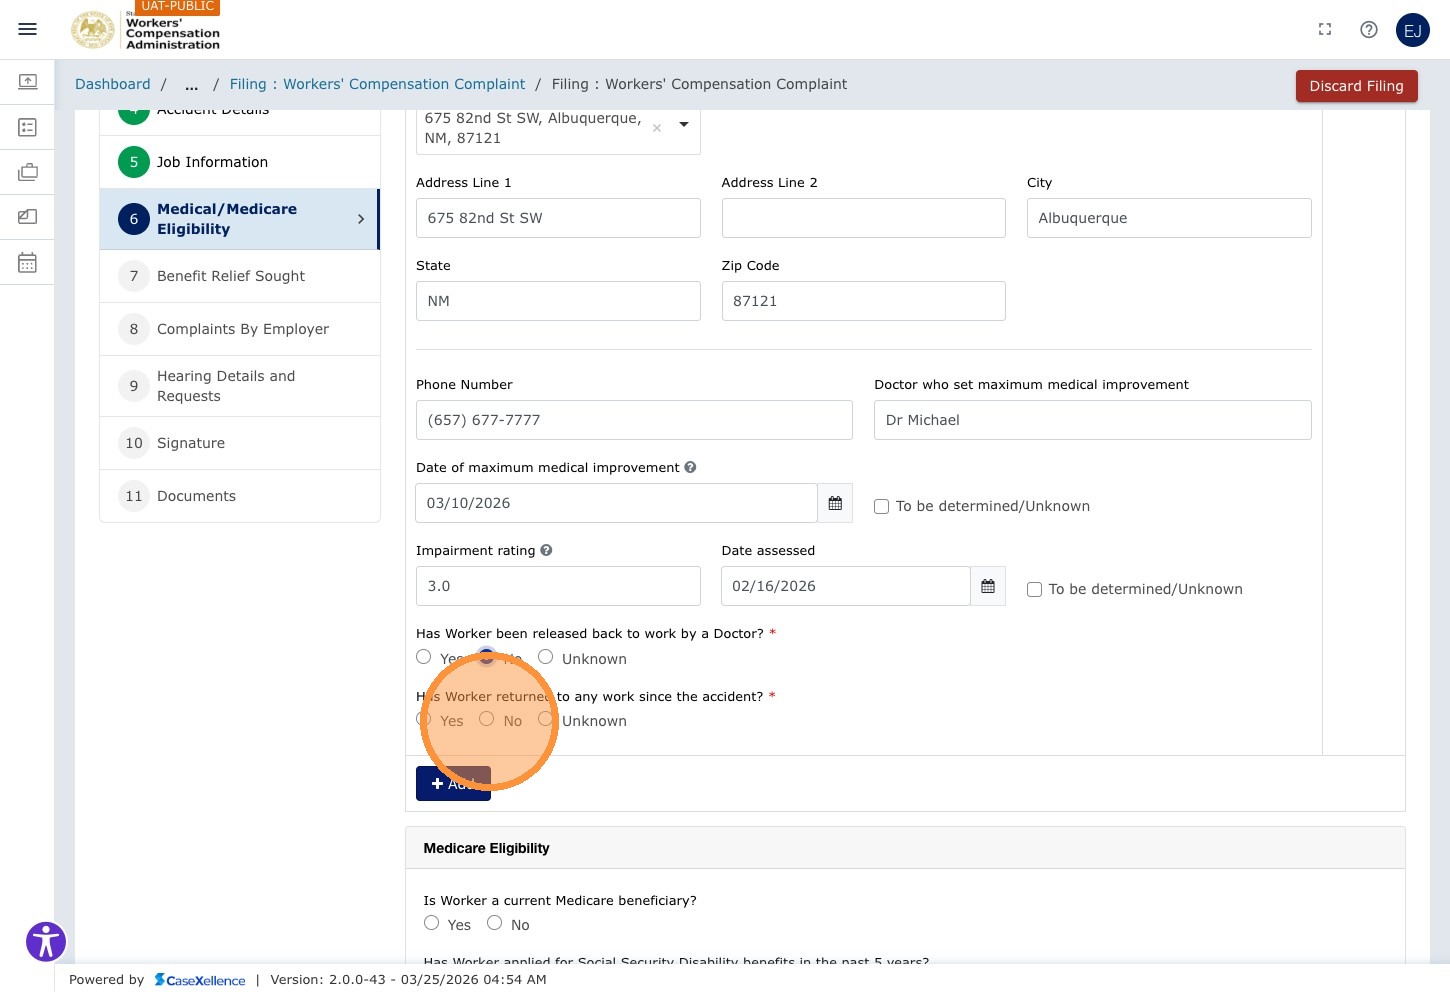
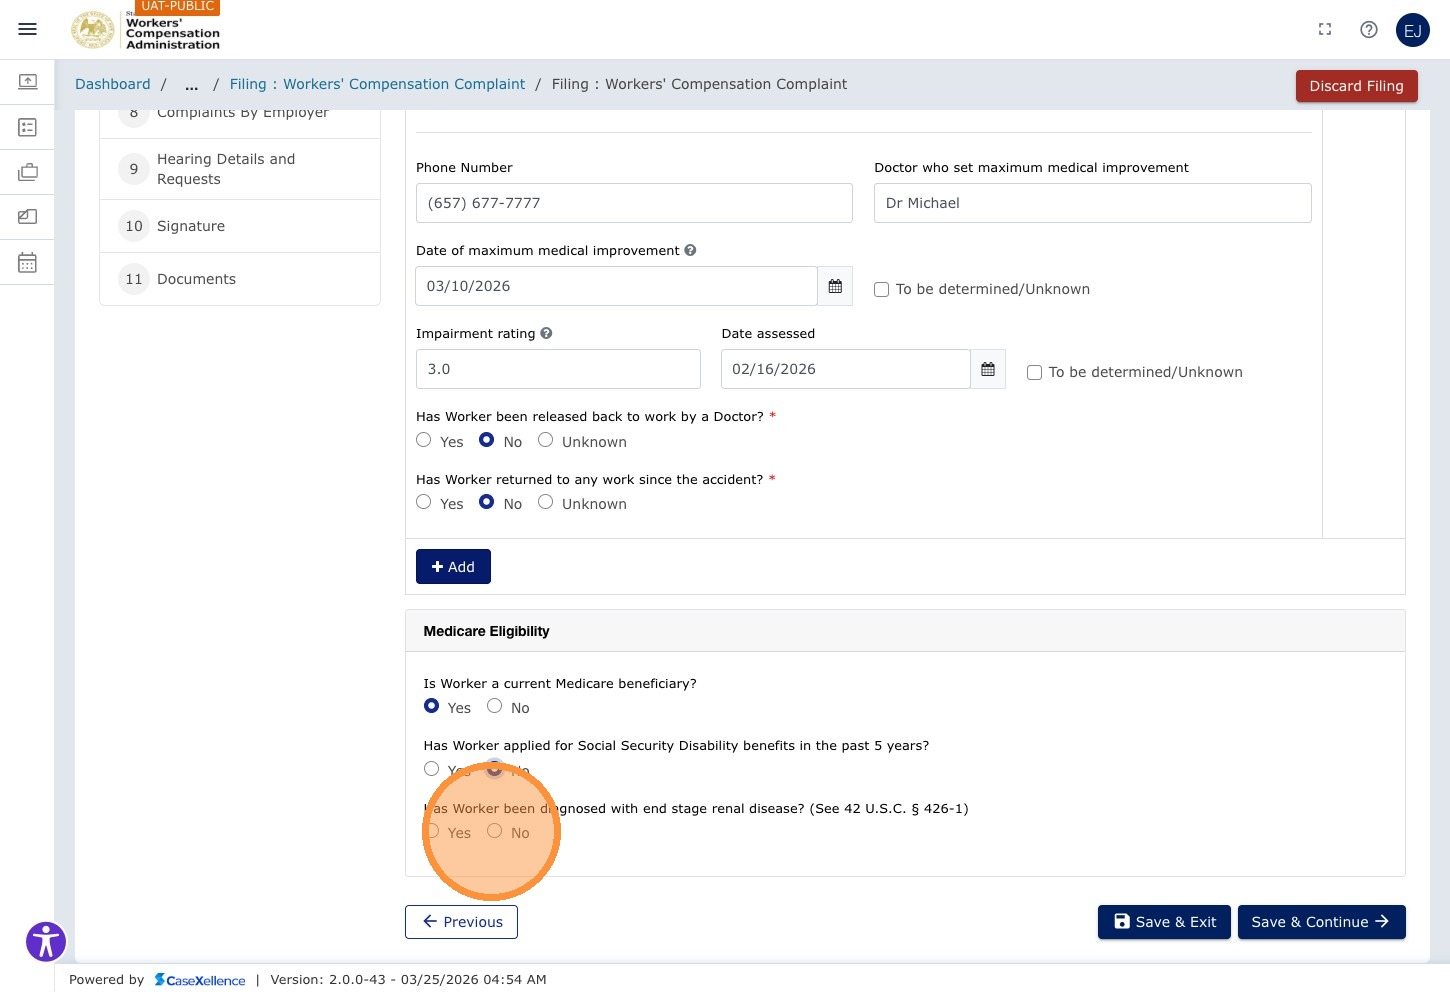
Step 32 — Answer Medical Yes/No Questions
Work through the series of Yes/No questions regarding the worker's medical status. Select the applicable response for each field.

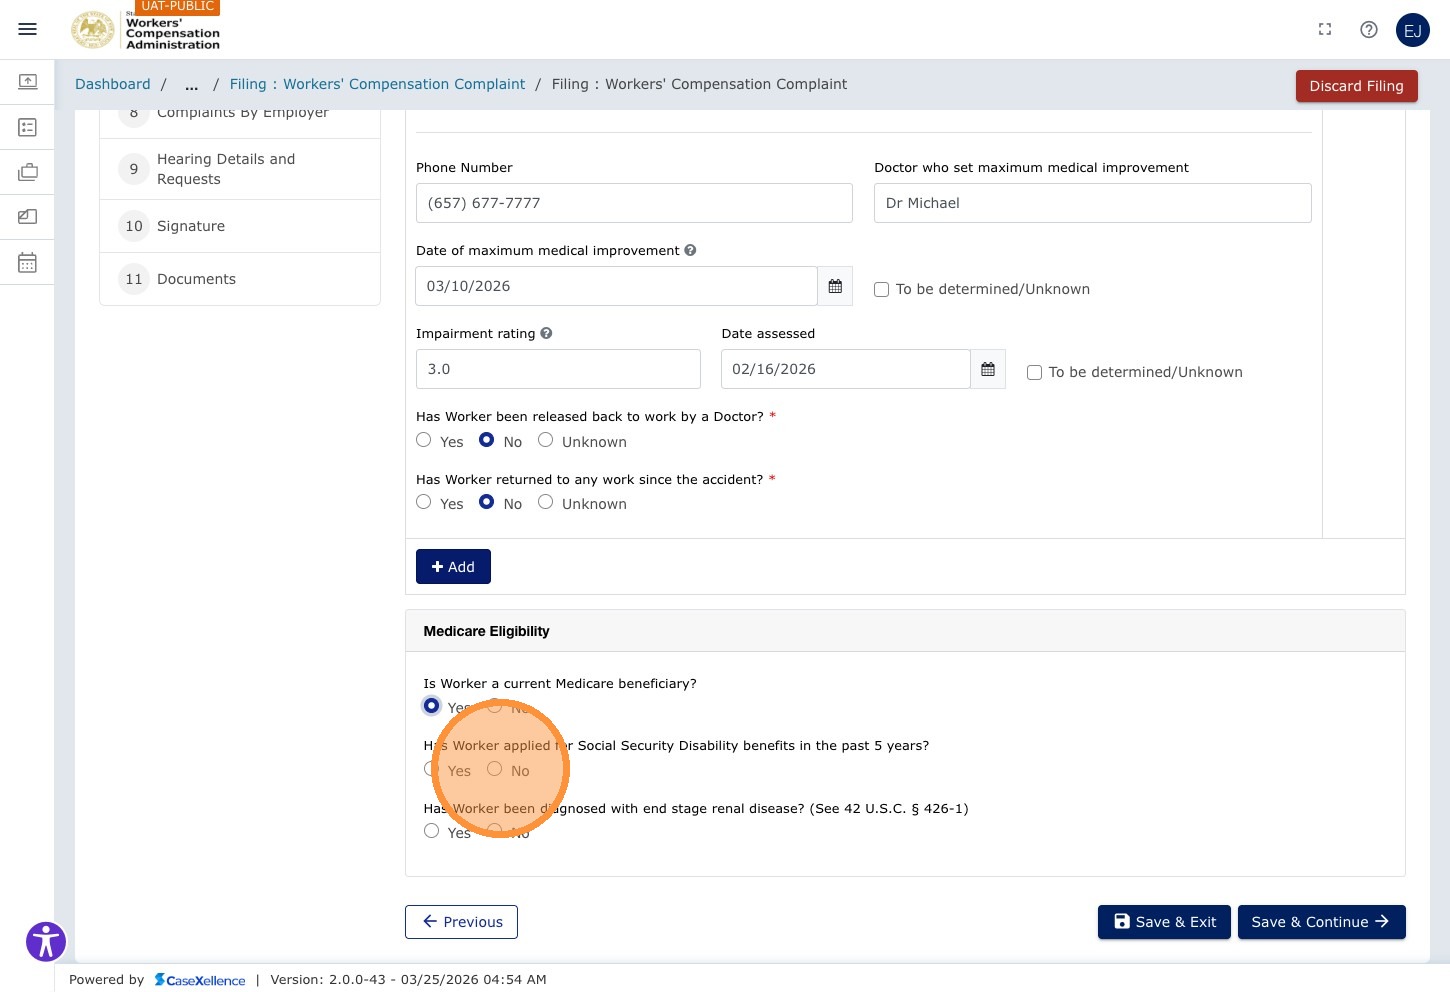
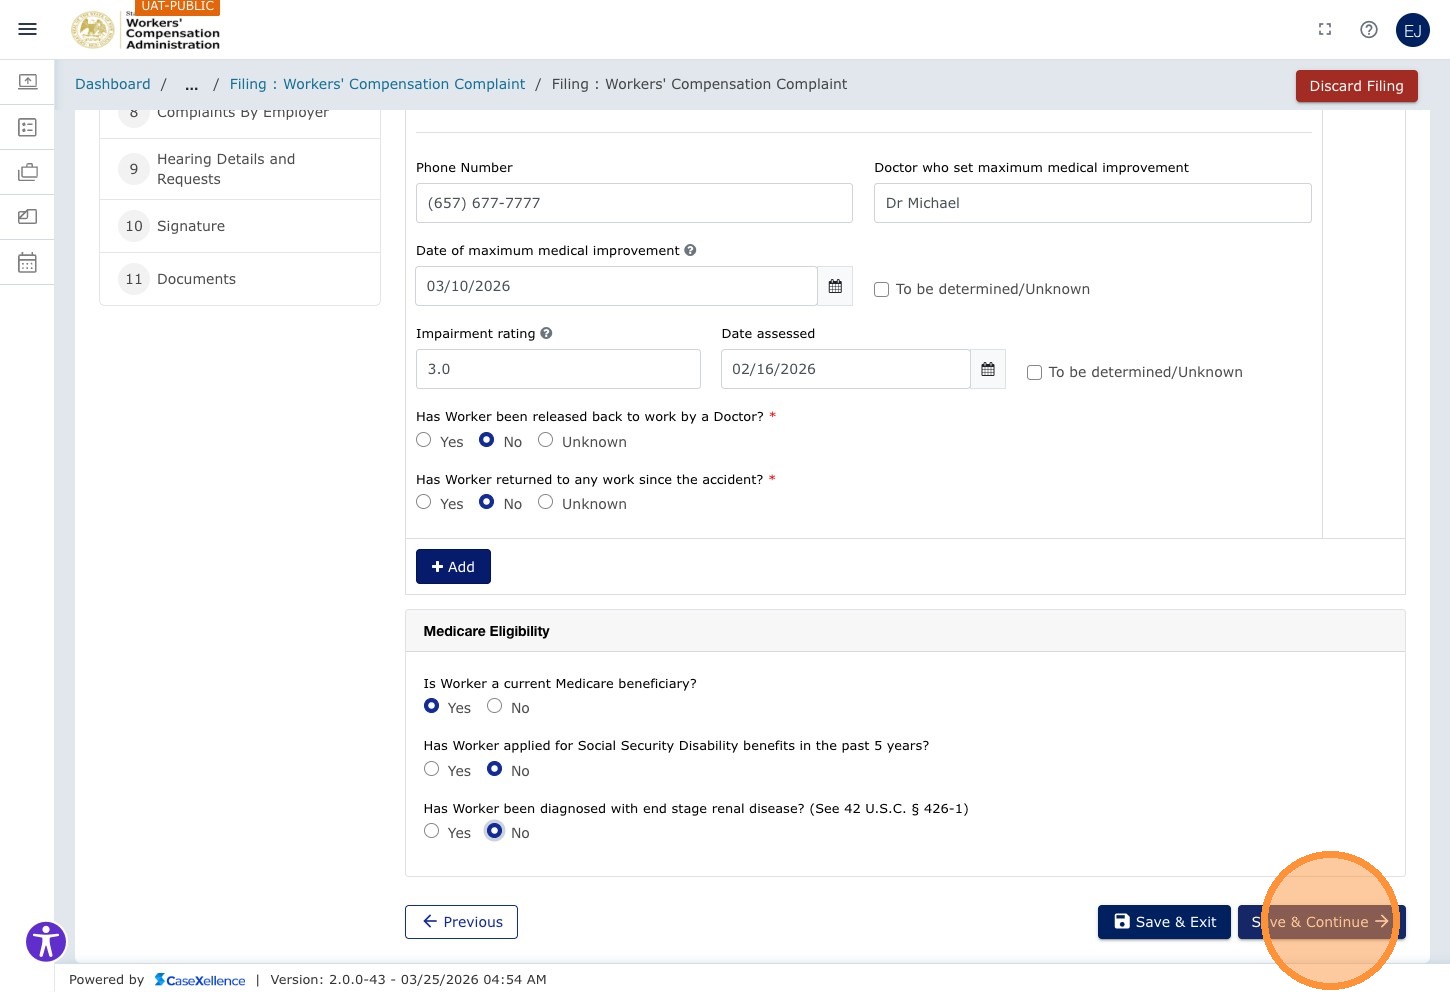
Step 33 — Save and Continue
Click Save & Continue →.
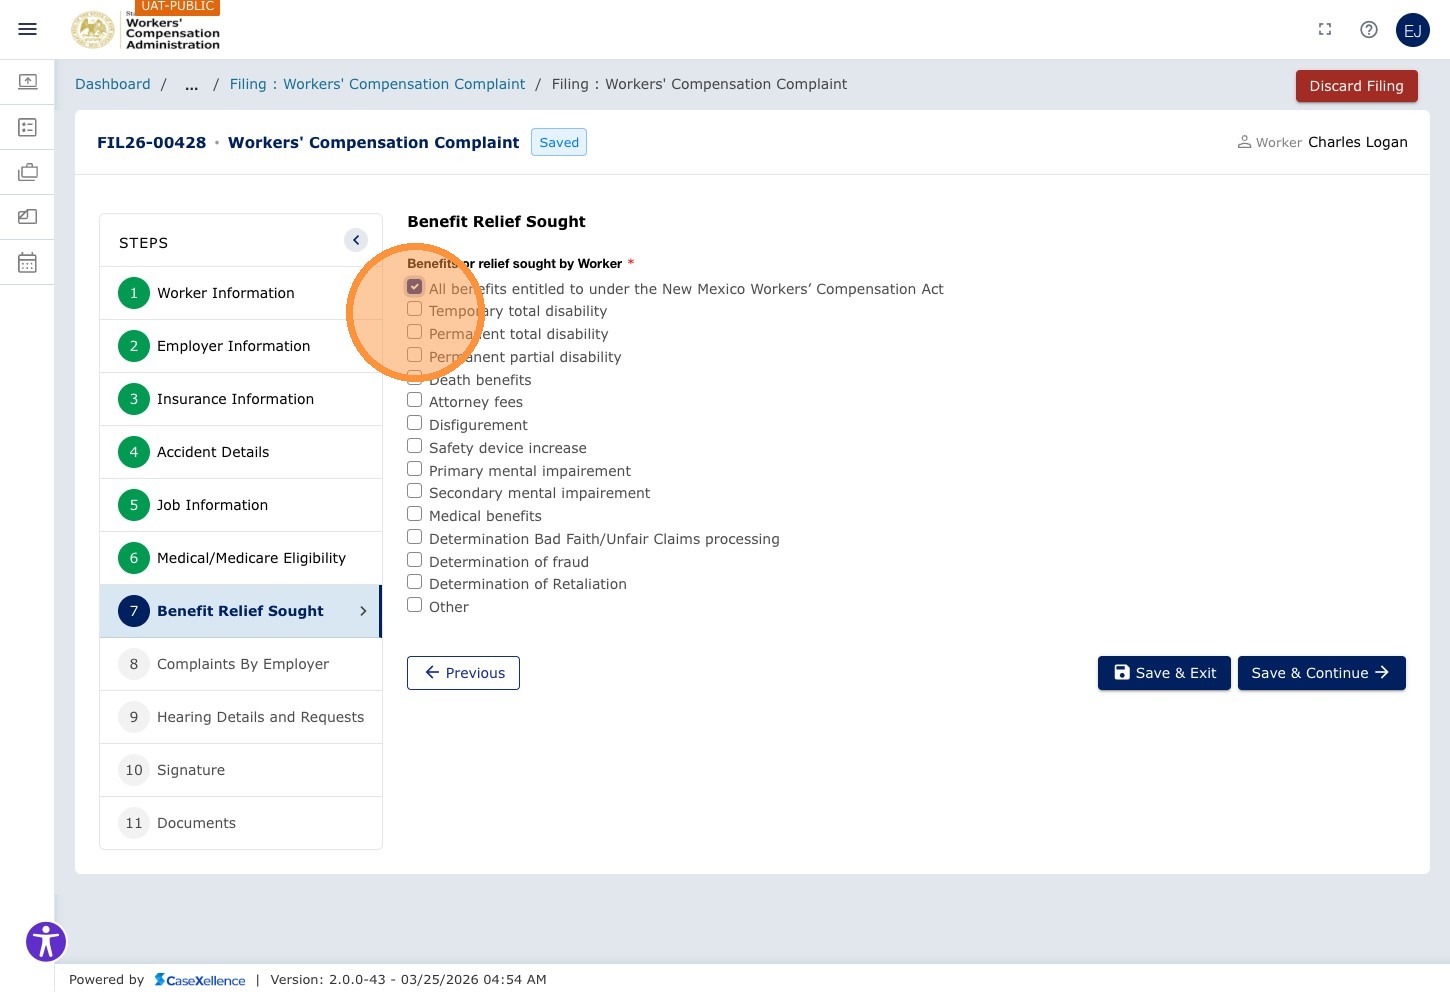
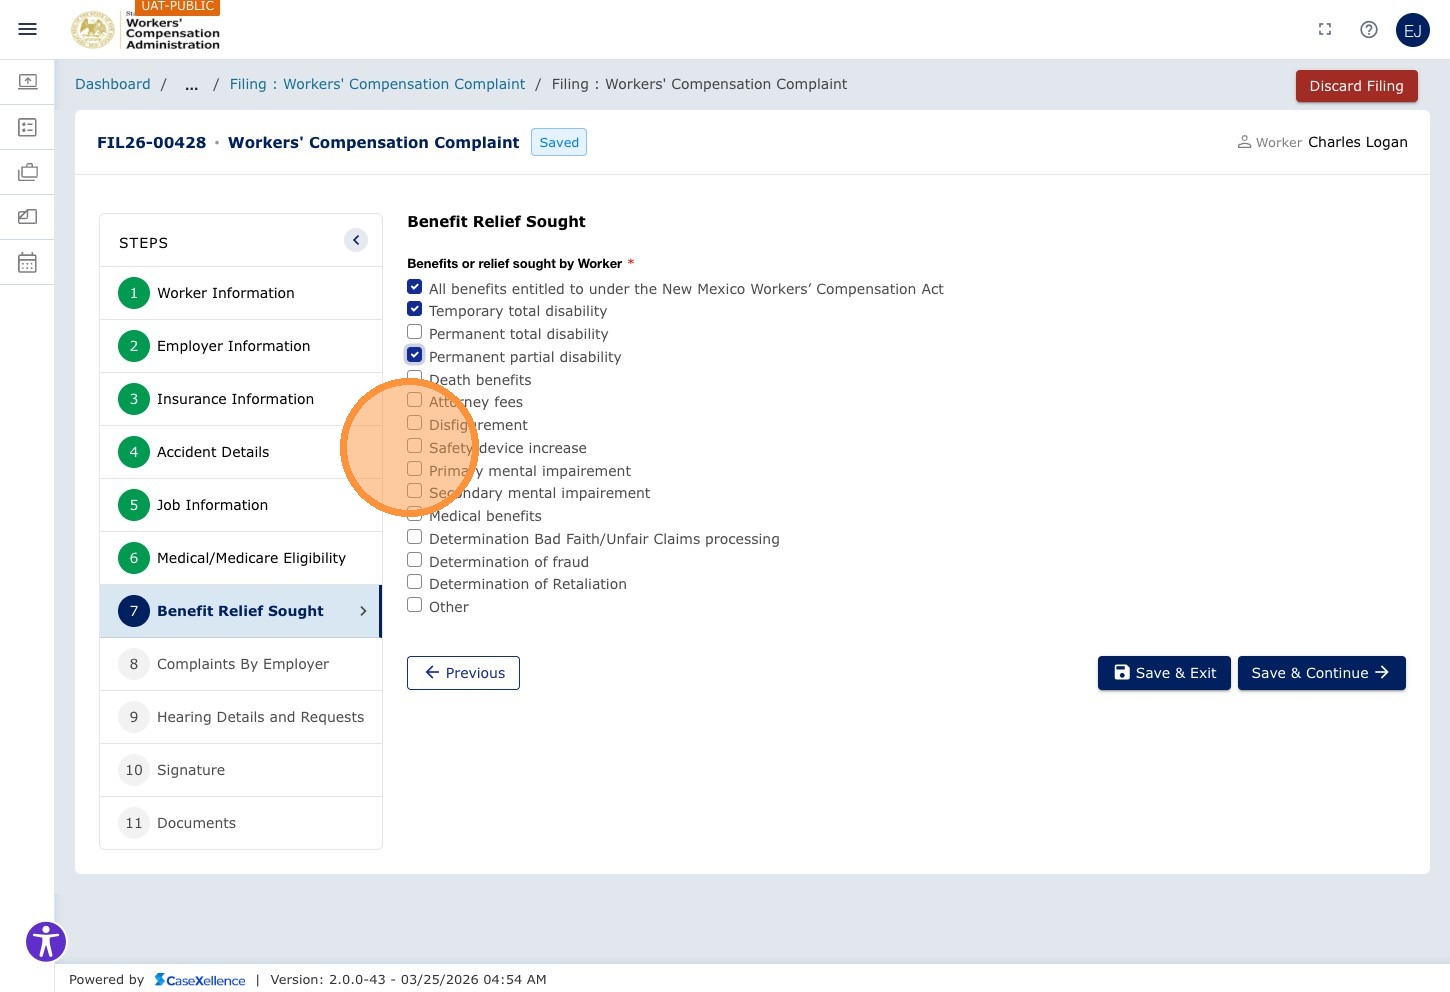
Chapter 7 — Benefits Relief Sought
Select all benefits the worker is entitled to and seeking in this complaint.
Step 34 — Select Benefits
Click All benefits entitled to under the New Mexico Workers' Compensation Act to select all benefits at once, or select individual benefit types.

Click Temporary total disability if applicable.
Click Permanent partial disability if applicable.
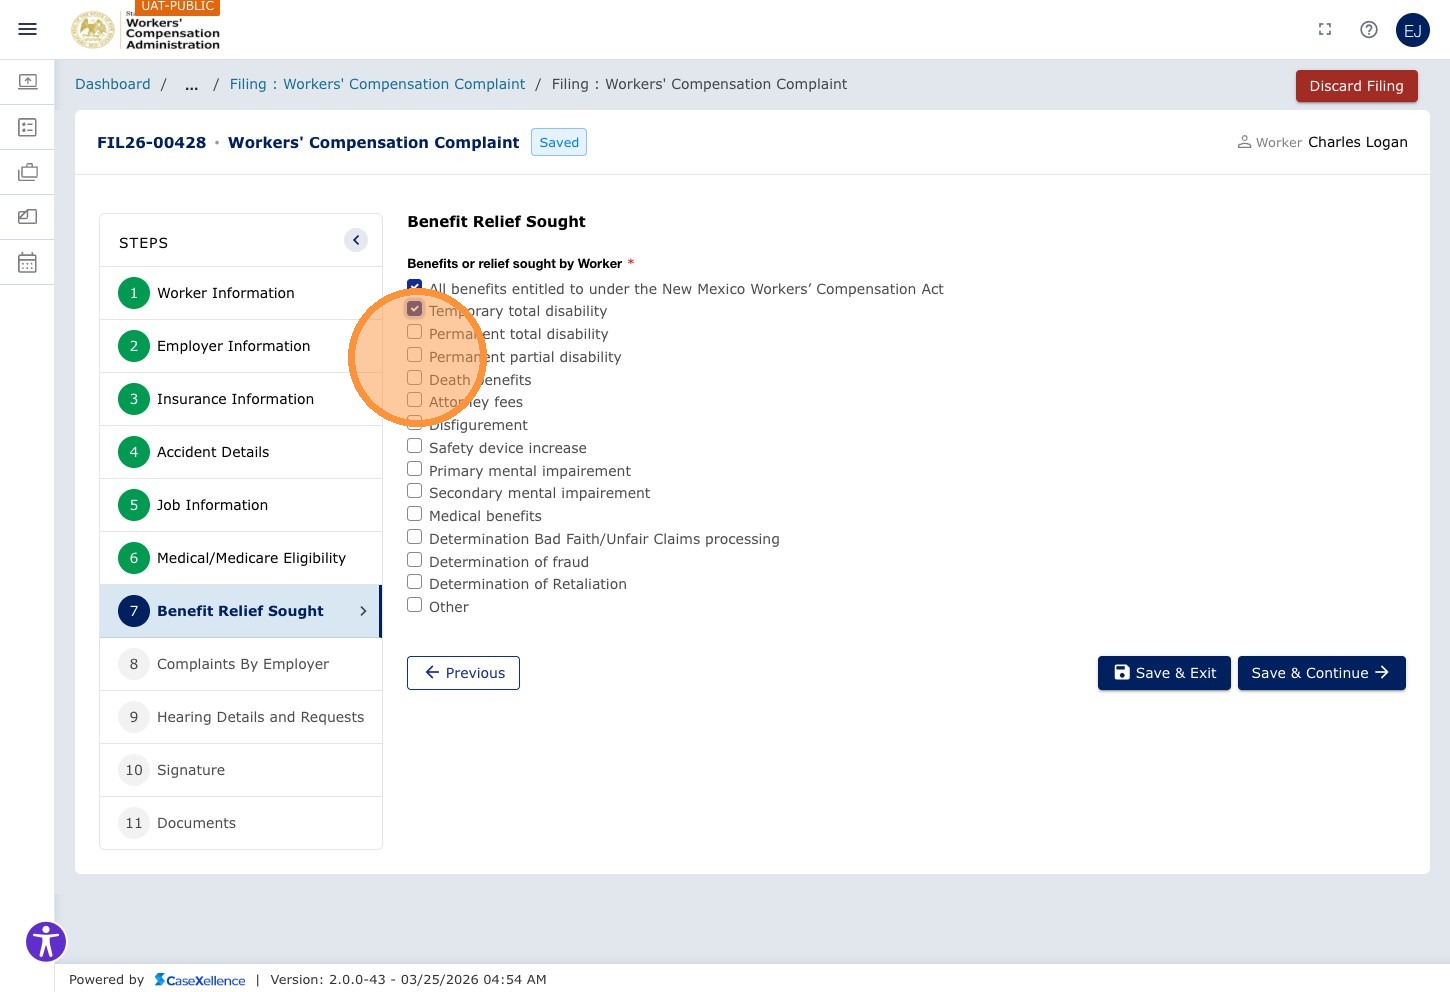
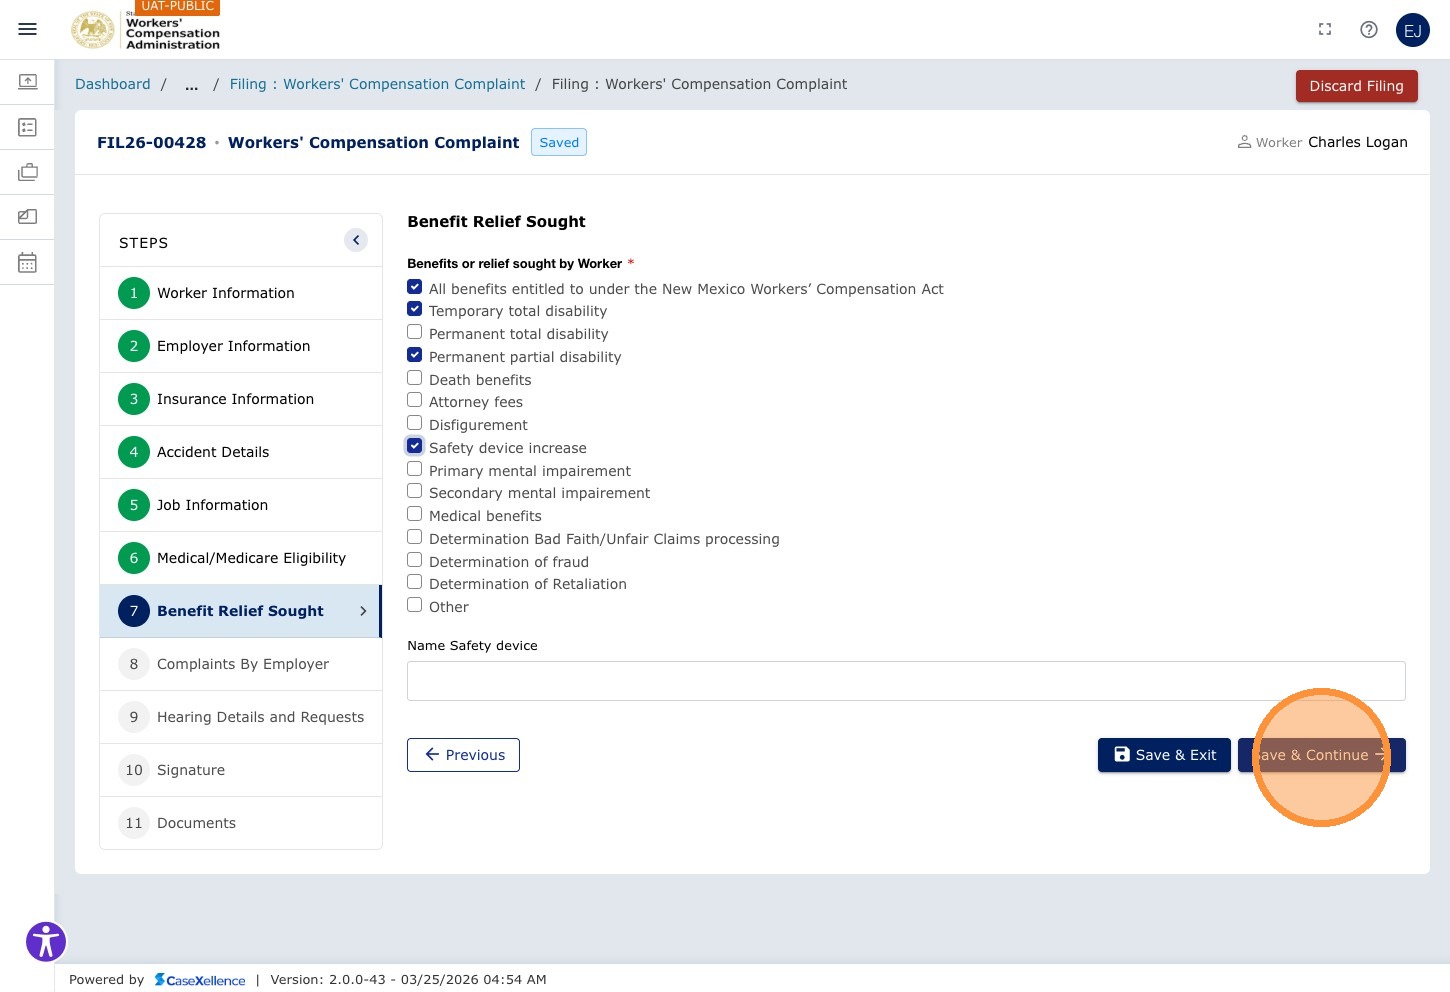
Click Safety device increase if applicable.
Step 35 — Save and Continue
Click Save & Continue →.
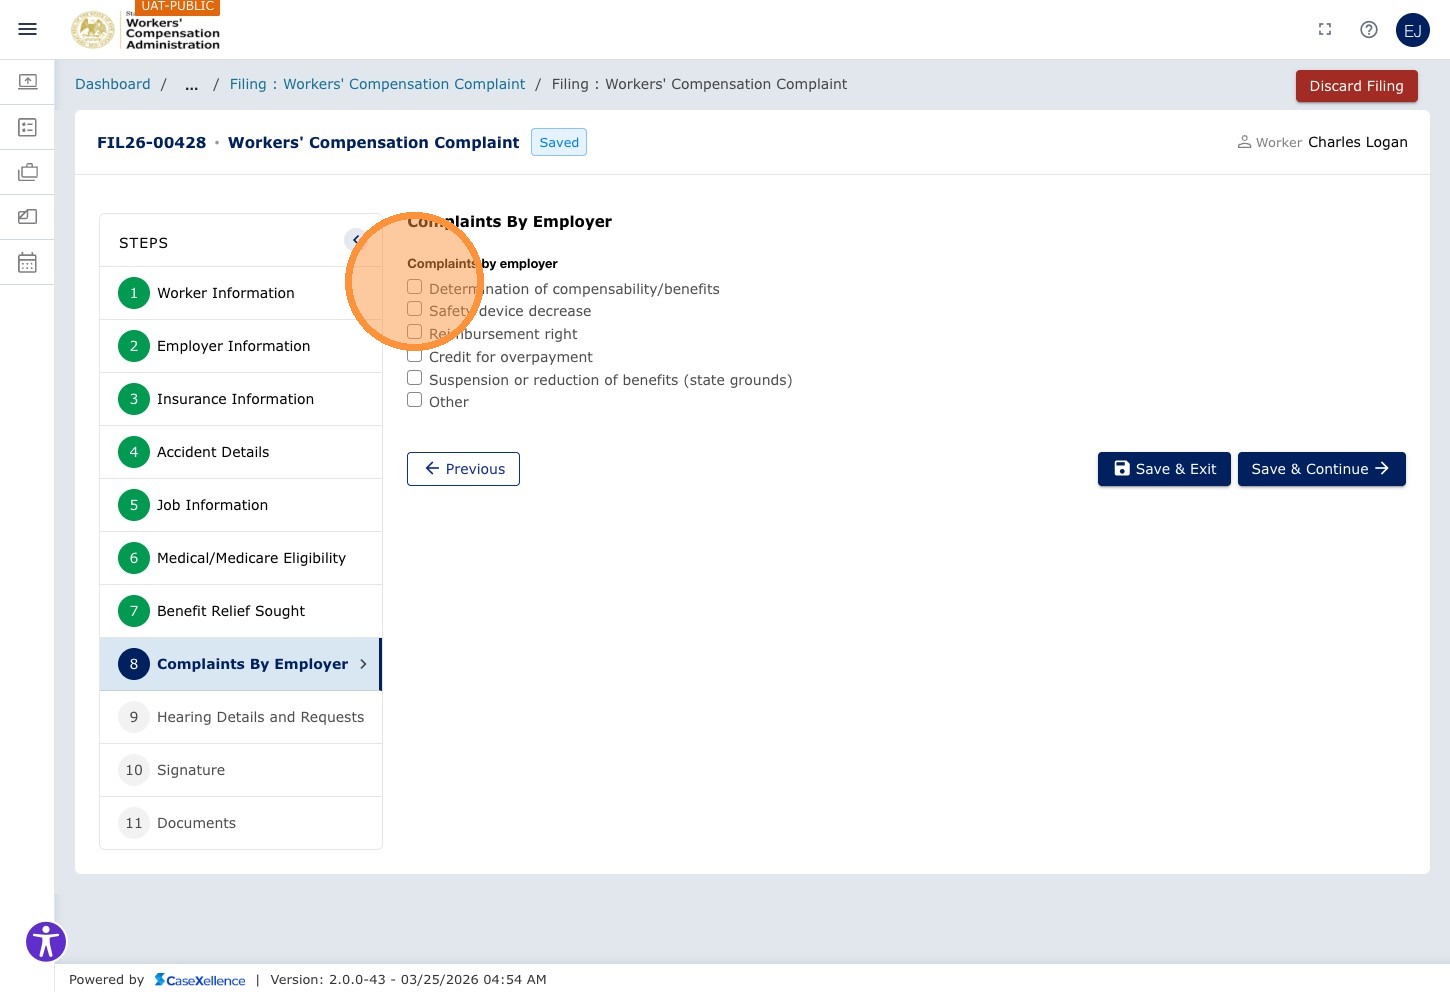
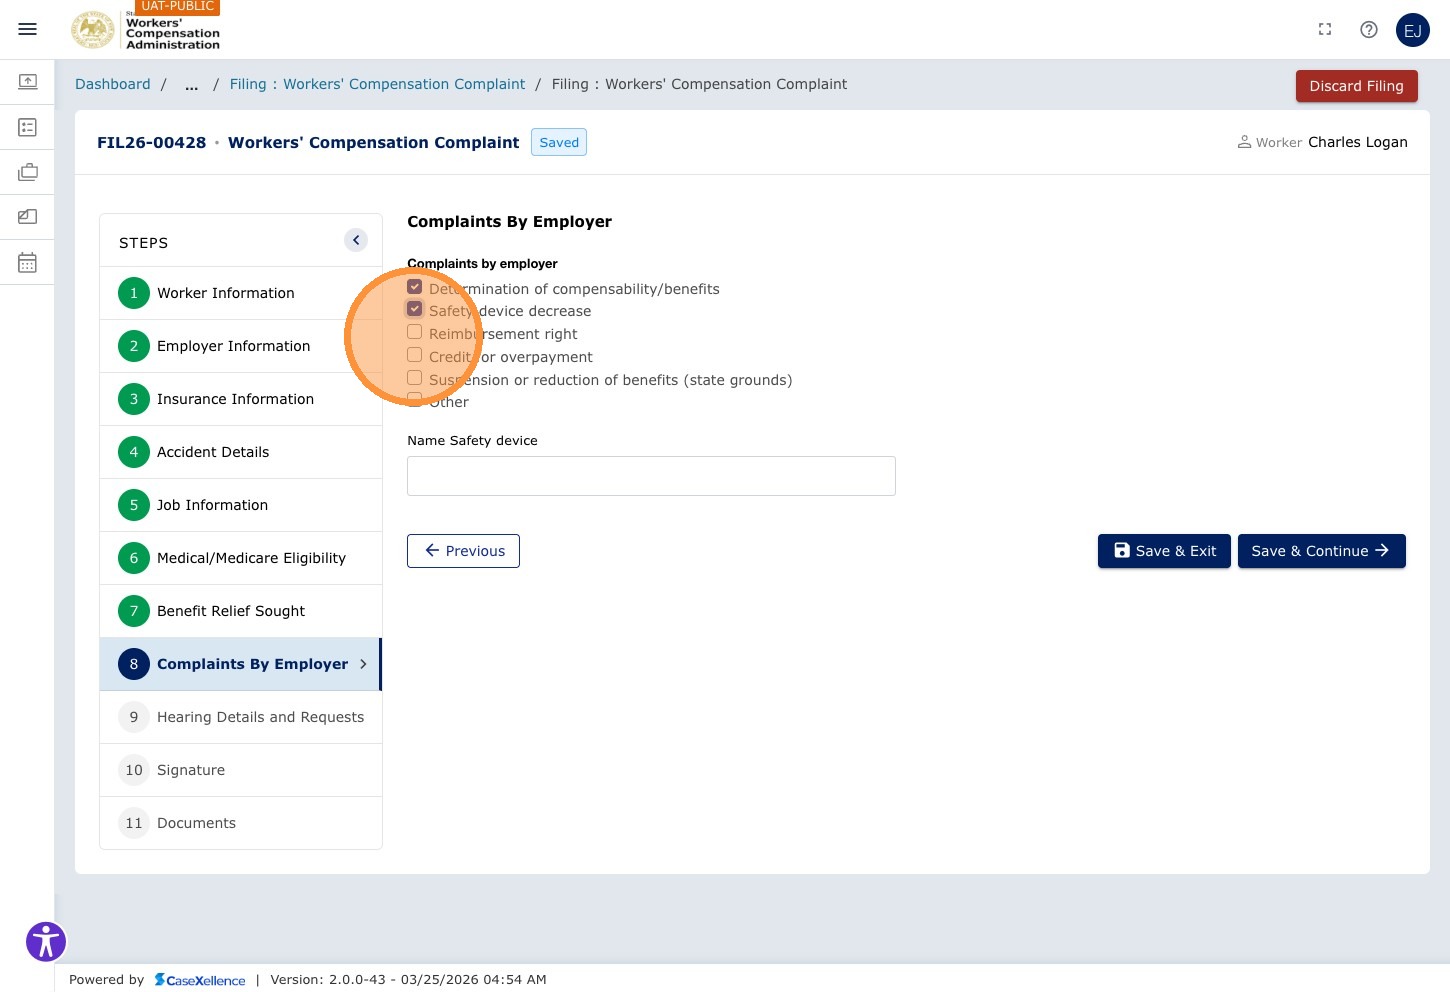
Chapter 8 — Complaints By Employer
The Complaints by employer chapter is where you indicate which employer complaints or relief items apply to this filing. Check every option that applies and leave the rest unchecked.
If your filing type includes sections for court-ordered liens or special hearing needs, complete those fields when shown.
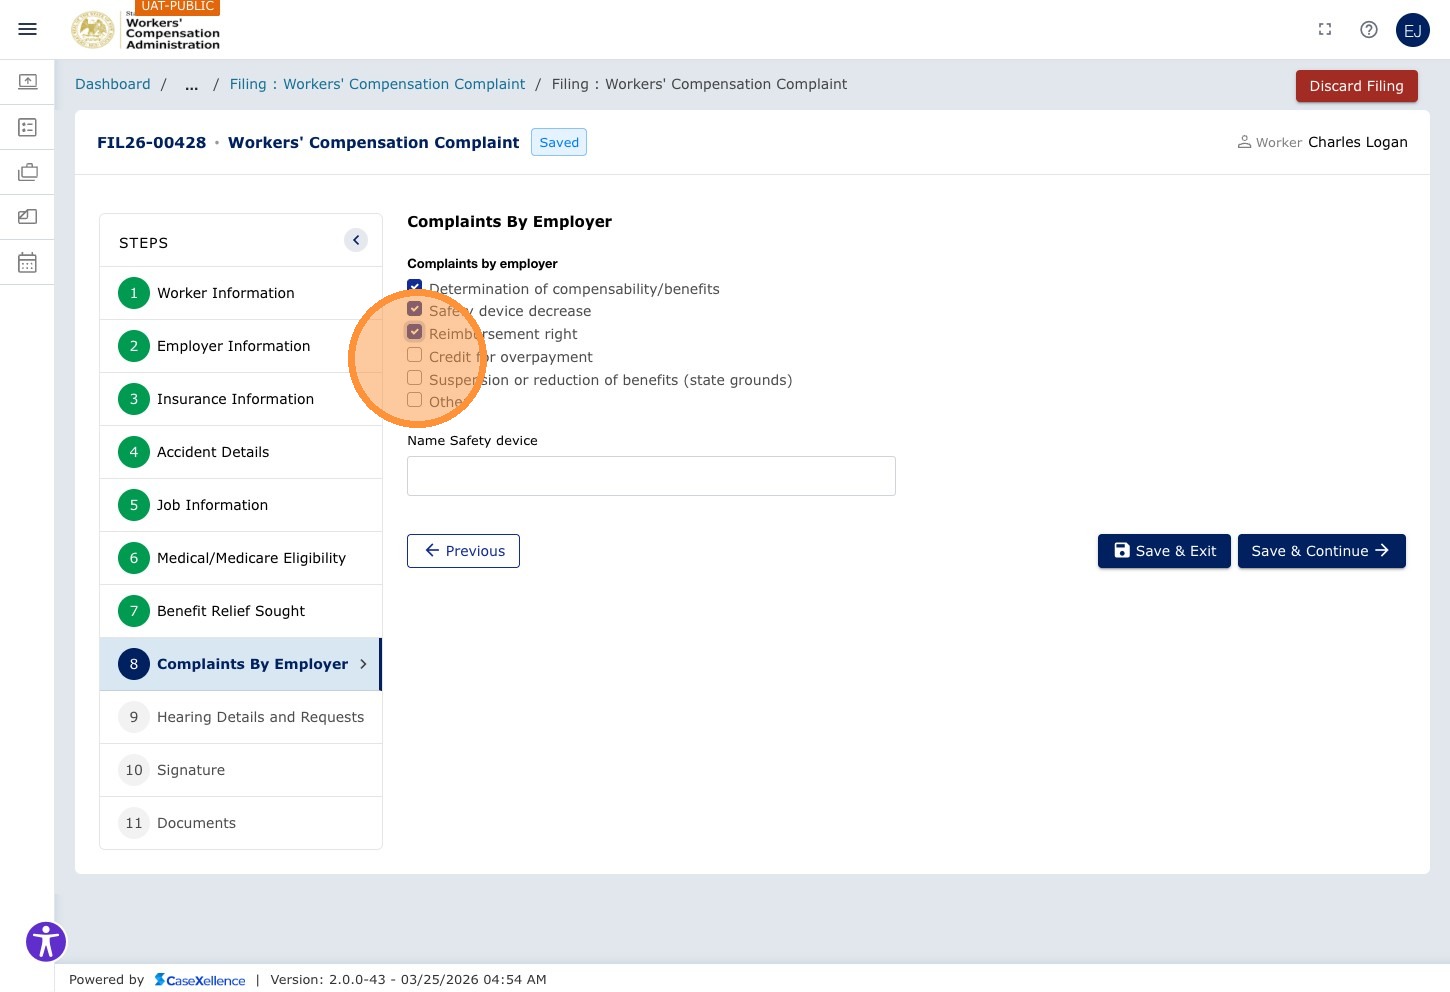
Step 36 — Select applicable complaints by employer
Review the complaints and checkboxes on this screen. Select only what applies to your case. Depending on your filing type, you may see options such as Determination of compensability/benefits, Safety device decrease, Reimbursement right, Credit for overpayment, or other labels—use whatever appears on your form. Do not check items that are not relevant.
The screenshots below show examples of how individual options may look on the portal; your list may differ slightly.
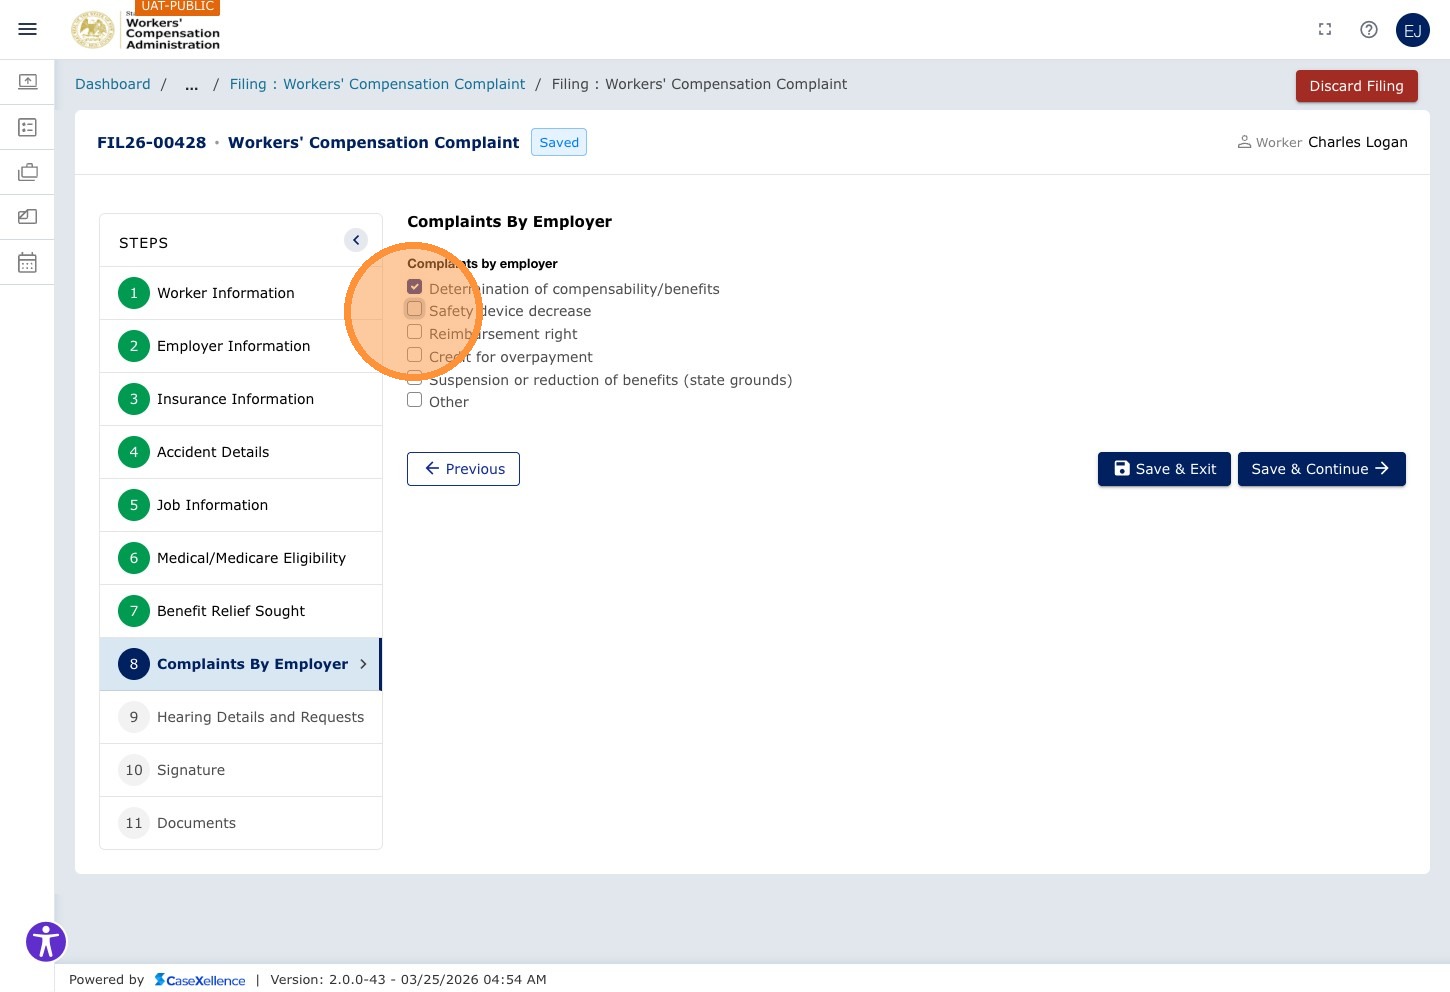
Step 37 — Save and Continue
Click Save & Continue →.

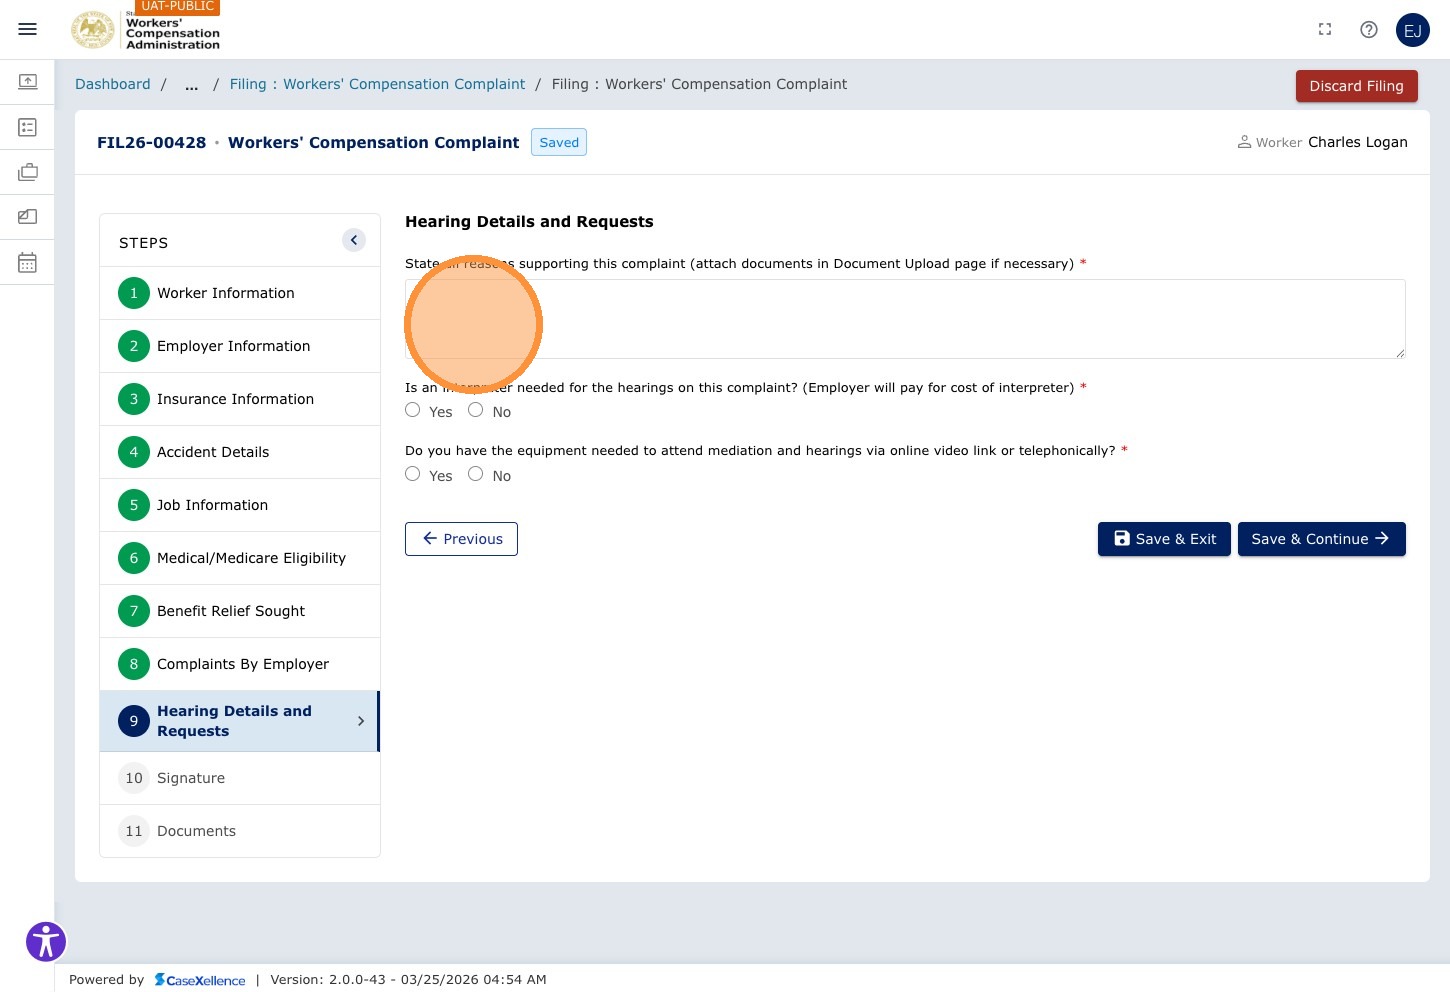
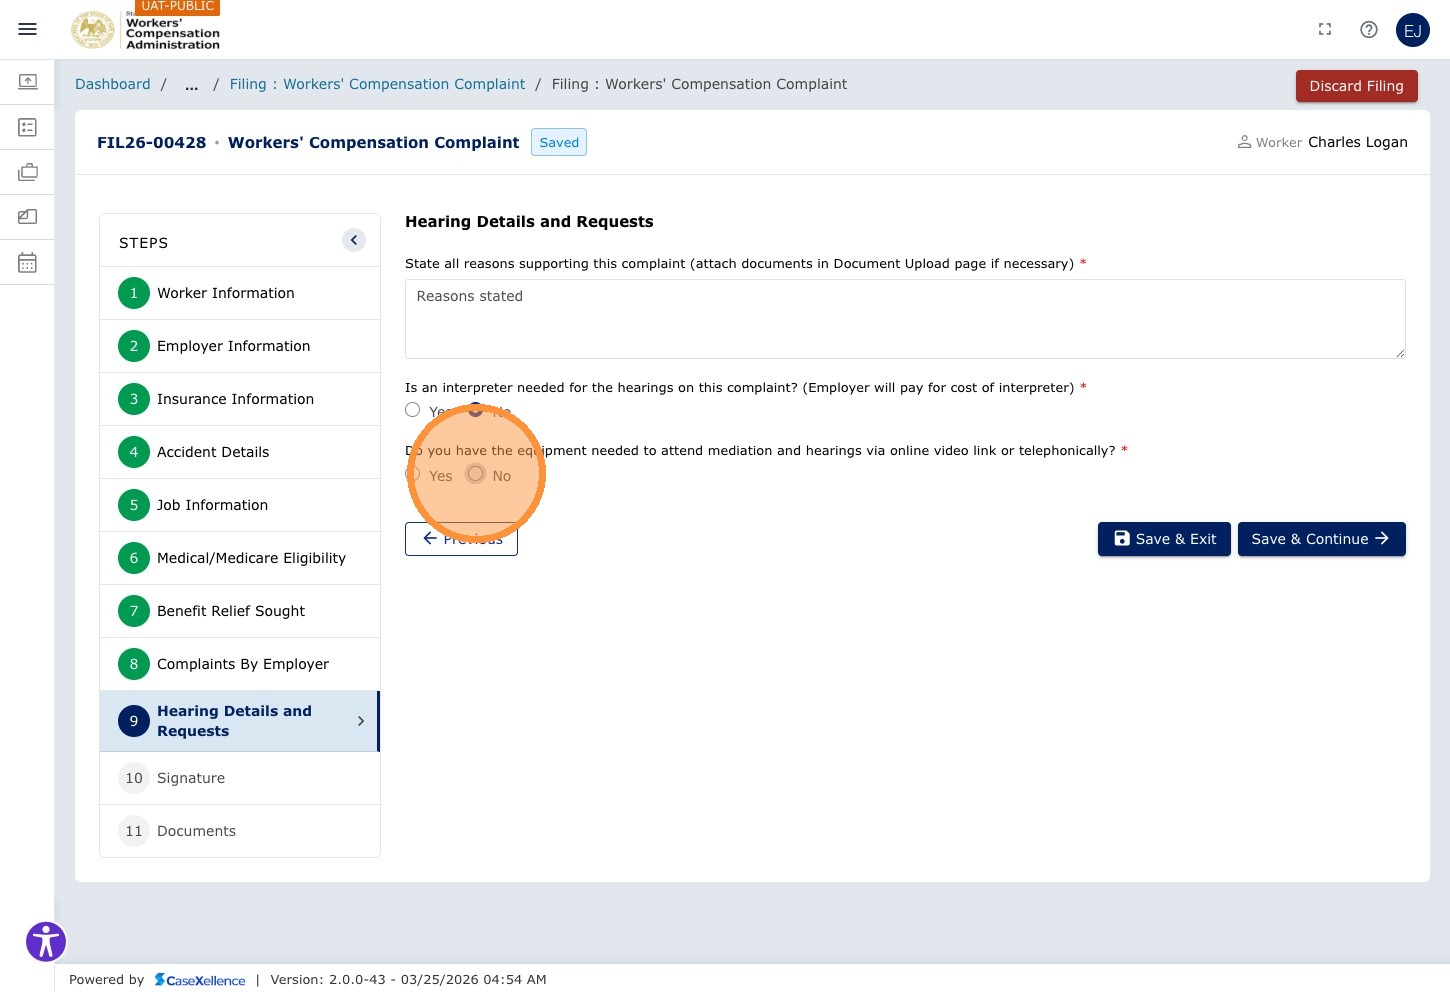
Chapter 9 — Hearing Details & Requests
The Hearing Details & Requests chapter collects the narrative for your complaint, any Yes/No questions shown for this filing type, and the WCA office selection. Complete every field that applies before you continue.
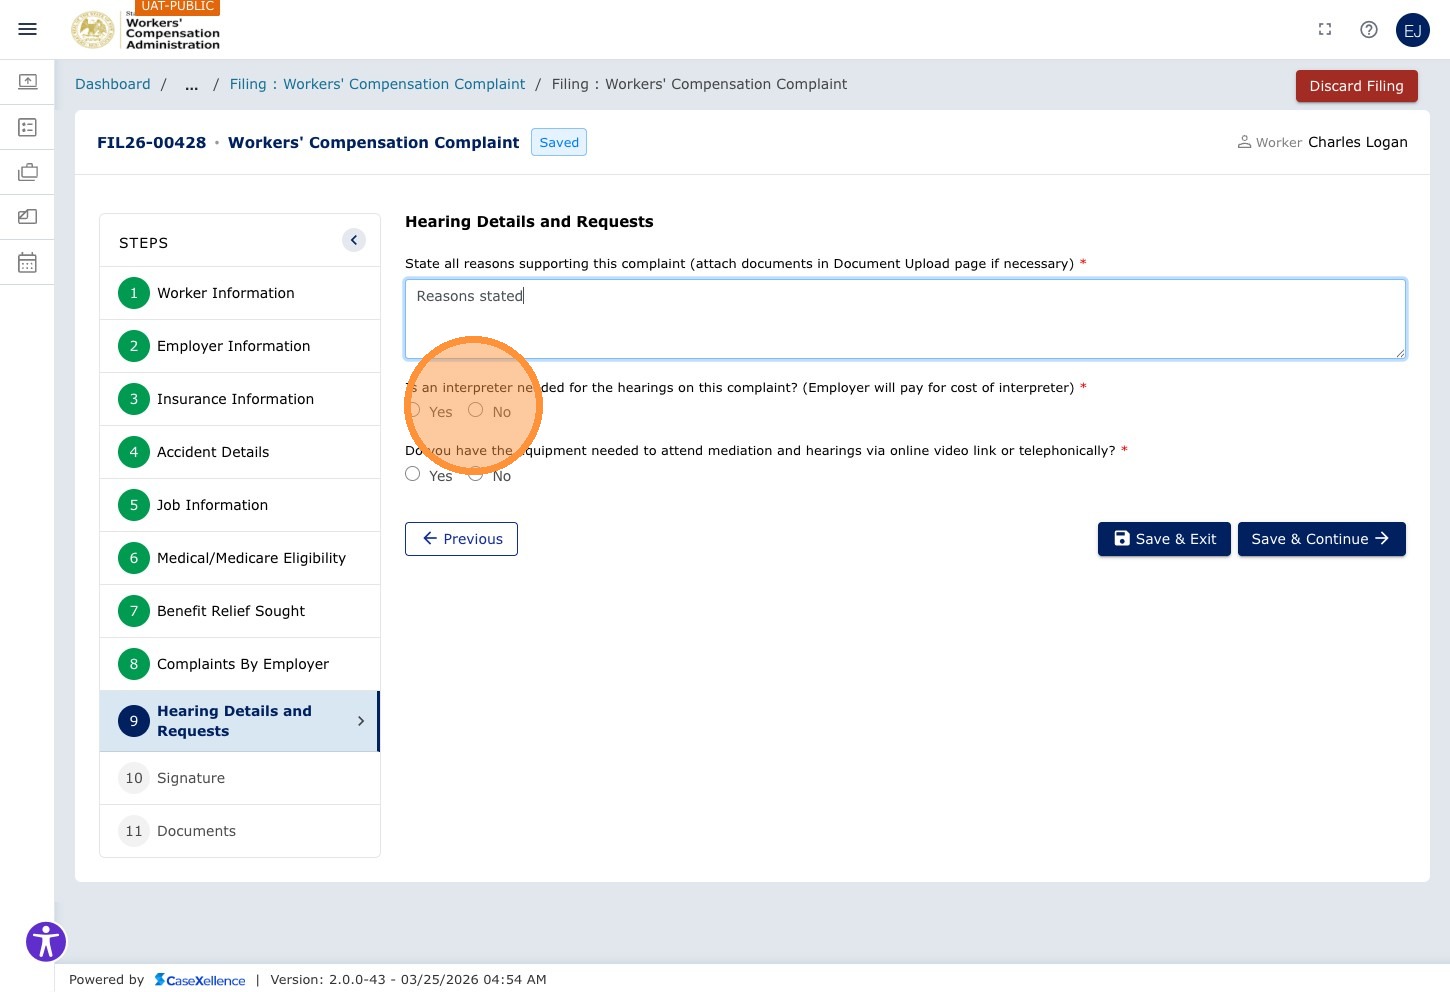
Step 38 — Enter hearing details and requests
In this chapter, click the State all reasons supporting this complaint field and type a clear narrative explaining the basis of the complaint and any hearing-related details or requests that apply. If you have supporting documents, note them here and attach them in the Documents chapter.
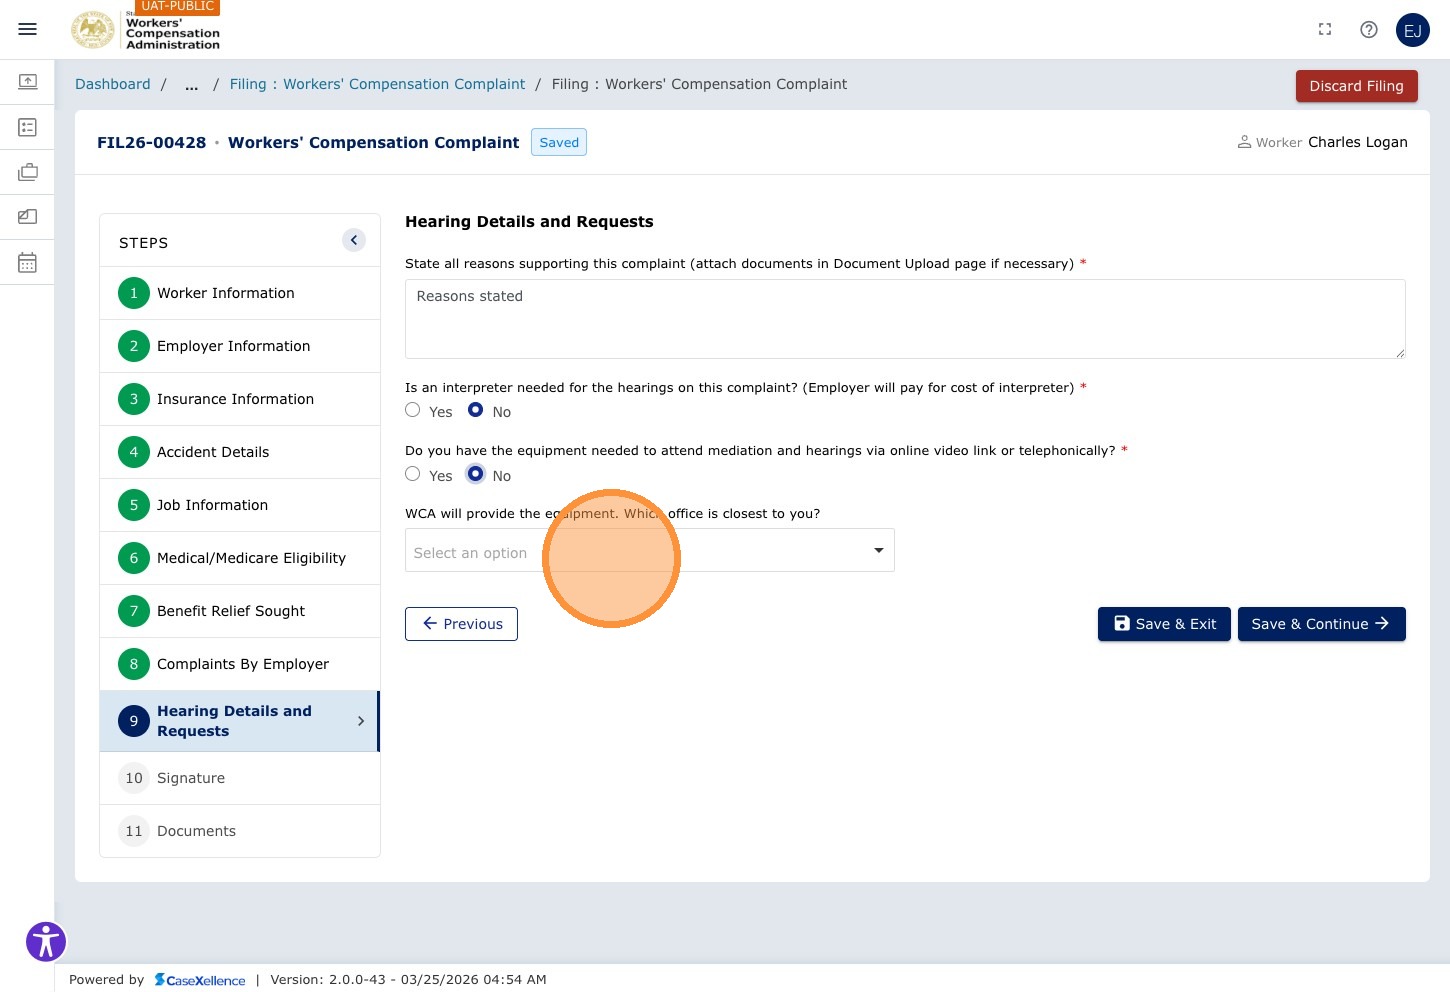
Step 39 — Answer Remaining Yes/No Questions
Answer all Yes/No questions in this chapter.
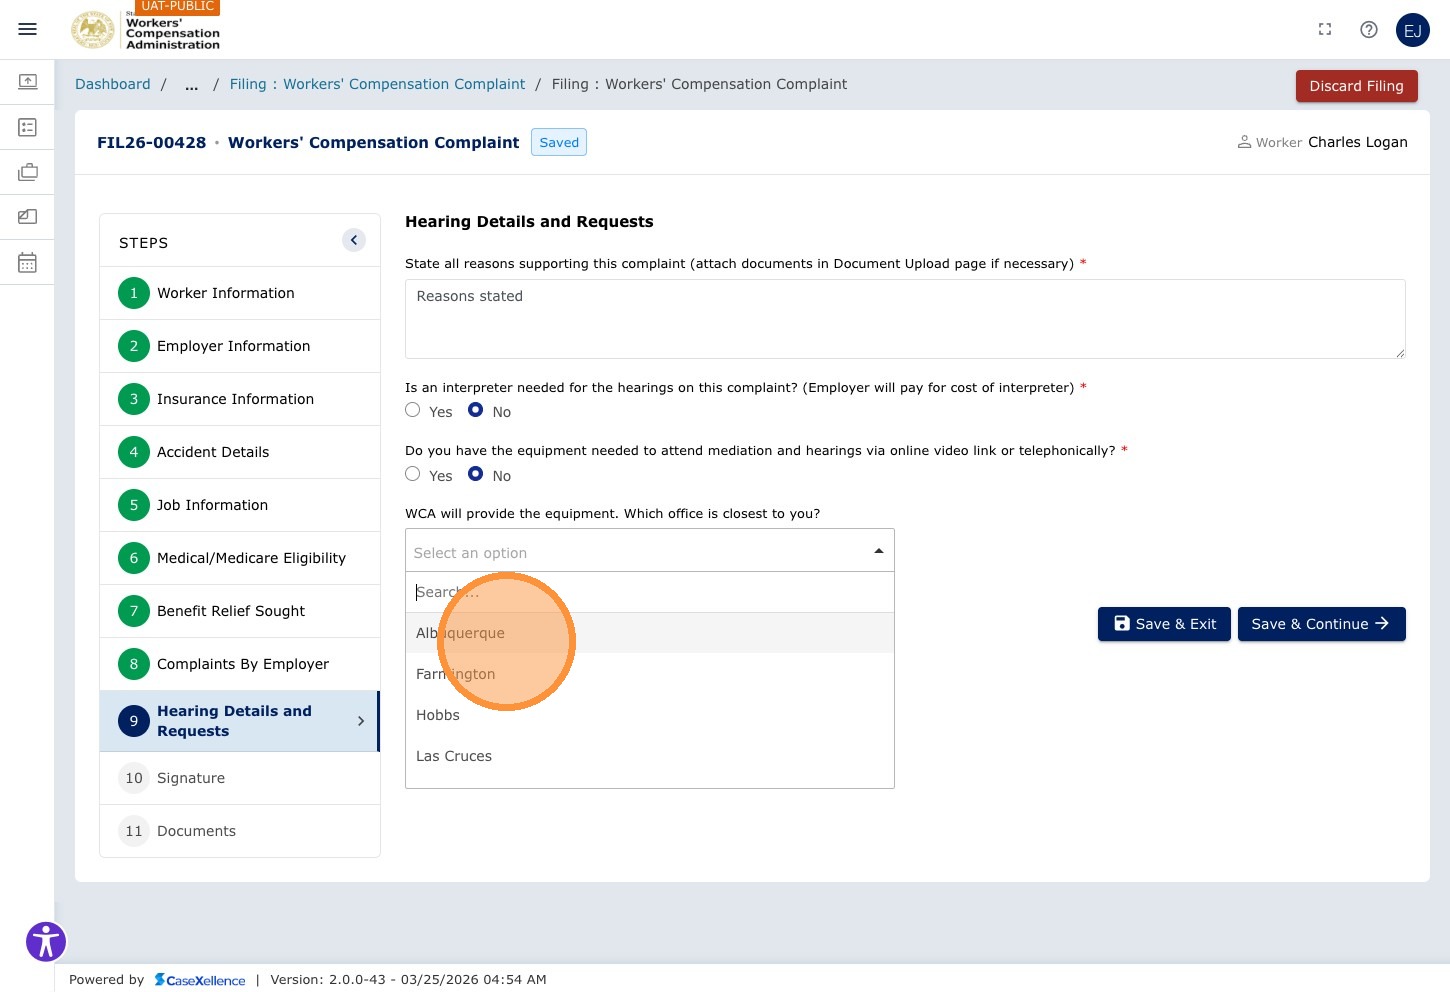
Step 40 — Select WCA Office
Click the Select an option dropdown to choose the WCA office location.
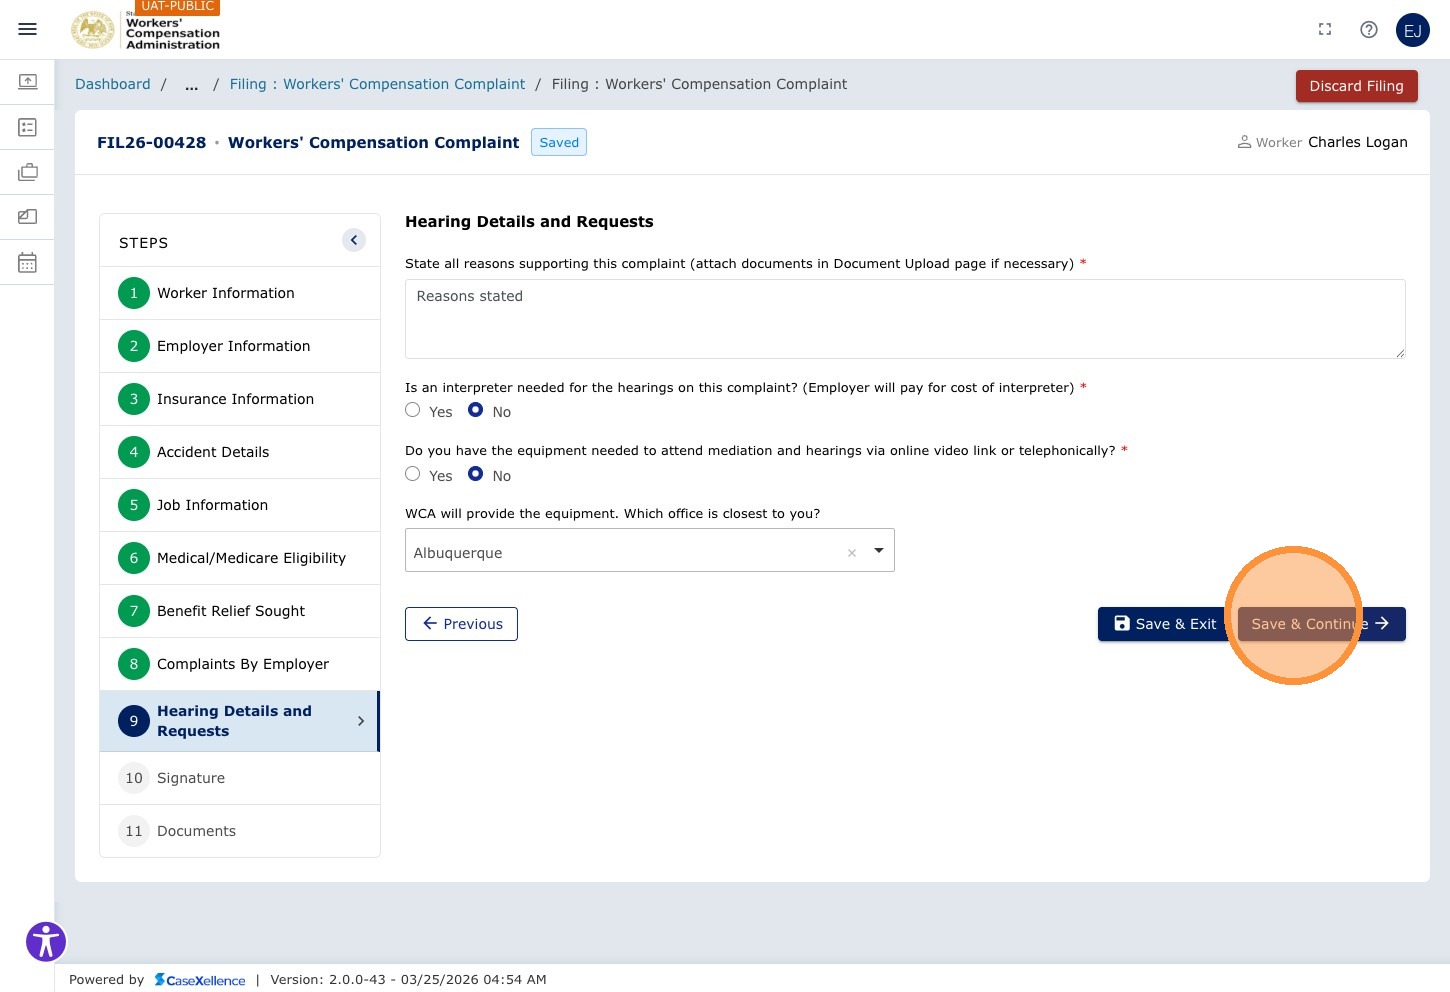
Select the applicable office (e.g., Albuquerque).
Step 41 — Save and Continue
Click Save & Continue →.
Chapter 10 — Signature
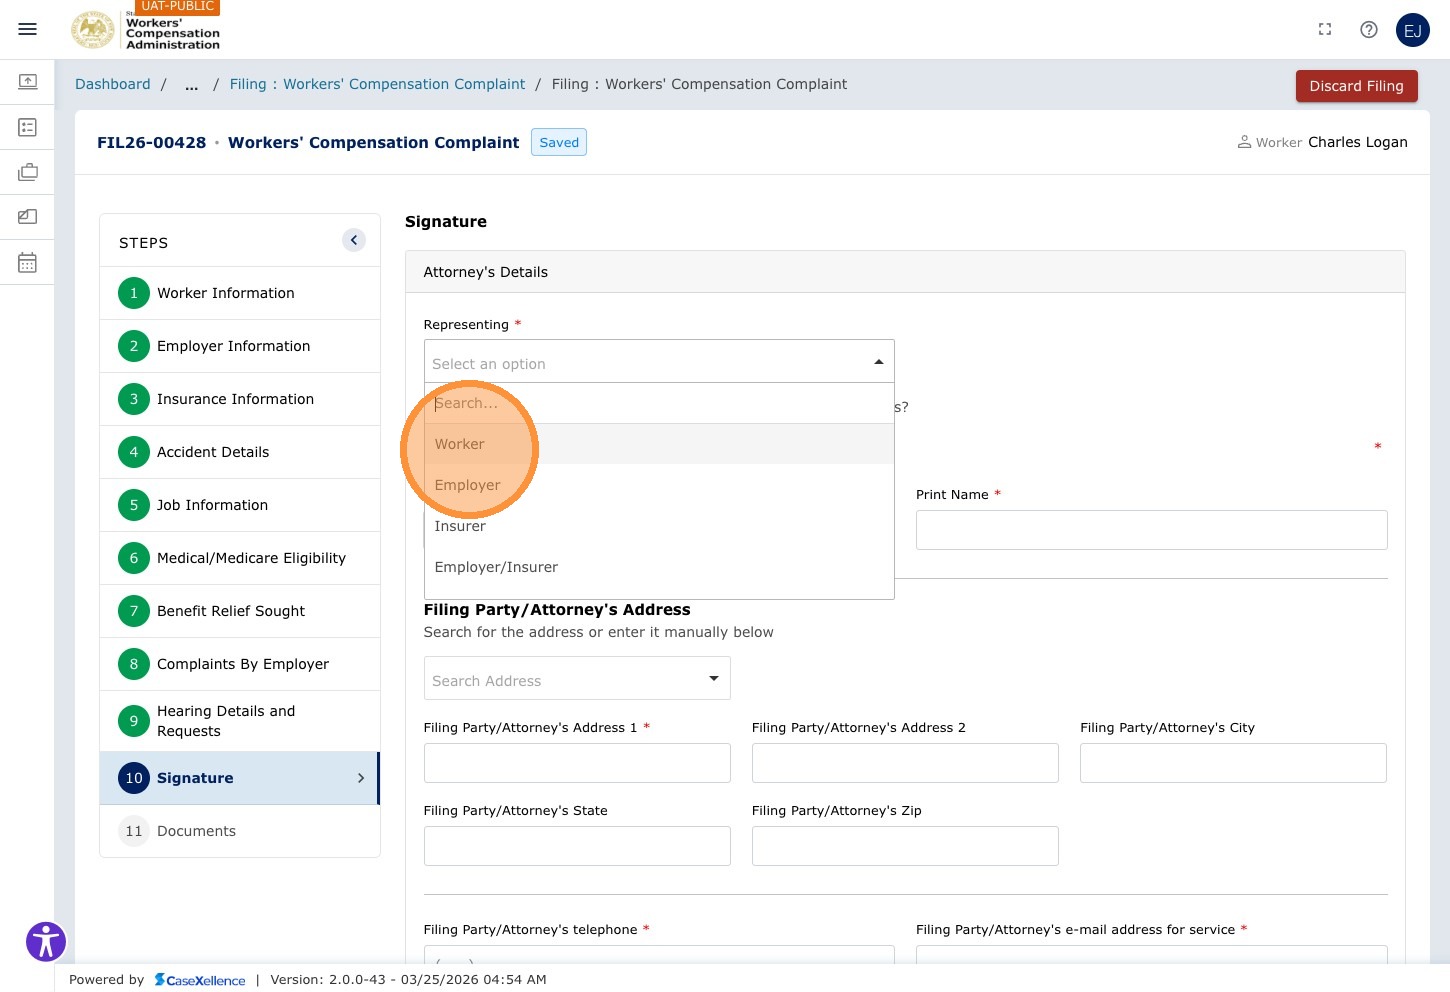
Step 42 — Select Filing Party Type
Click the Select an option dropdown to identify who is filing this complaint.
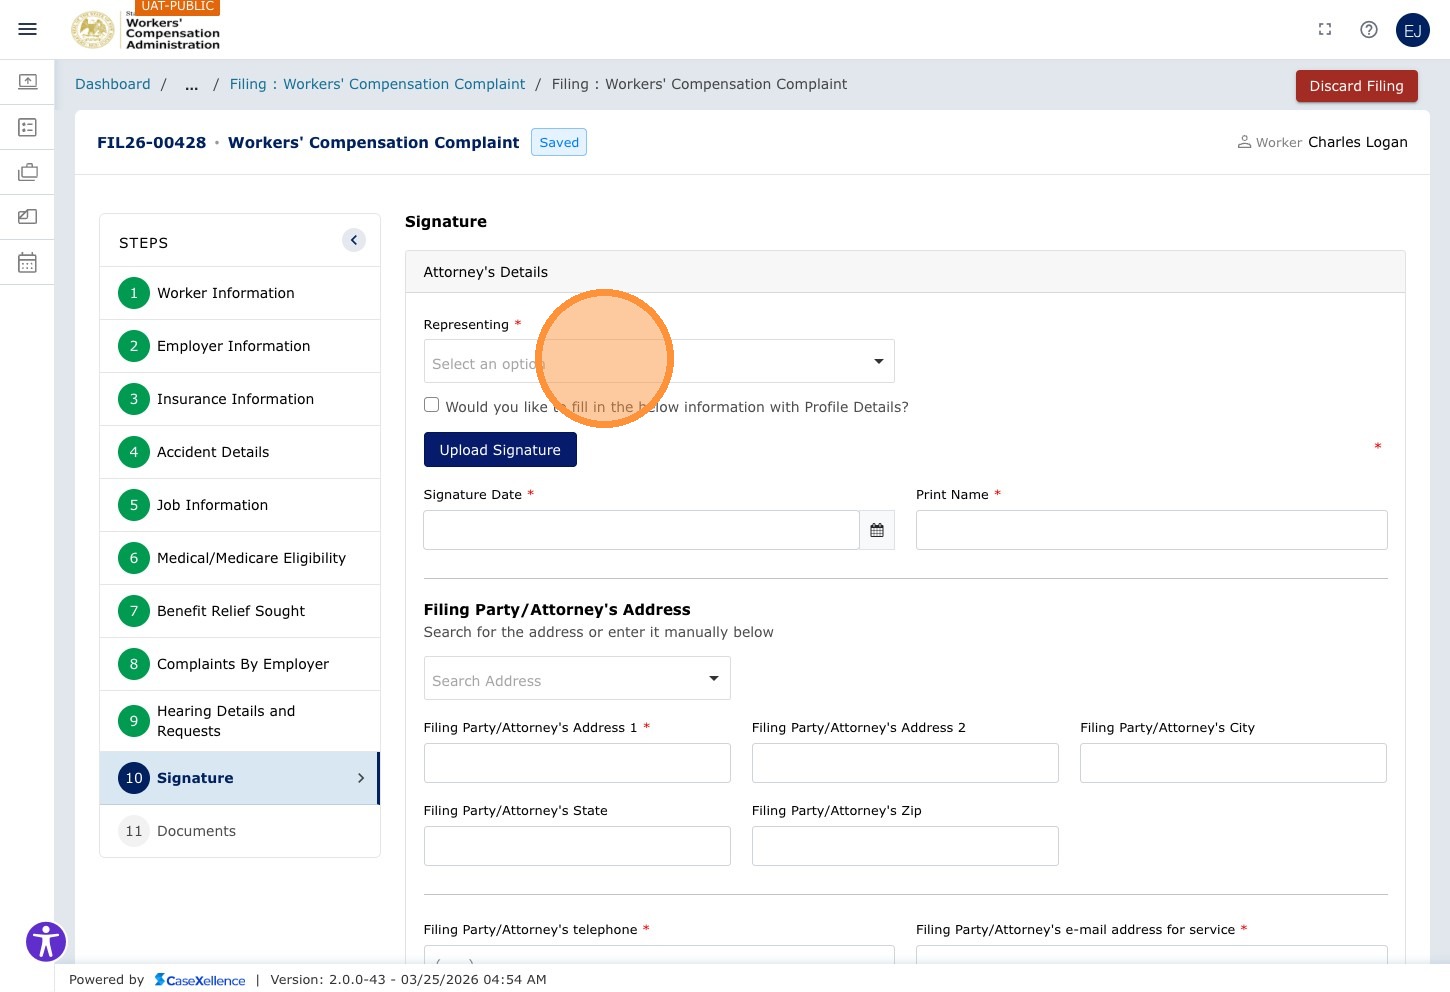
Select Worker (or the applicable filing party type: Attorney, Employer representative, etc.).
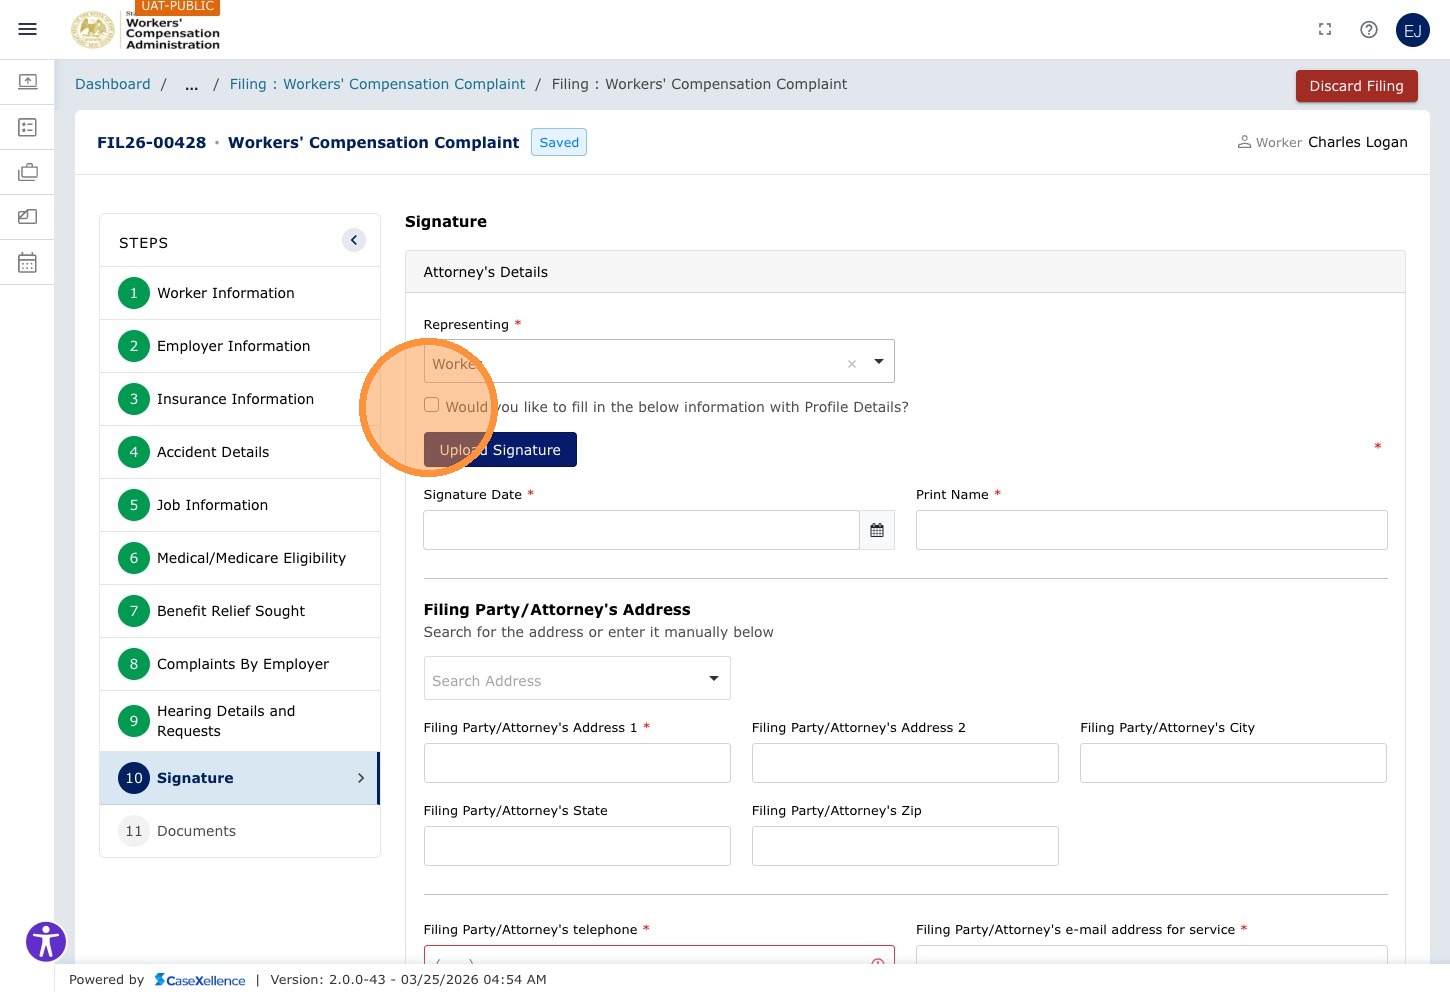
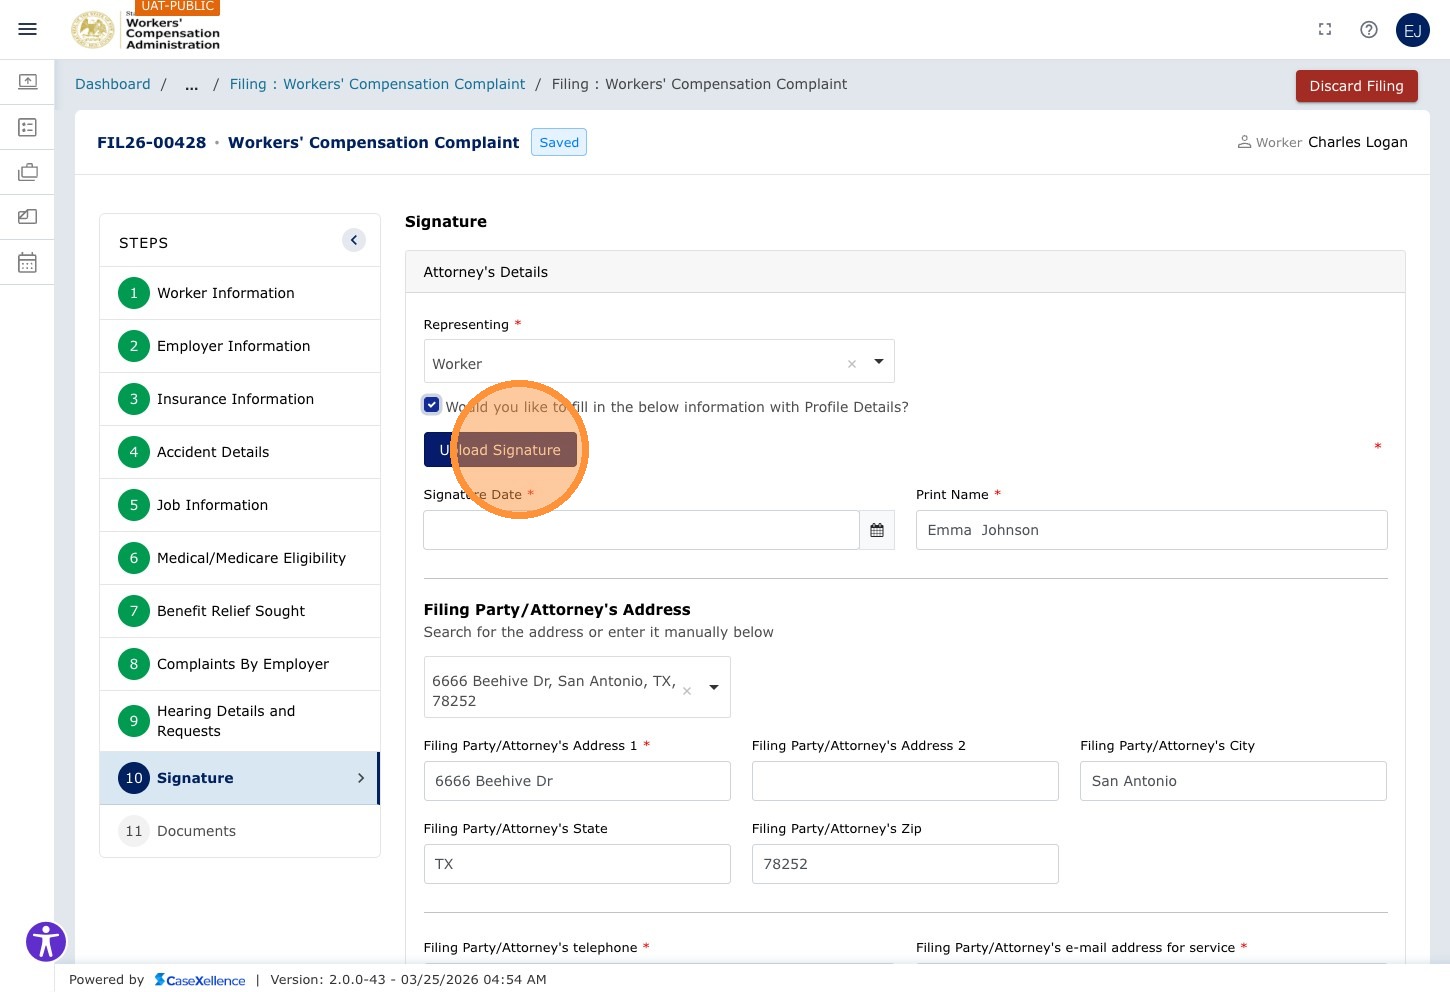
Step 43 — Optionally Use Profile Details
If your profile information is already set up in CaseX, click the Would you like to fill in the below information with Profile Details? checkbox. This will automatically populate your name, address, and other contact details from your profile — including your saved signature if one is on file.
Checking "Would you like to fill in the below information with Profile Details?" is the fastest way to sign if your profile is up to date. It populates your name, contact information, and signature automatically — no manual entry or drawing required. Set up your signature once in your profile (see User Profile section) to use this every time you file.
Step 44 — Add Your Signature
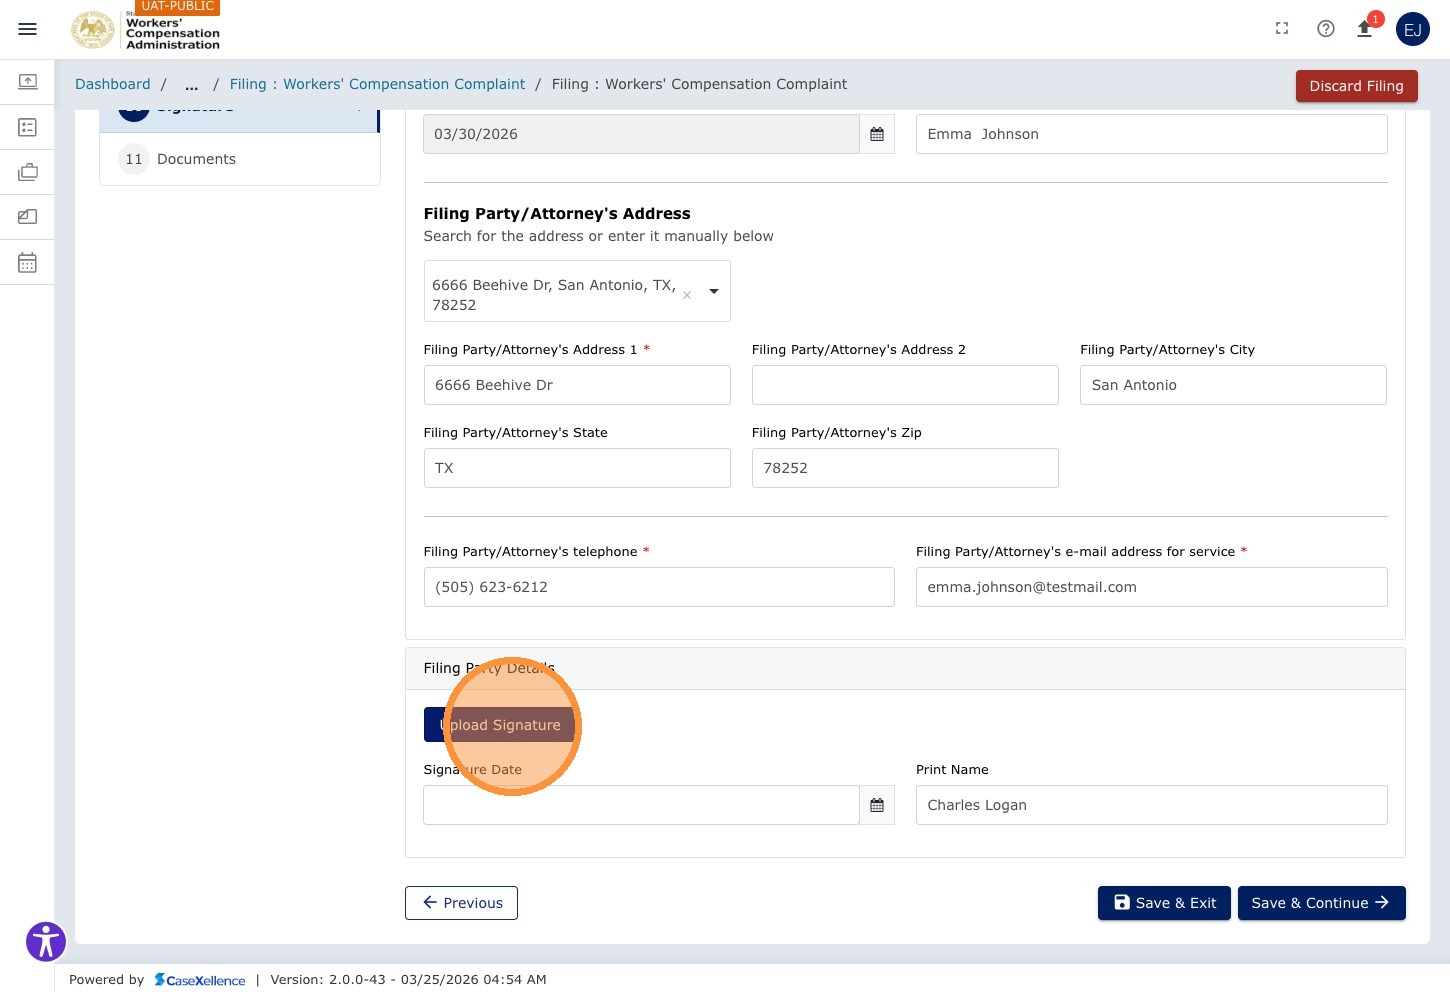
If you chose not to use Profile Details, add your signature using one of the two options:
Option A — Upload Signature: Click Upload Signature to upload a saved image file of your signature (JPG or PNG).
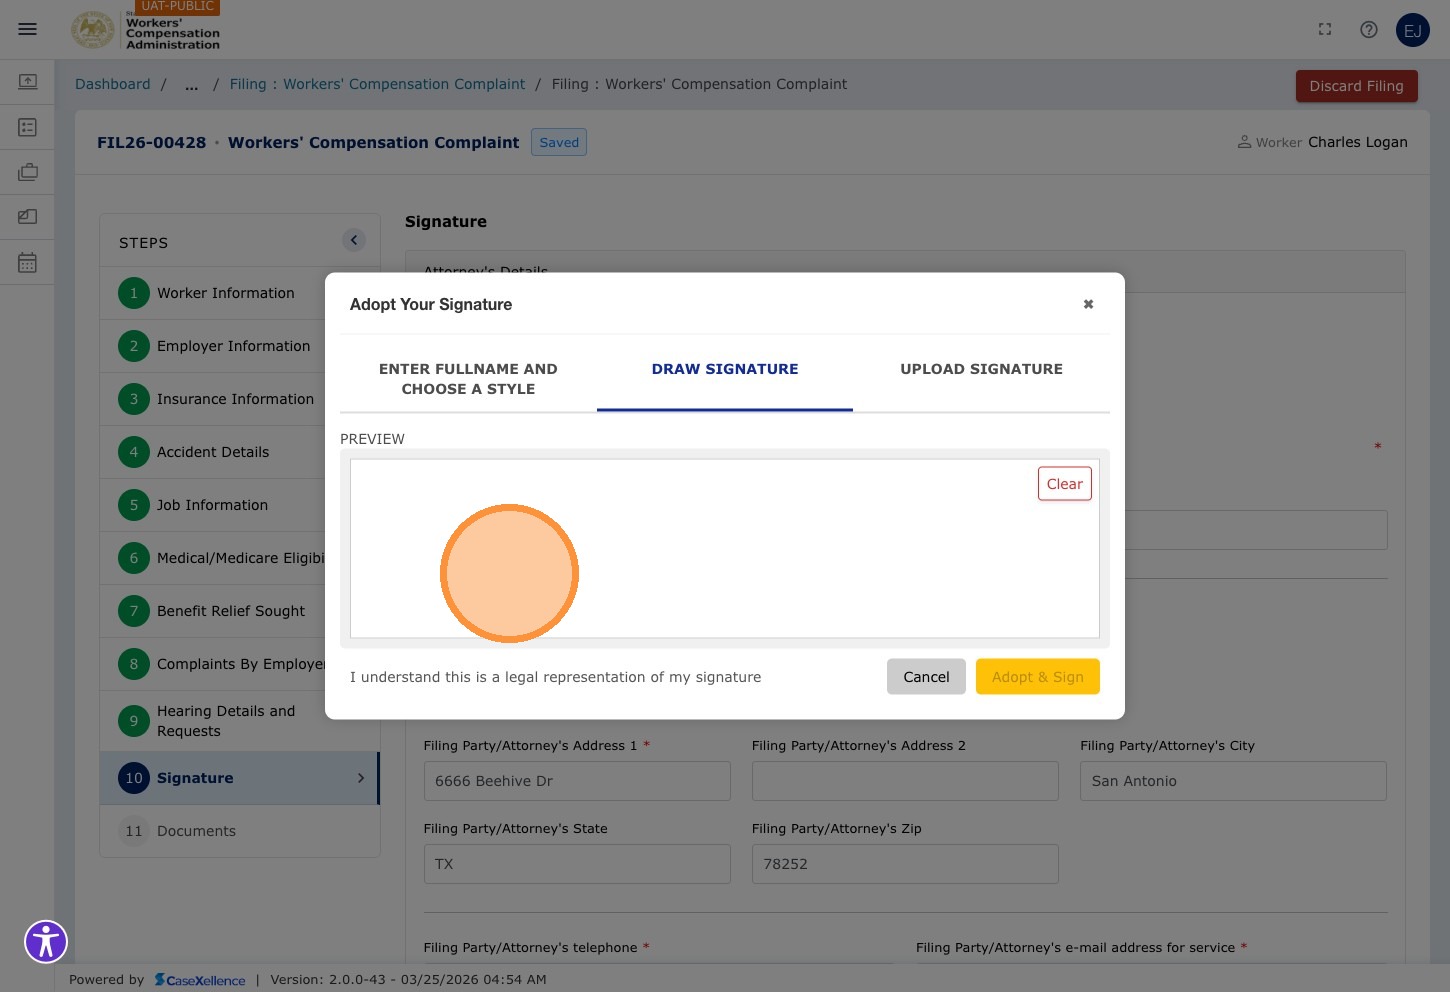
Option B — Draw Signature: Click DRAW SIGNATURE to draw your signature directly in the portal using your mouse or touchscreen.
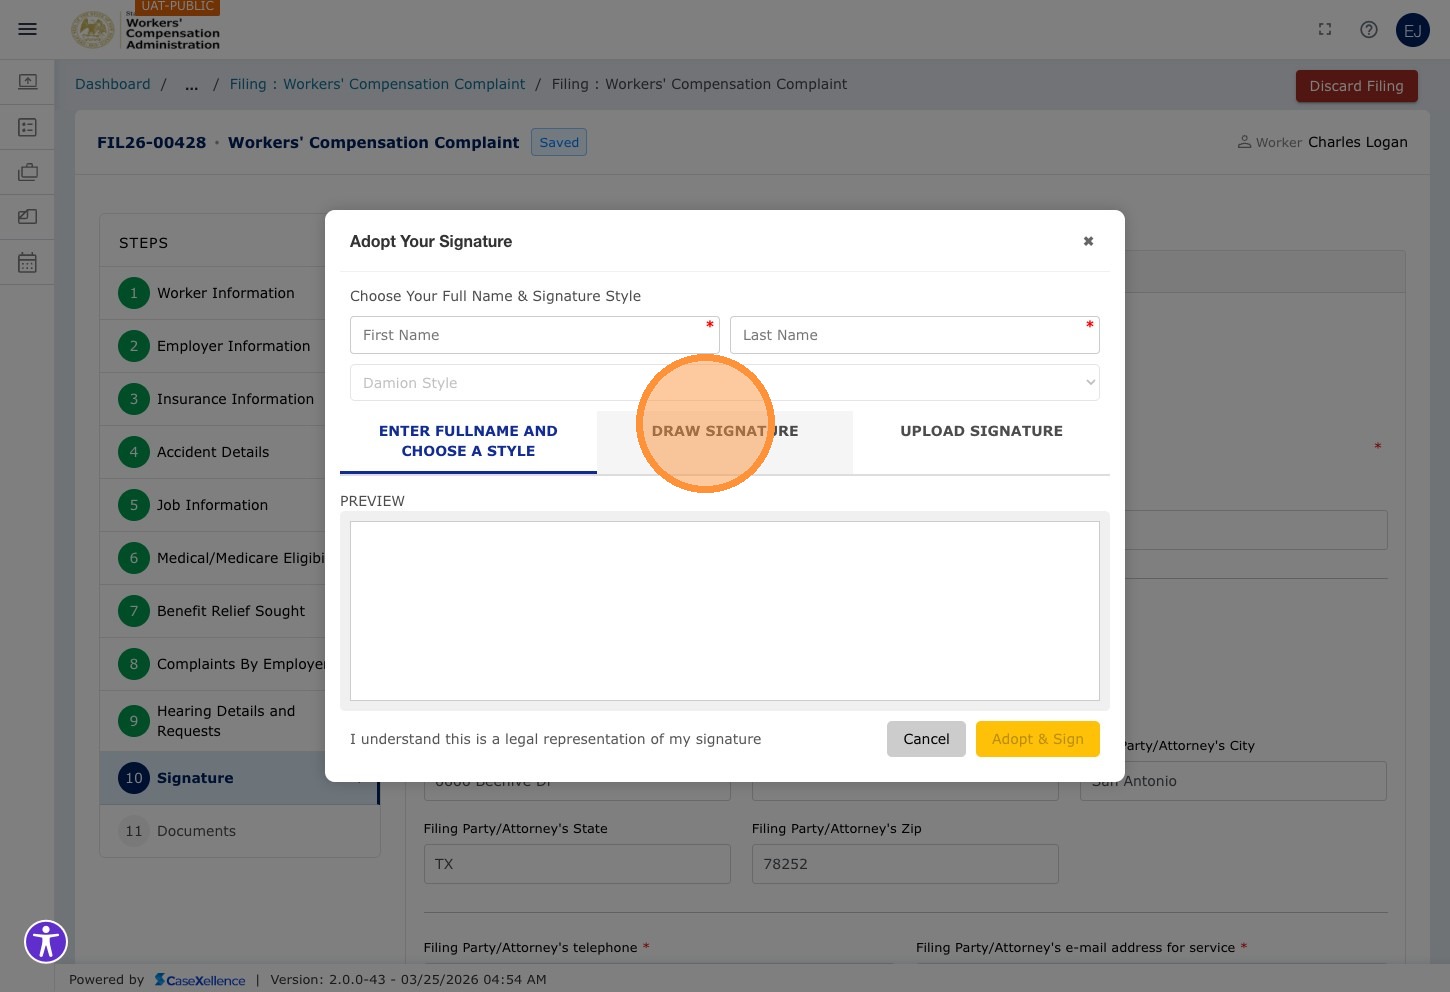
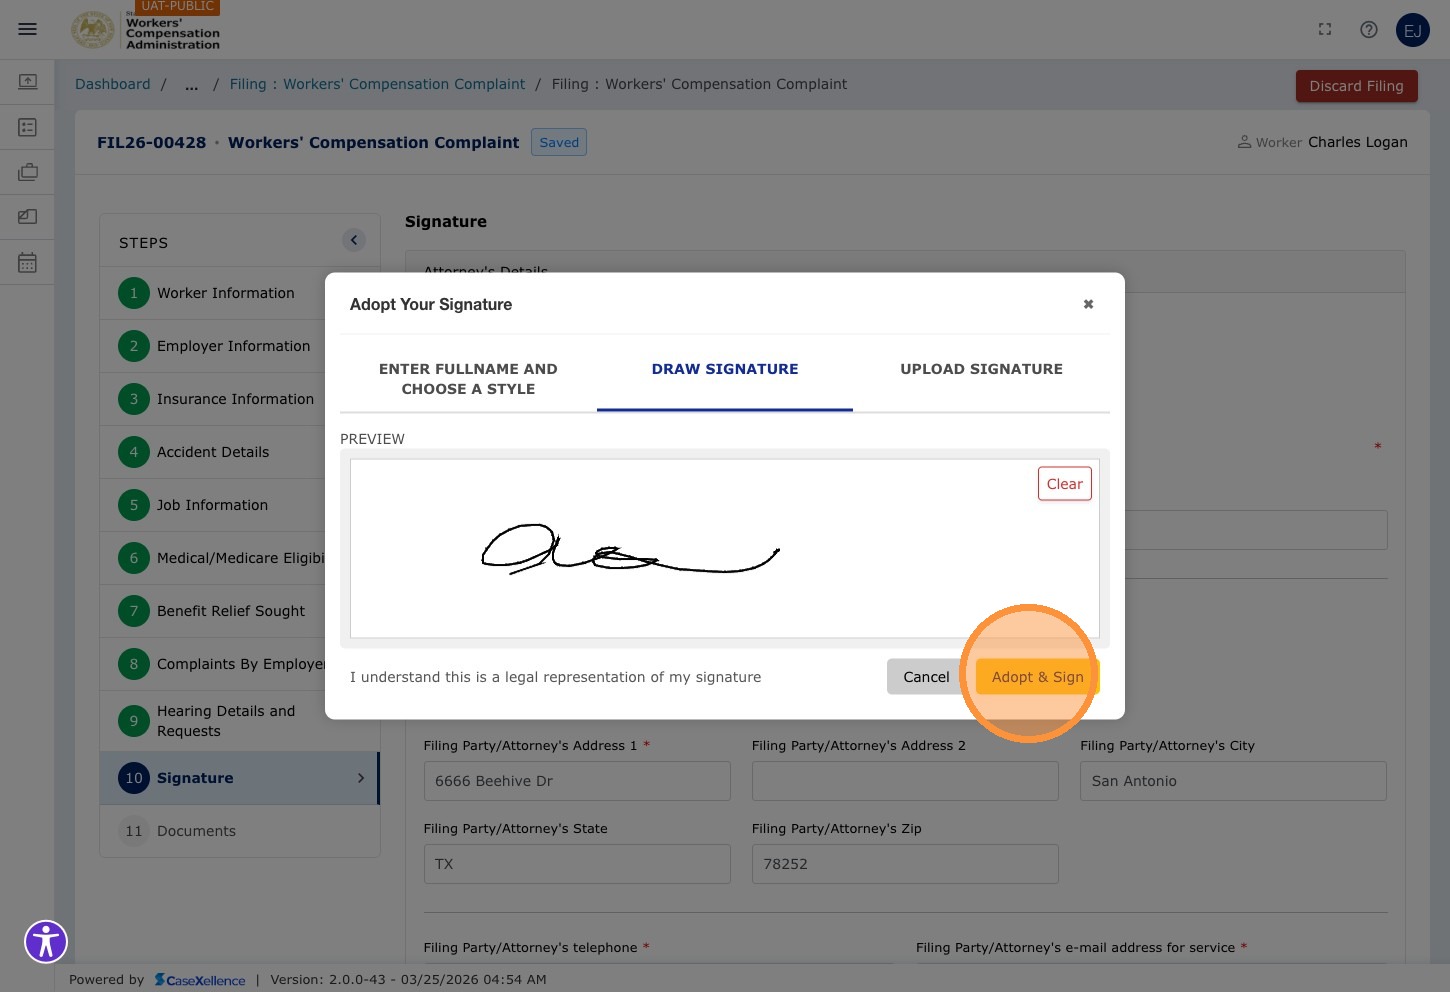
Click in the signature drawing area and draw your signature.
Click Adopt & Sign to confirm your drawn signature.
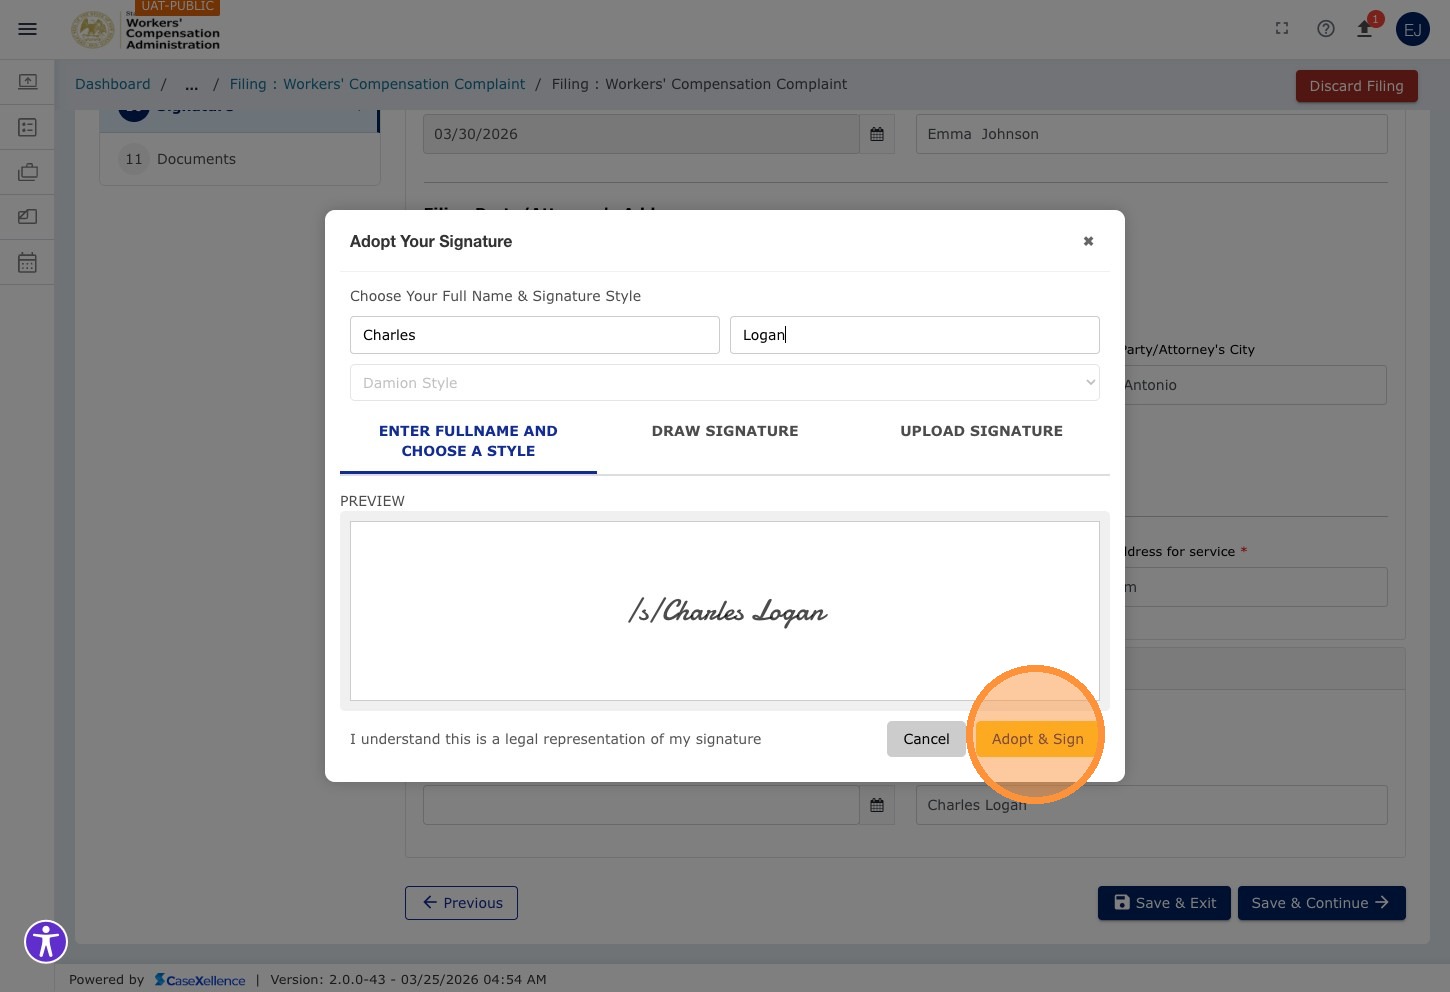
Option C — Type Name Signature: Click Upload Signature and then enter your first and last name in the fields provided to generate a typed signature.
Click the First Name field and enter your first name, then Tab to enter your last name.
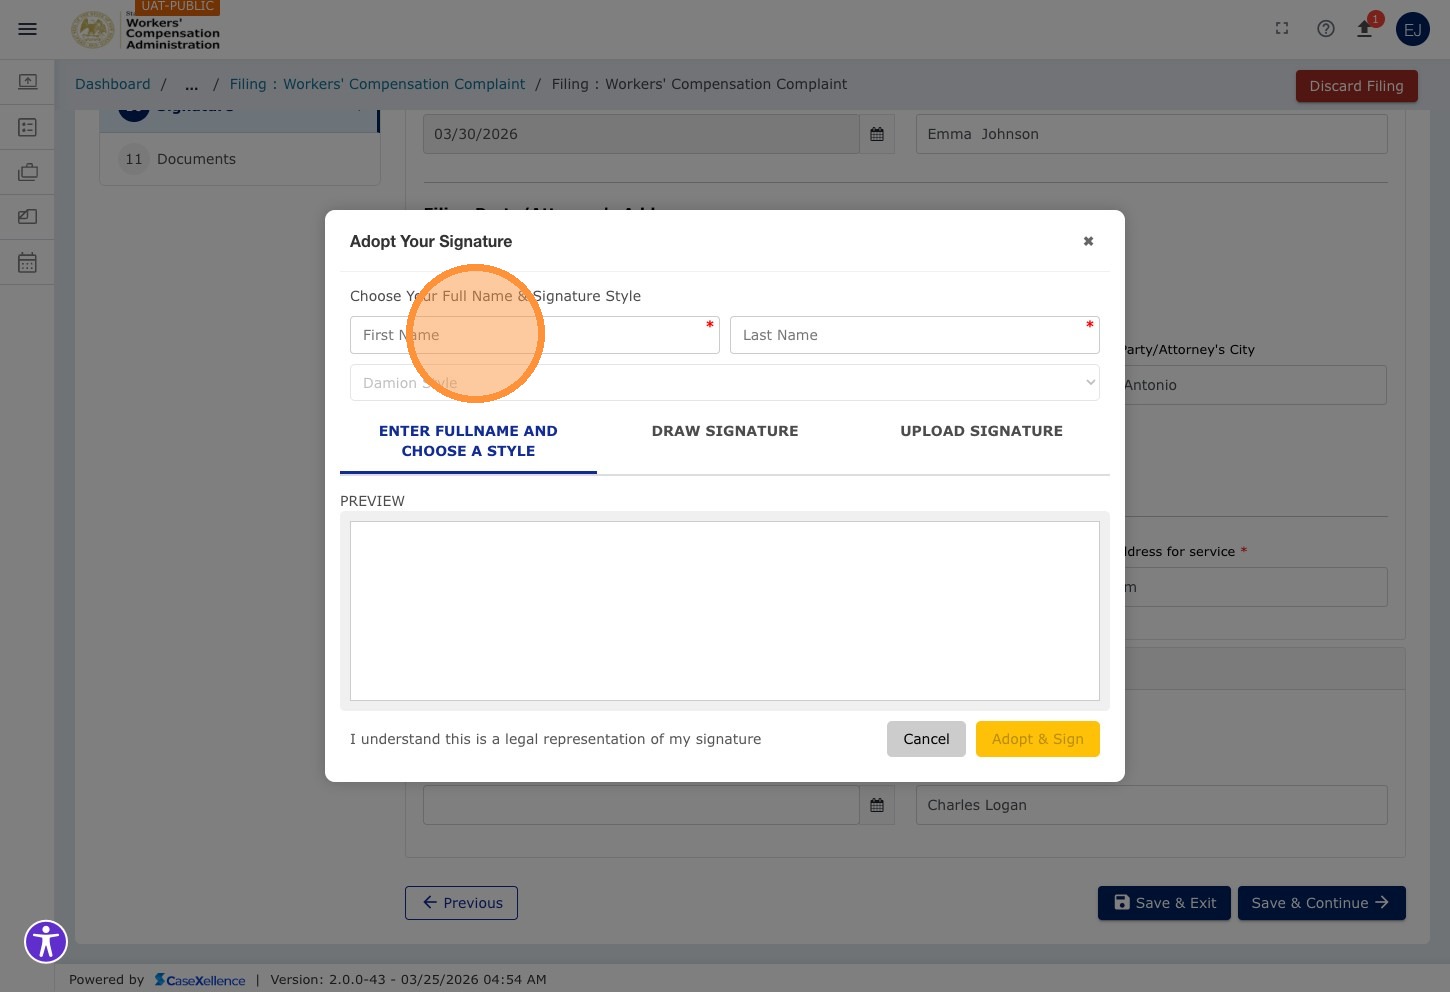
Click Adopt & Sign to apply the typed signature.
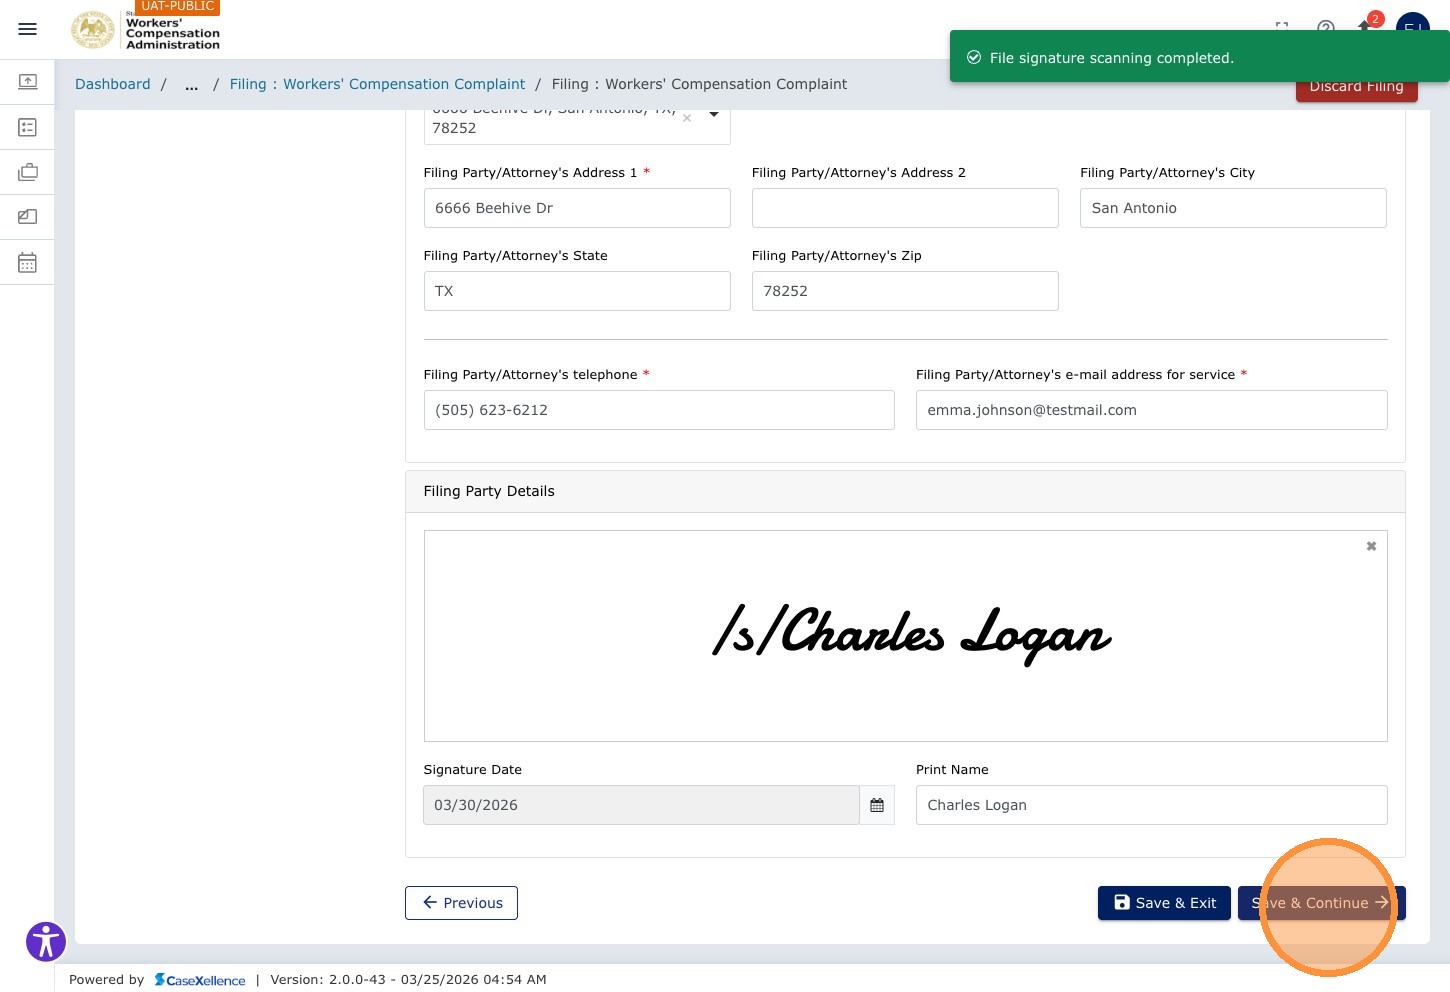
Step 45 — Save and Continue
Click Save & Continue → to proceed to the Documents chapter.
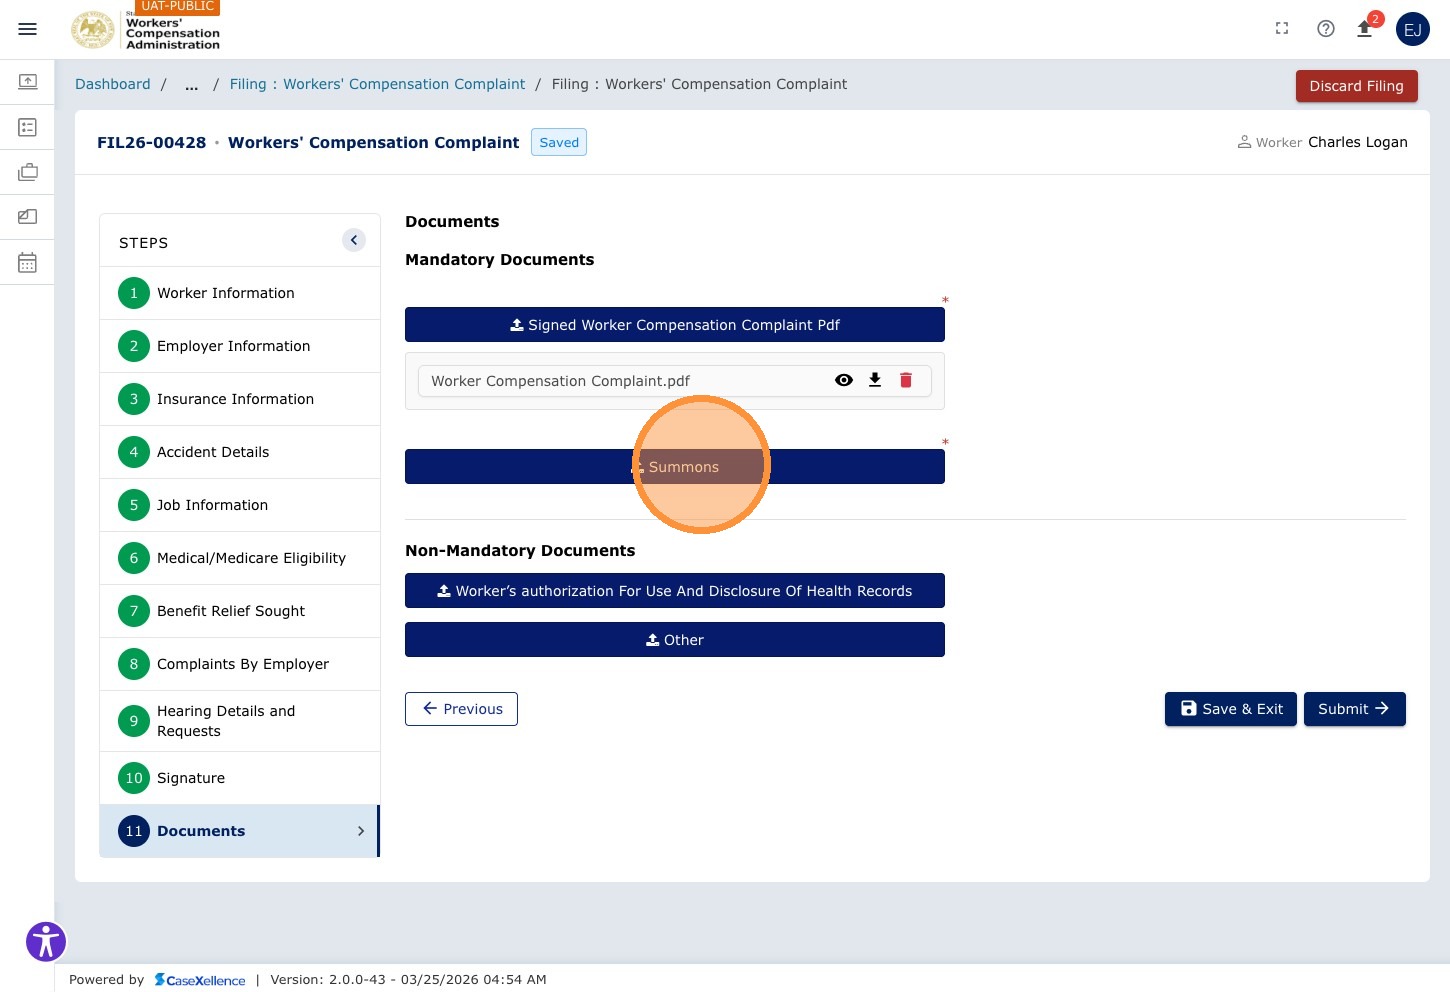
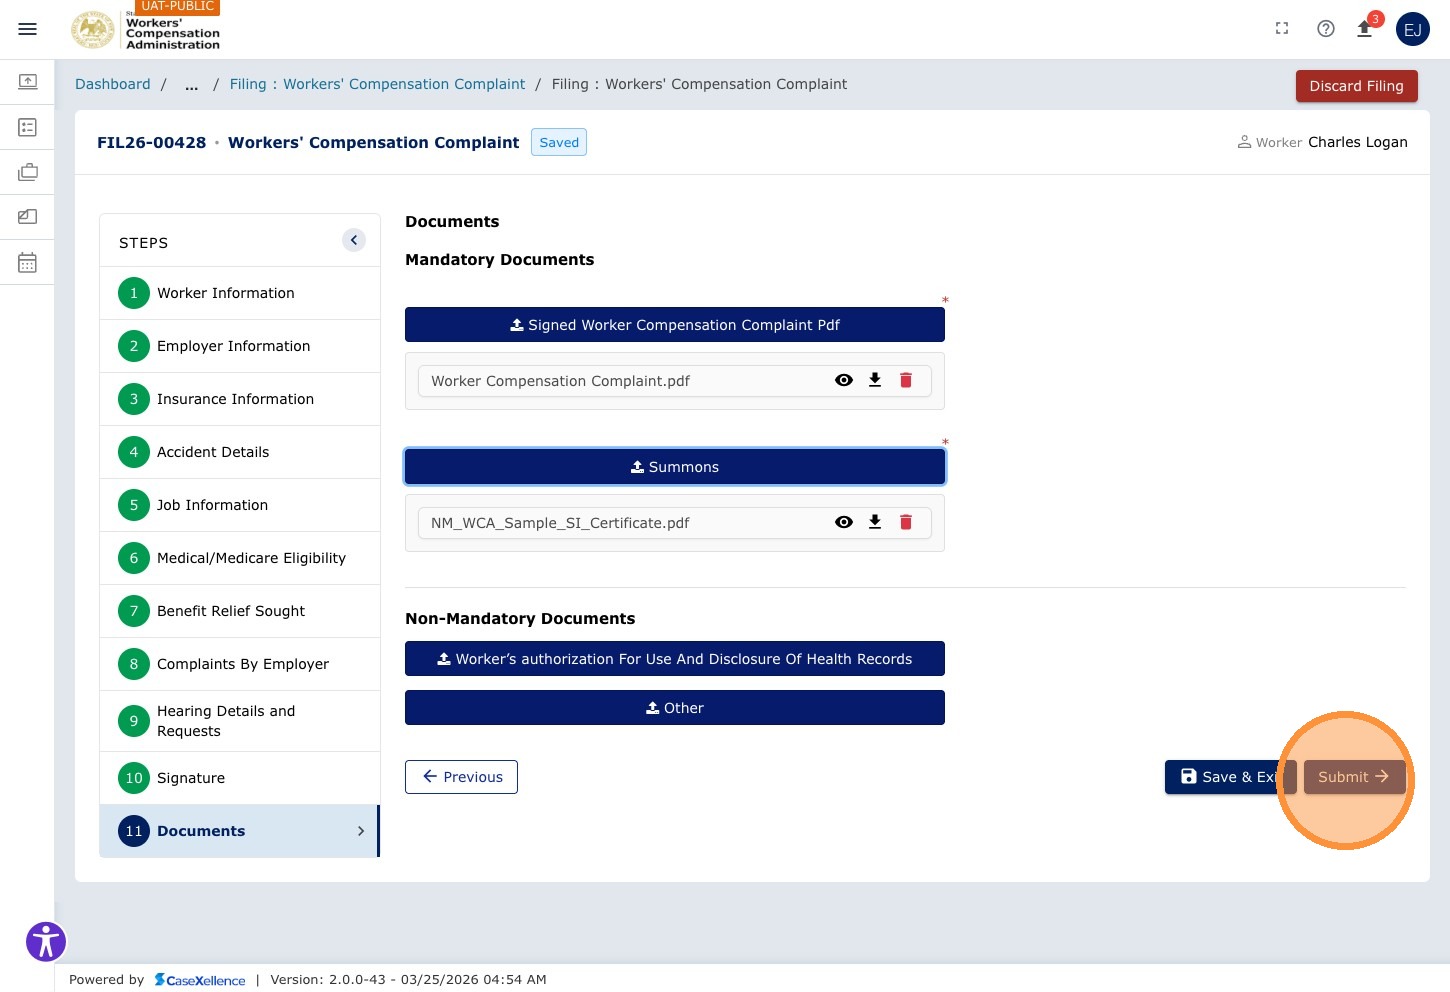
Chapter 11 — Documents
The Documents chapter is where the system generates the completed Smart Form as a PDF and where you attach any required supporting documents.
| Type | Description |
|---|---|
| Mandatory documents | Required for this filing type, such as a summons or signed complaint PDF. The system will not allow submission without them. |
| Optional documents | Supporting documents, such as a HIPAA authorization. Upload them if applicable. |
Step 46 — Review System-Generated Documents
The system generates a completed PDF of the complaint form based on all data you entered. Click the document name (e.g., Summons) to download and review it.
Correcting a mistake in a system-generated document: If you notice an error in the generated document — for example, a wrong name, date, or address — do not simply re-upload a corrected copy. Instead:
- Click the delete icon on the incorrect document to remove it.
- Use the chapter navigation to go back to the chapter where the incorrect information was entered (e.g., Worker Information, Accident Details).
- Correct the field value and click Save & Continue through to the Documents chapter.
- The system will automatically regenerate the document with the corrected information.
This ensures the system's records and the generated document are always in sync.
Step 47 — Submit the Filing
When every chapter is complete and required documents are attached, click Submit →. (Your button may be labeled Submit Filing instead.)
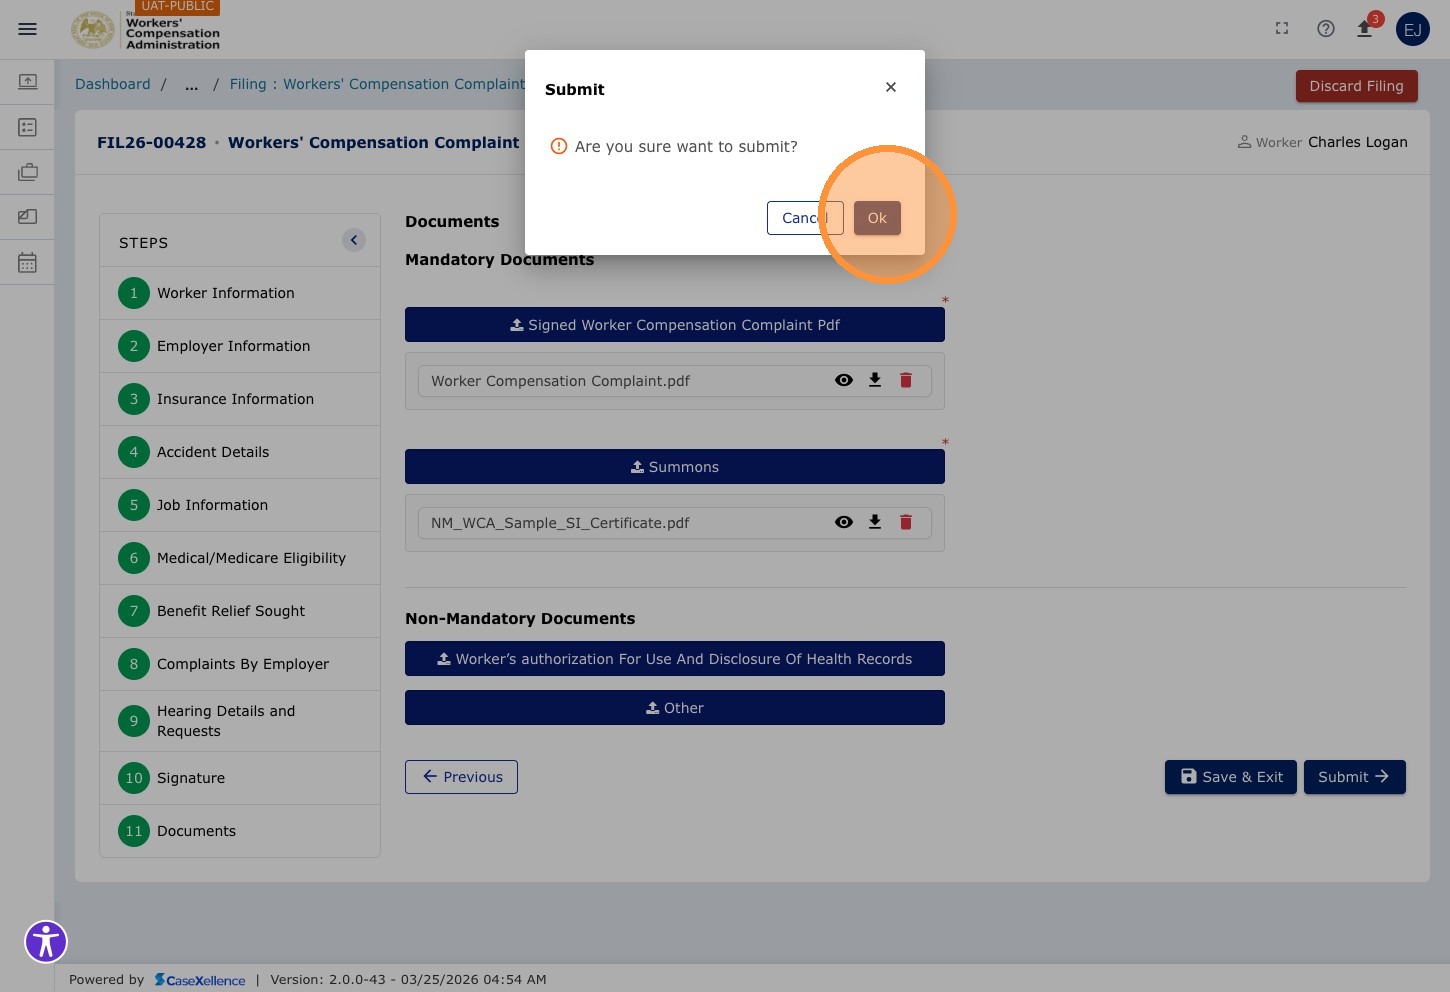
Step 48 — Confirm Submission
A confirmation dialog appears. Click Ok to confirm and submit the filing to the WCA Clerk's Office.
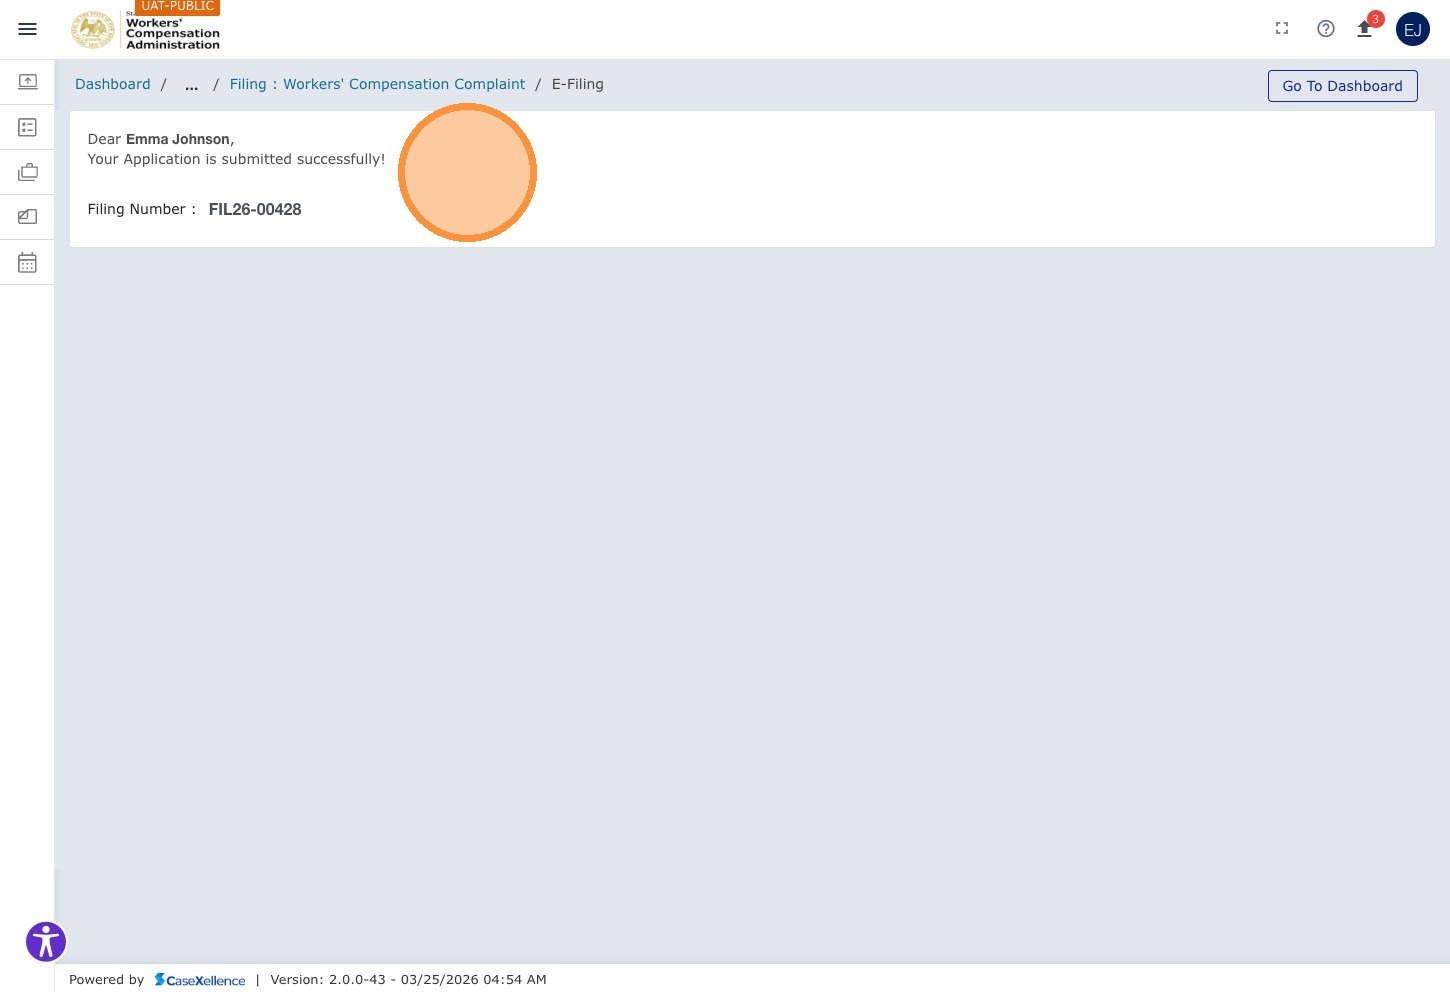
Step 49 — Filing Confirmation Screen
The portal displays a filing confirmation screen showing your Filing ID. An automatic confirmation email is sent to your registered email address.
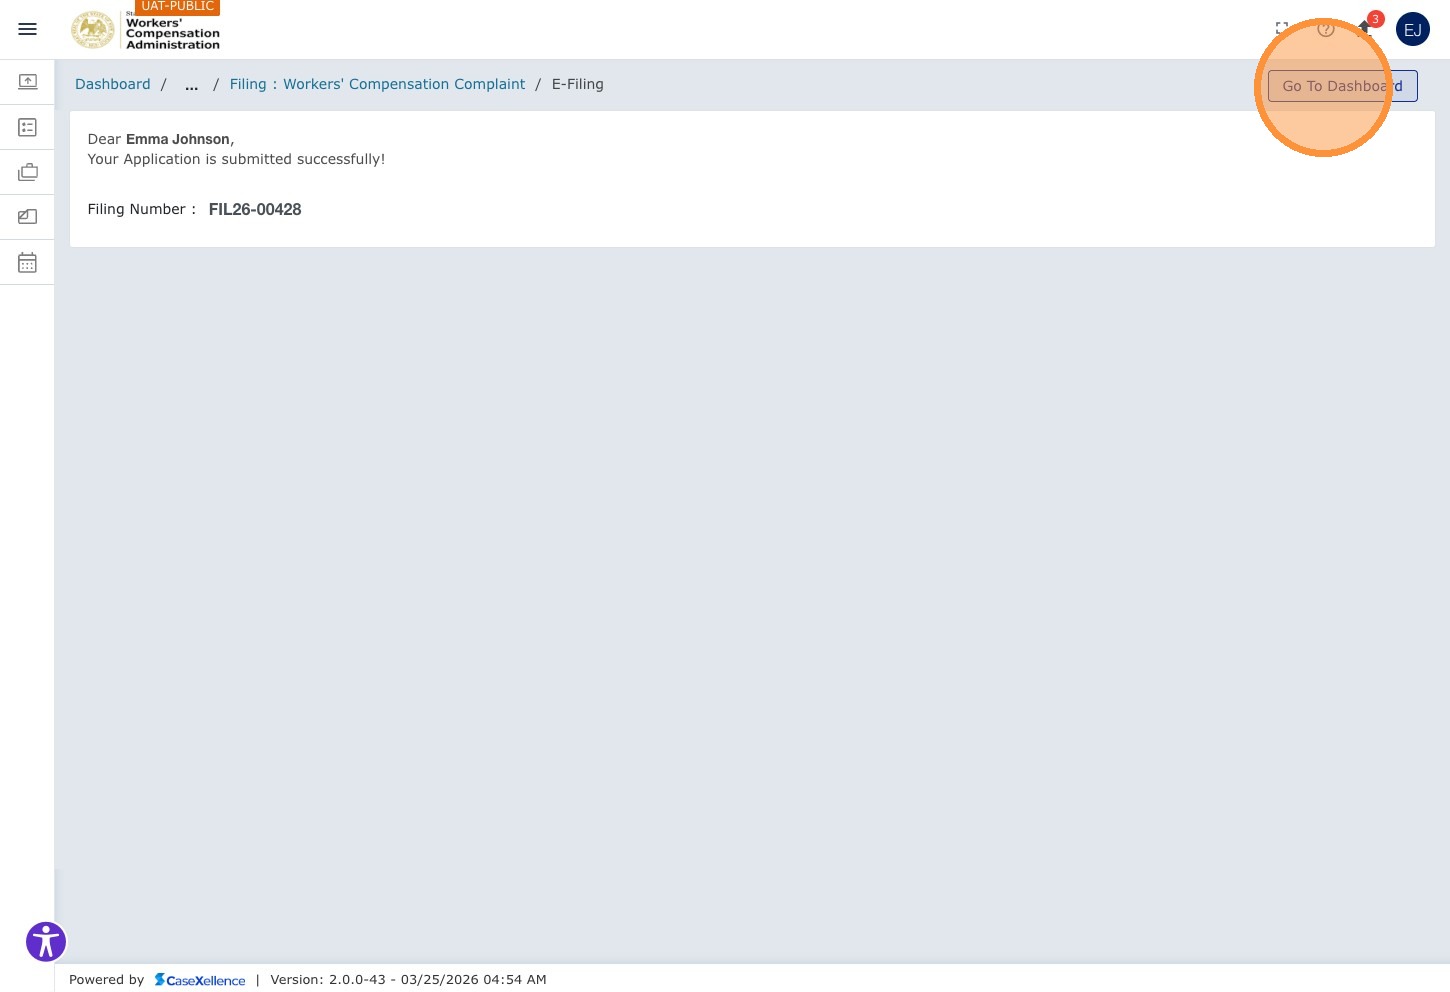
Step 50 — Return to Dashboard�
Click Go to Dashboard to return to the main Dashboard.
After Submission — Tracking Your Filing
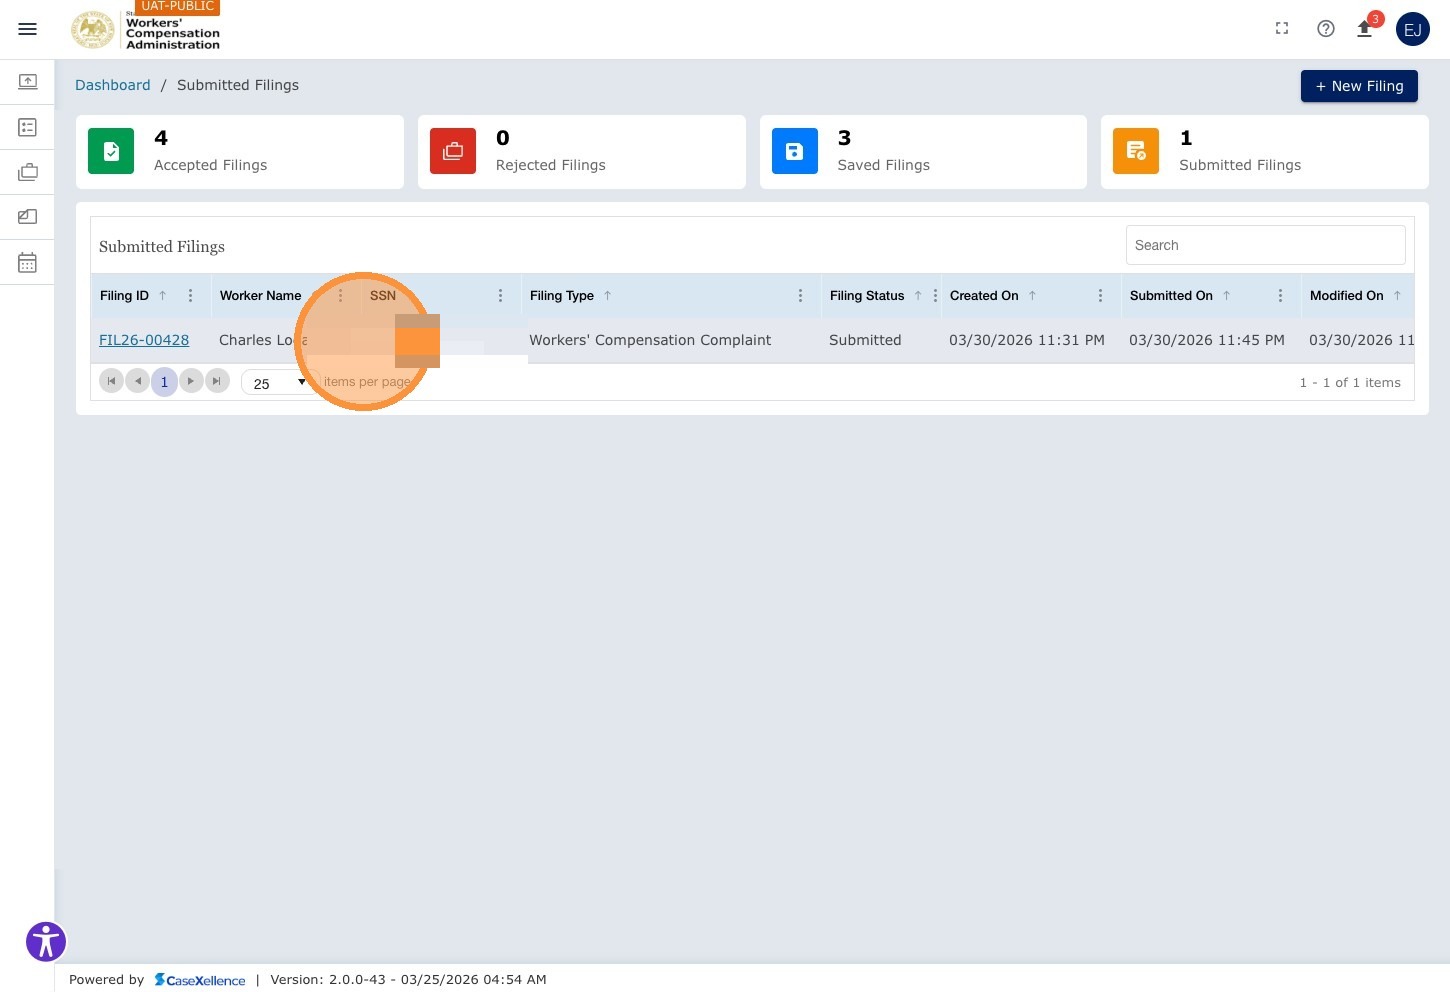
Step 51 — View Submitted Filings
On the Dashboard, click the Submitted Filings tile to filter the grid to filings awaiting clerk review. To open a filing again later, click its Filing ID (or the SSN link) in the grid; use Exit when you want to return to the list.
Step 52 — View Filing Details
Click the Filing ID (or the associated SSN hyperlink) to open the full details of the submitted filing and monitor its status.
What Happens After Submission
| Stage | Description |
|---|---|
| Submission email | One email is sent for the entire filing, not one email per document. |
| Clerk review | The WCA Clerk's Office reviews your submission. No action is required from you during this period. |
| If accepted | Your filing is converted to a WCA case. You will receive an acceptance email with your new WCA case number in the format WCA-YY-XXXXX, along with a summary of all document statuses. |
| If rejected | You will receive a rejection email explaining the reason for the rejection. The entire filing must be corrected and resubmitted. For rejected pleadings on an already accepted case, see WCA Case — Resubmission of Rejected Pleadings. |
The Filing ID format is FILE-YY-XXXXX. Once the filing is accepted and converted, your case is assigned a WCA Case Number in the format WCA-YY-XXXXX. Use the WCA Case Number for all future correspondence with WCA about the case.
Saving a Filing to Complete Later
Use Save & Exit to save your progress and leave the form; your filing appears under the Saved Filings tile. Use Save & Continue to save the current section and move to the next chapter. You can also use Save where the form provides it. Return at any time, click the Filing ID to reopen the filing, and continue. The Modified date in the grid reflects when you last saved.
Your filing is not submitted to WCA until you click Submit → in the Documents chapter. Saved filings are visible only to you and are not sent to the Clerk's Office.
Portions of this user guide were produced with assistance from artificial intelligence tools; all content was reviewed for accuracy before publication.